Connecting to Storage from MacOS
Note
These instructions have been tested on MacOS 10.10 and newer.
storageN
The use of
storageNwithin these documents indicates that any storage platform can be used.- Current available storage platforms:
storage1
storage2
Step-by-step Guide
Disable the writing of .DS_Store files to network mounts by running this command
from the Terminal app:
defaults write com.apple.desktopservices DSDontWriteNetworkStores -bool true
Warning
Note that this applies to all network mounts, not just RIS SMB.
Create or update the /etc/nsmb.conf file. This can be done with a text editor
or by running this command from the Terminal which will create the
/etc/nsmb.conf file if it does not already exist:
sudo tee /etc/nsmb.conf <<EOF
[default]
smb_neg=smb2_only
dir_cache_off=yes
notify_off=yes
soft=yes
streams=yes
file_ids_off=yes
EOF
The use of sudo means you will need administrative privileges on this Mac.
Synchronize the SMB config, again from the Terminal:
/usr/libexec/smb-sync-preferences
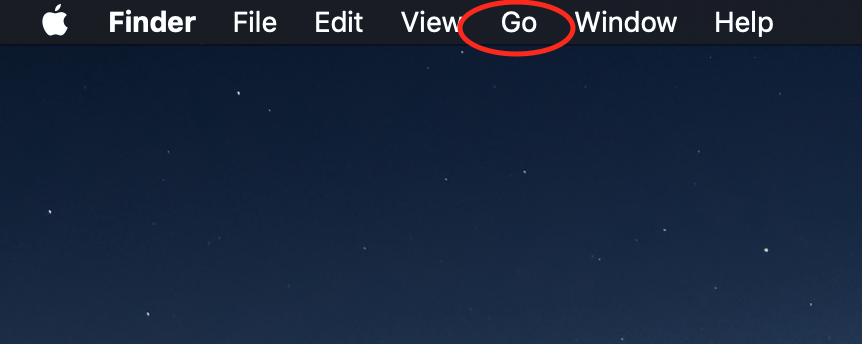
Click in the background area of the desktop. This will put you in Finder. In the Finder menu at the top left of the screen, click “Go”:
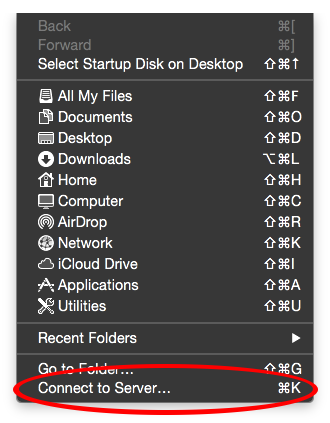
From the drop-down menu, click on “Connect to Server”. (⌘ K)
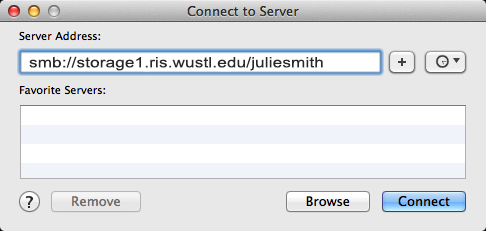
Use the “Connect to Server” option on the menu drop-down. Once the “Connect to Server”
dialog appears, use smb://storageN.ris.wustl.edu/PI WUSTL Key ID
as the server address, in this example juliesmith:
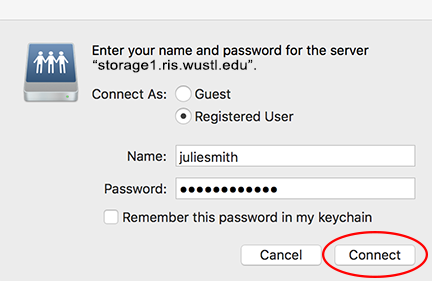
You will be prompted for your WUSTL Key credentials (you will enter your WUSTL Key ID and password):
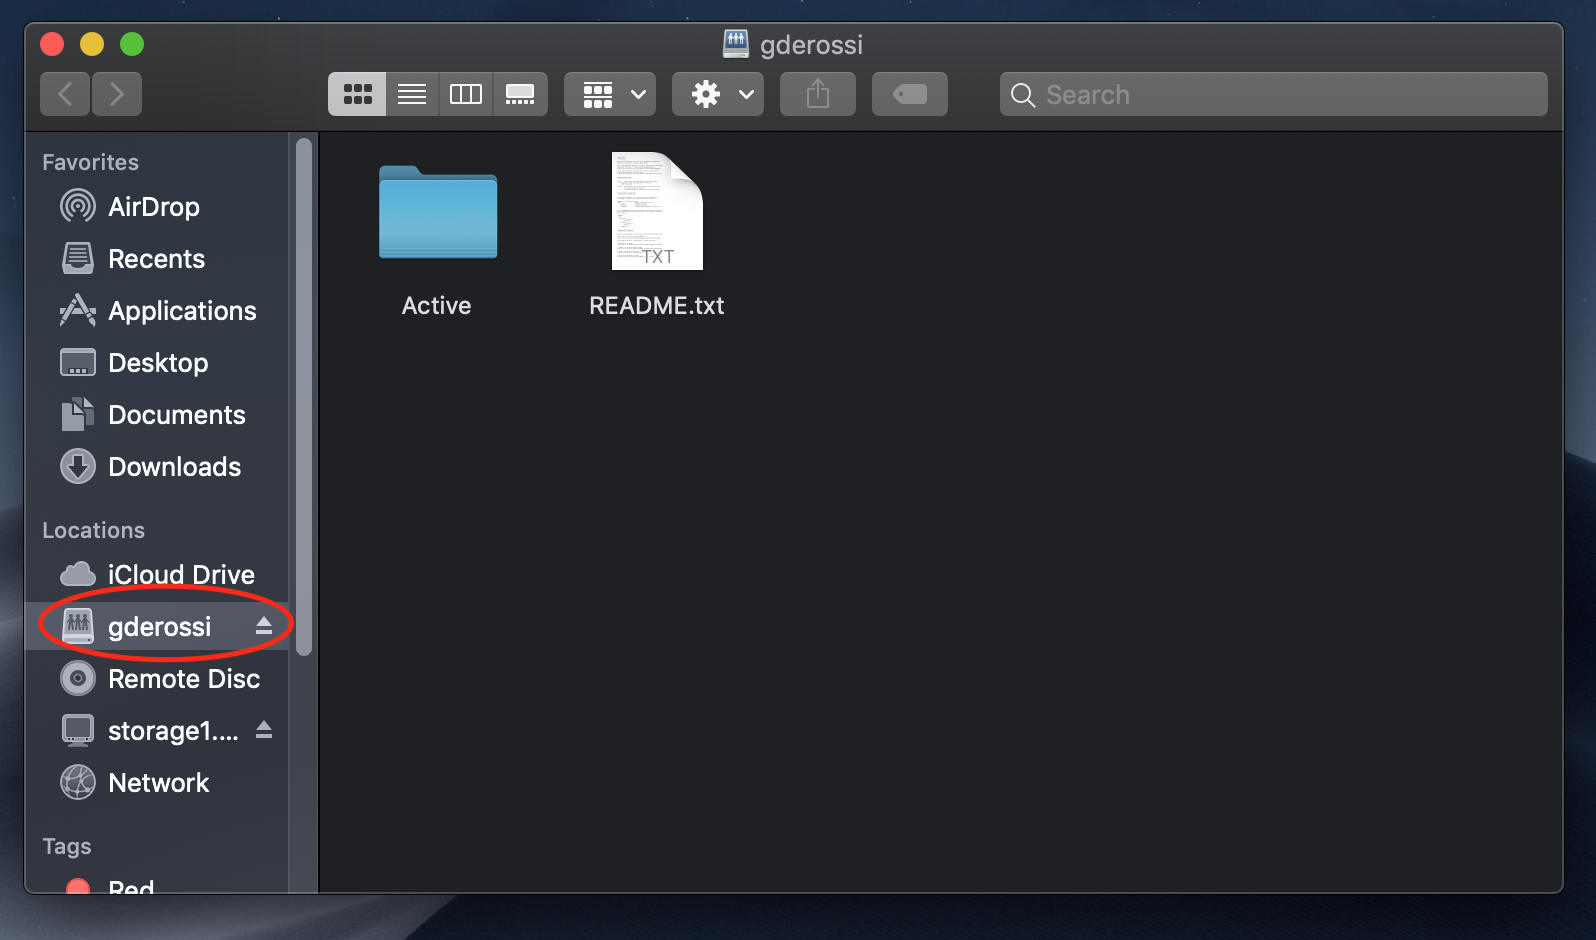
Once you have completed these steps you will be presented with a finder window showing the Research Drive and all the folders you have access to:
If your sidebar does not have “Locations”
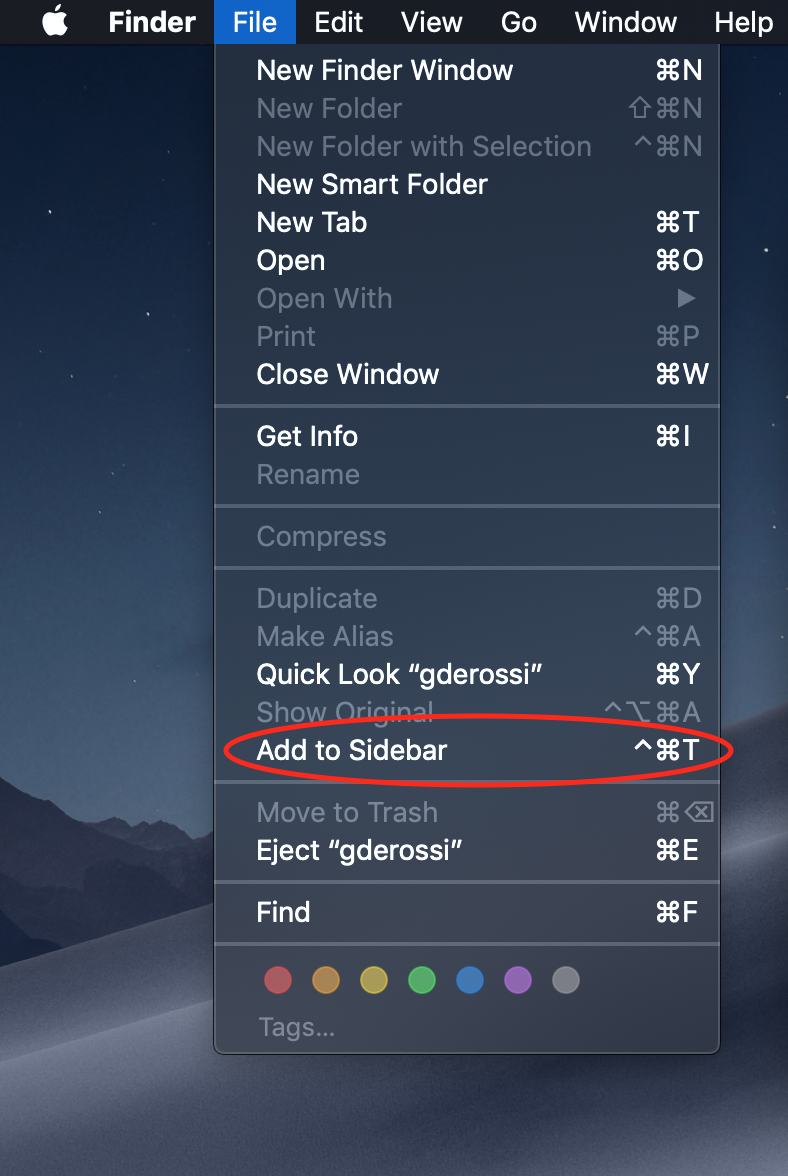
If you cannot see the Research Drive under “Locations” on the sidebar in Finder (circled above), click on “File” in the top left corner:

From the drop-down menu, select “Add to sidebar”. The Research Drive should now appear in your sidebar. If it doesn’t, you may have to restart:
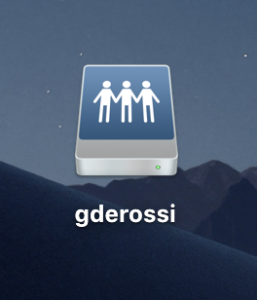
In addition to the shortcut on the sidebar, there should also be a shortcut to the Research Drive on your desktop.
If storage devices are not visible on your Desktop
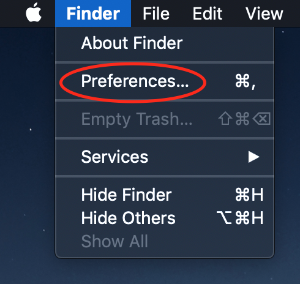
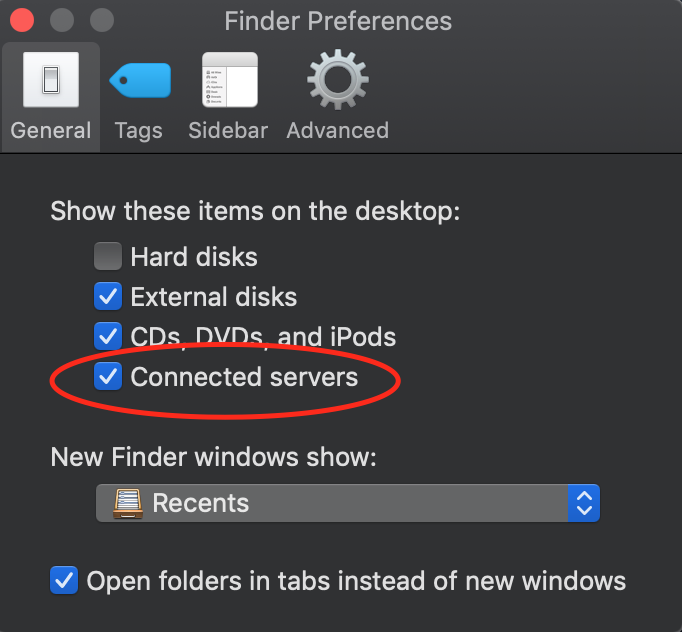
If storage volumes are not visible on your Desktop, click on the desktop background to go to Finder, and click on “Finder” in the top left corner of the screen.

From the drop-down menu, click on “Preferences”.
In the Preferences menu, under the “General” tab, check the box next to “Connected servers”. The shortcut should now appear on your desktop.
Making Desktop shortcuts permanent
This shortcut, unfortunately, is not permanent and will disappear if you log out, restart, or lose Internet connection. To make it permanent, follow these steps.
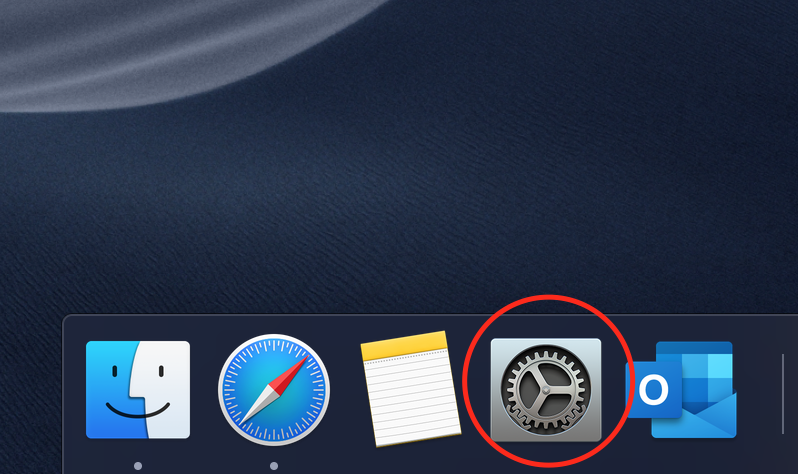
Open System Preferences from the Dock. If it is not in your Dock, search for “System Preferences” using the search in the top right of the screen:
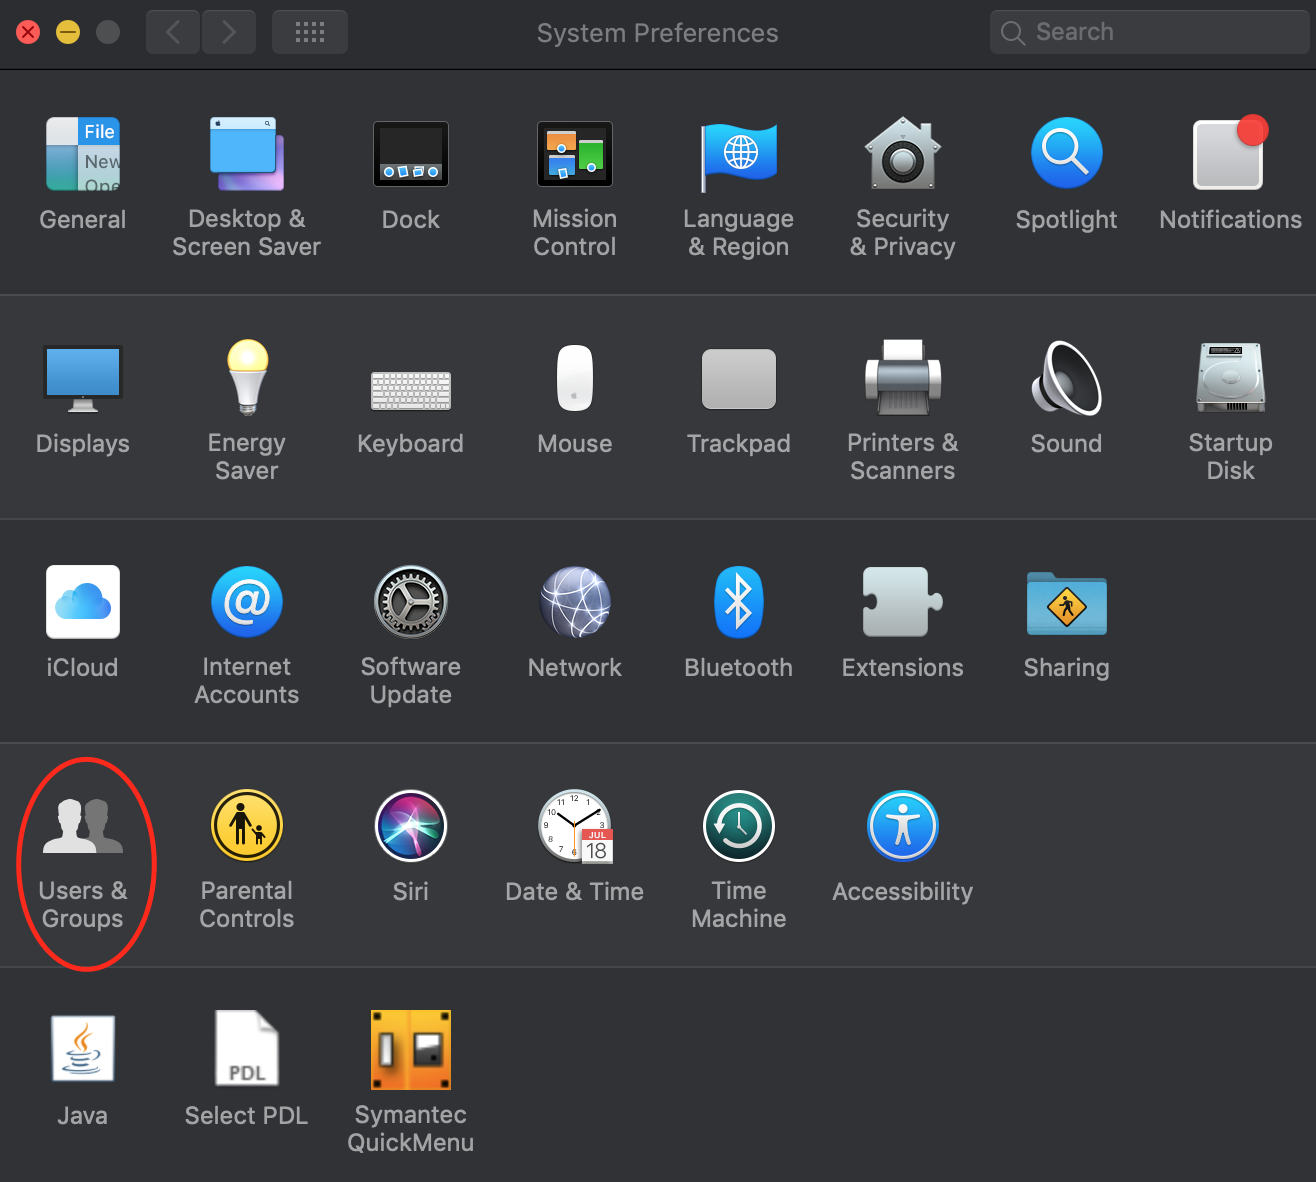
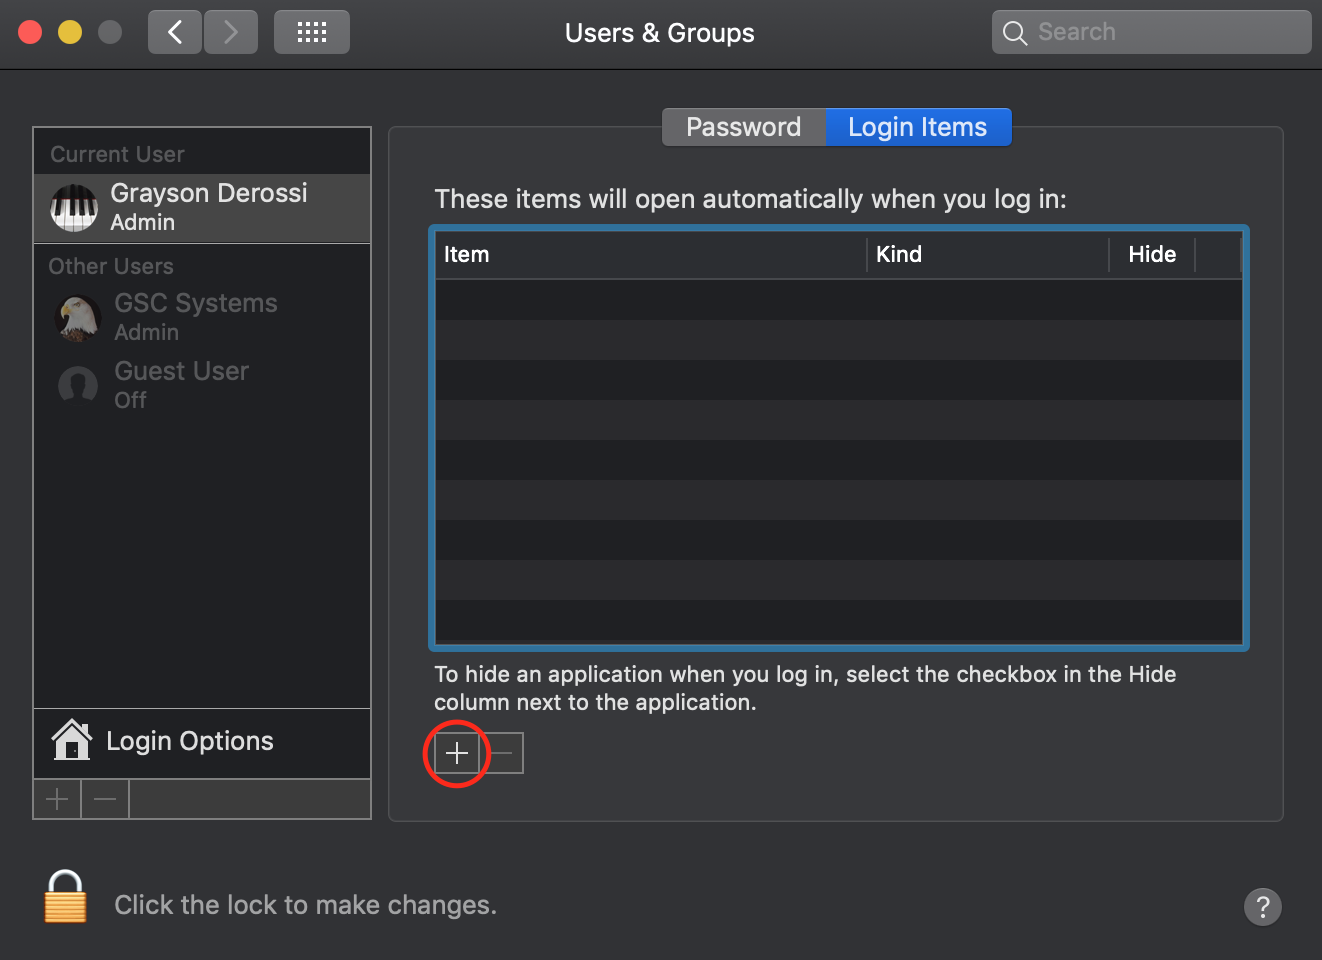
Click on “Users and Groups”.
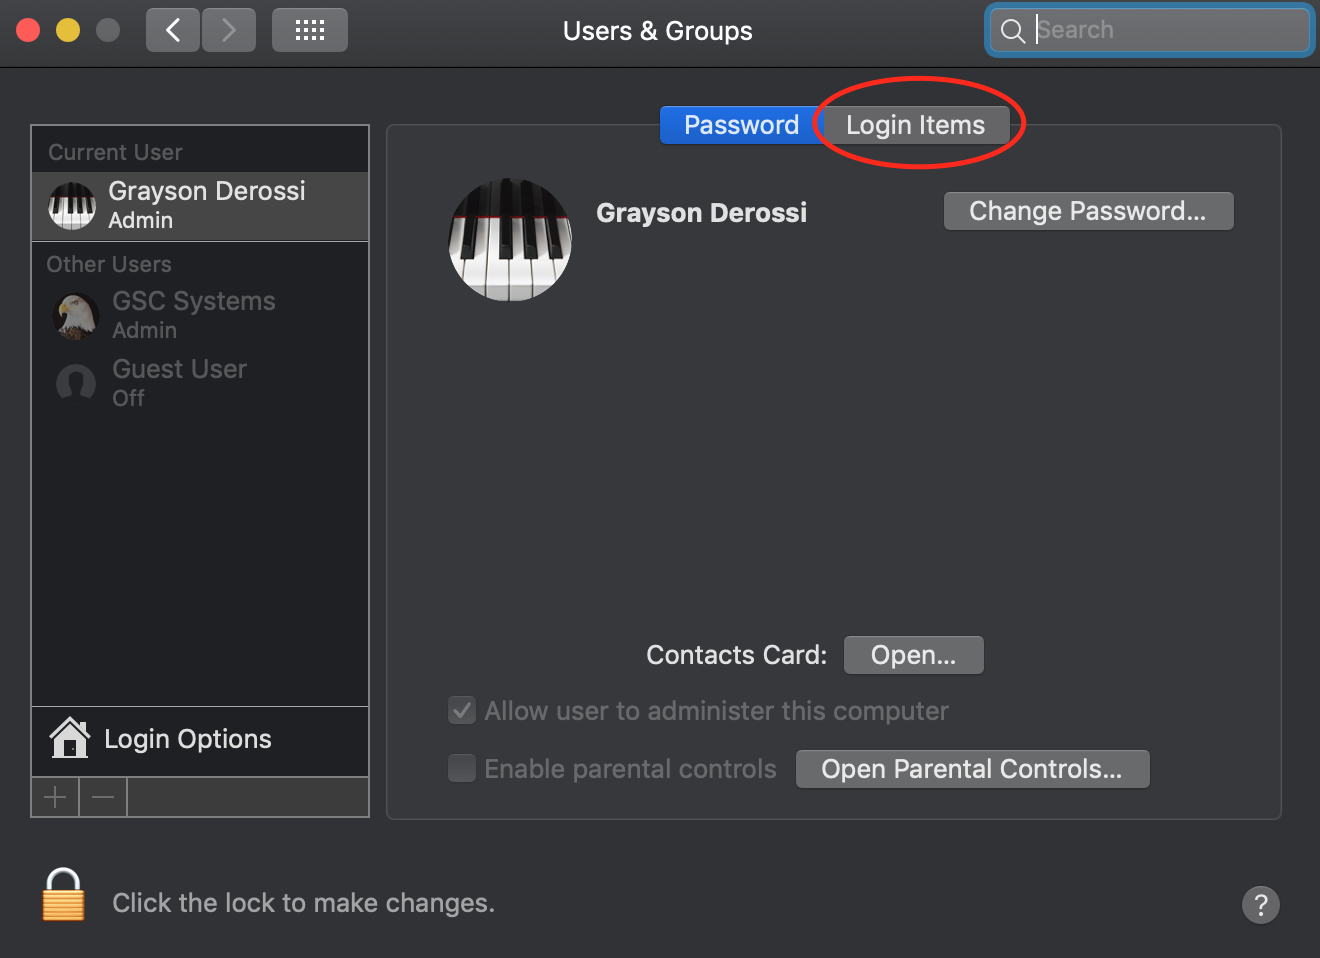
Click on “Login Items”.
Click on the “+” at the bottom left of the tab.
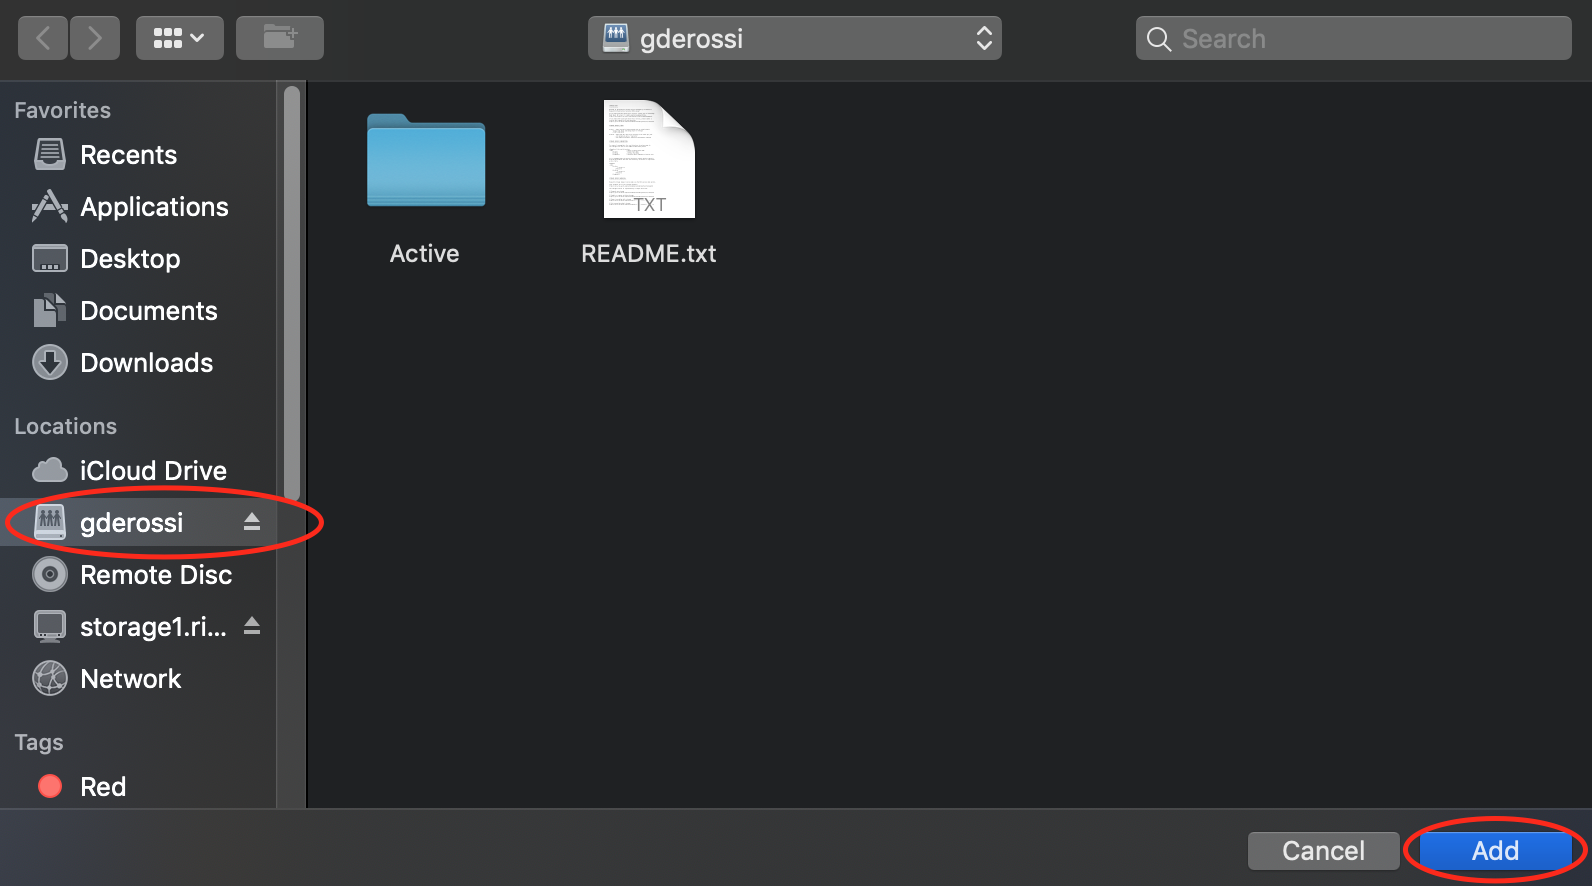
In the window that pops up, navigate to your Research Drive using the sidebar, and then press “Add”.
The list in Login Items should now show the drive.
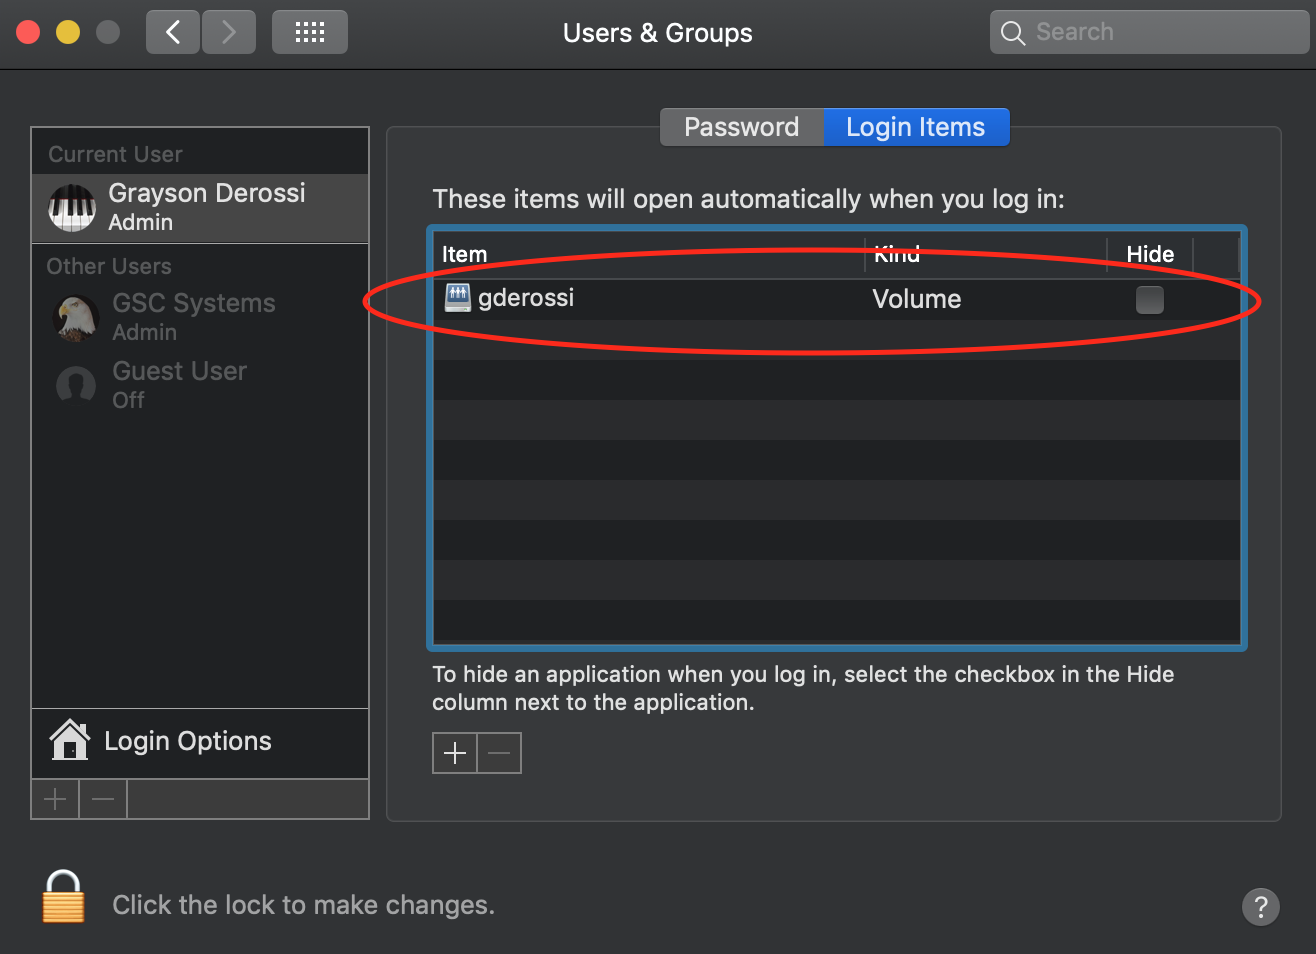
The drive and the shortcut should now be permanently connected so long as you have a network connection. You will have to re-enter your credentials if you restart the computer, but this can be connected to your login keychain (and thus done automatically) if you press “Always Allow” when prompted for your username and password, or by checking a box for “Remember this password in my keychain”.