Installing and Using Globus Connect Personal
storageN
The use of
storageNwithin these documents indicates that any storage platform can be used.- Current available storage platforms:
storage1
storage2
Video - Installing Globus Connect Personal
Installation
1. Download the Software
Go to the Globus Personal Connect webpage and download the software.
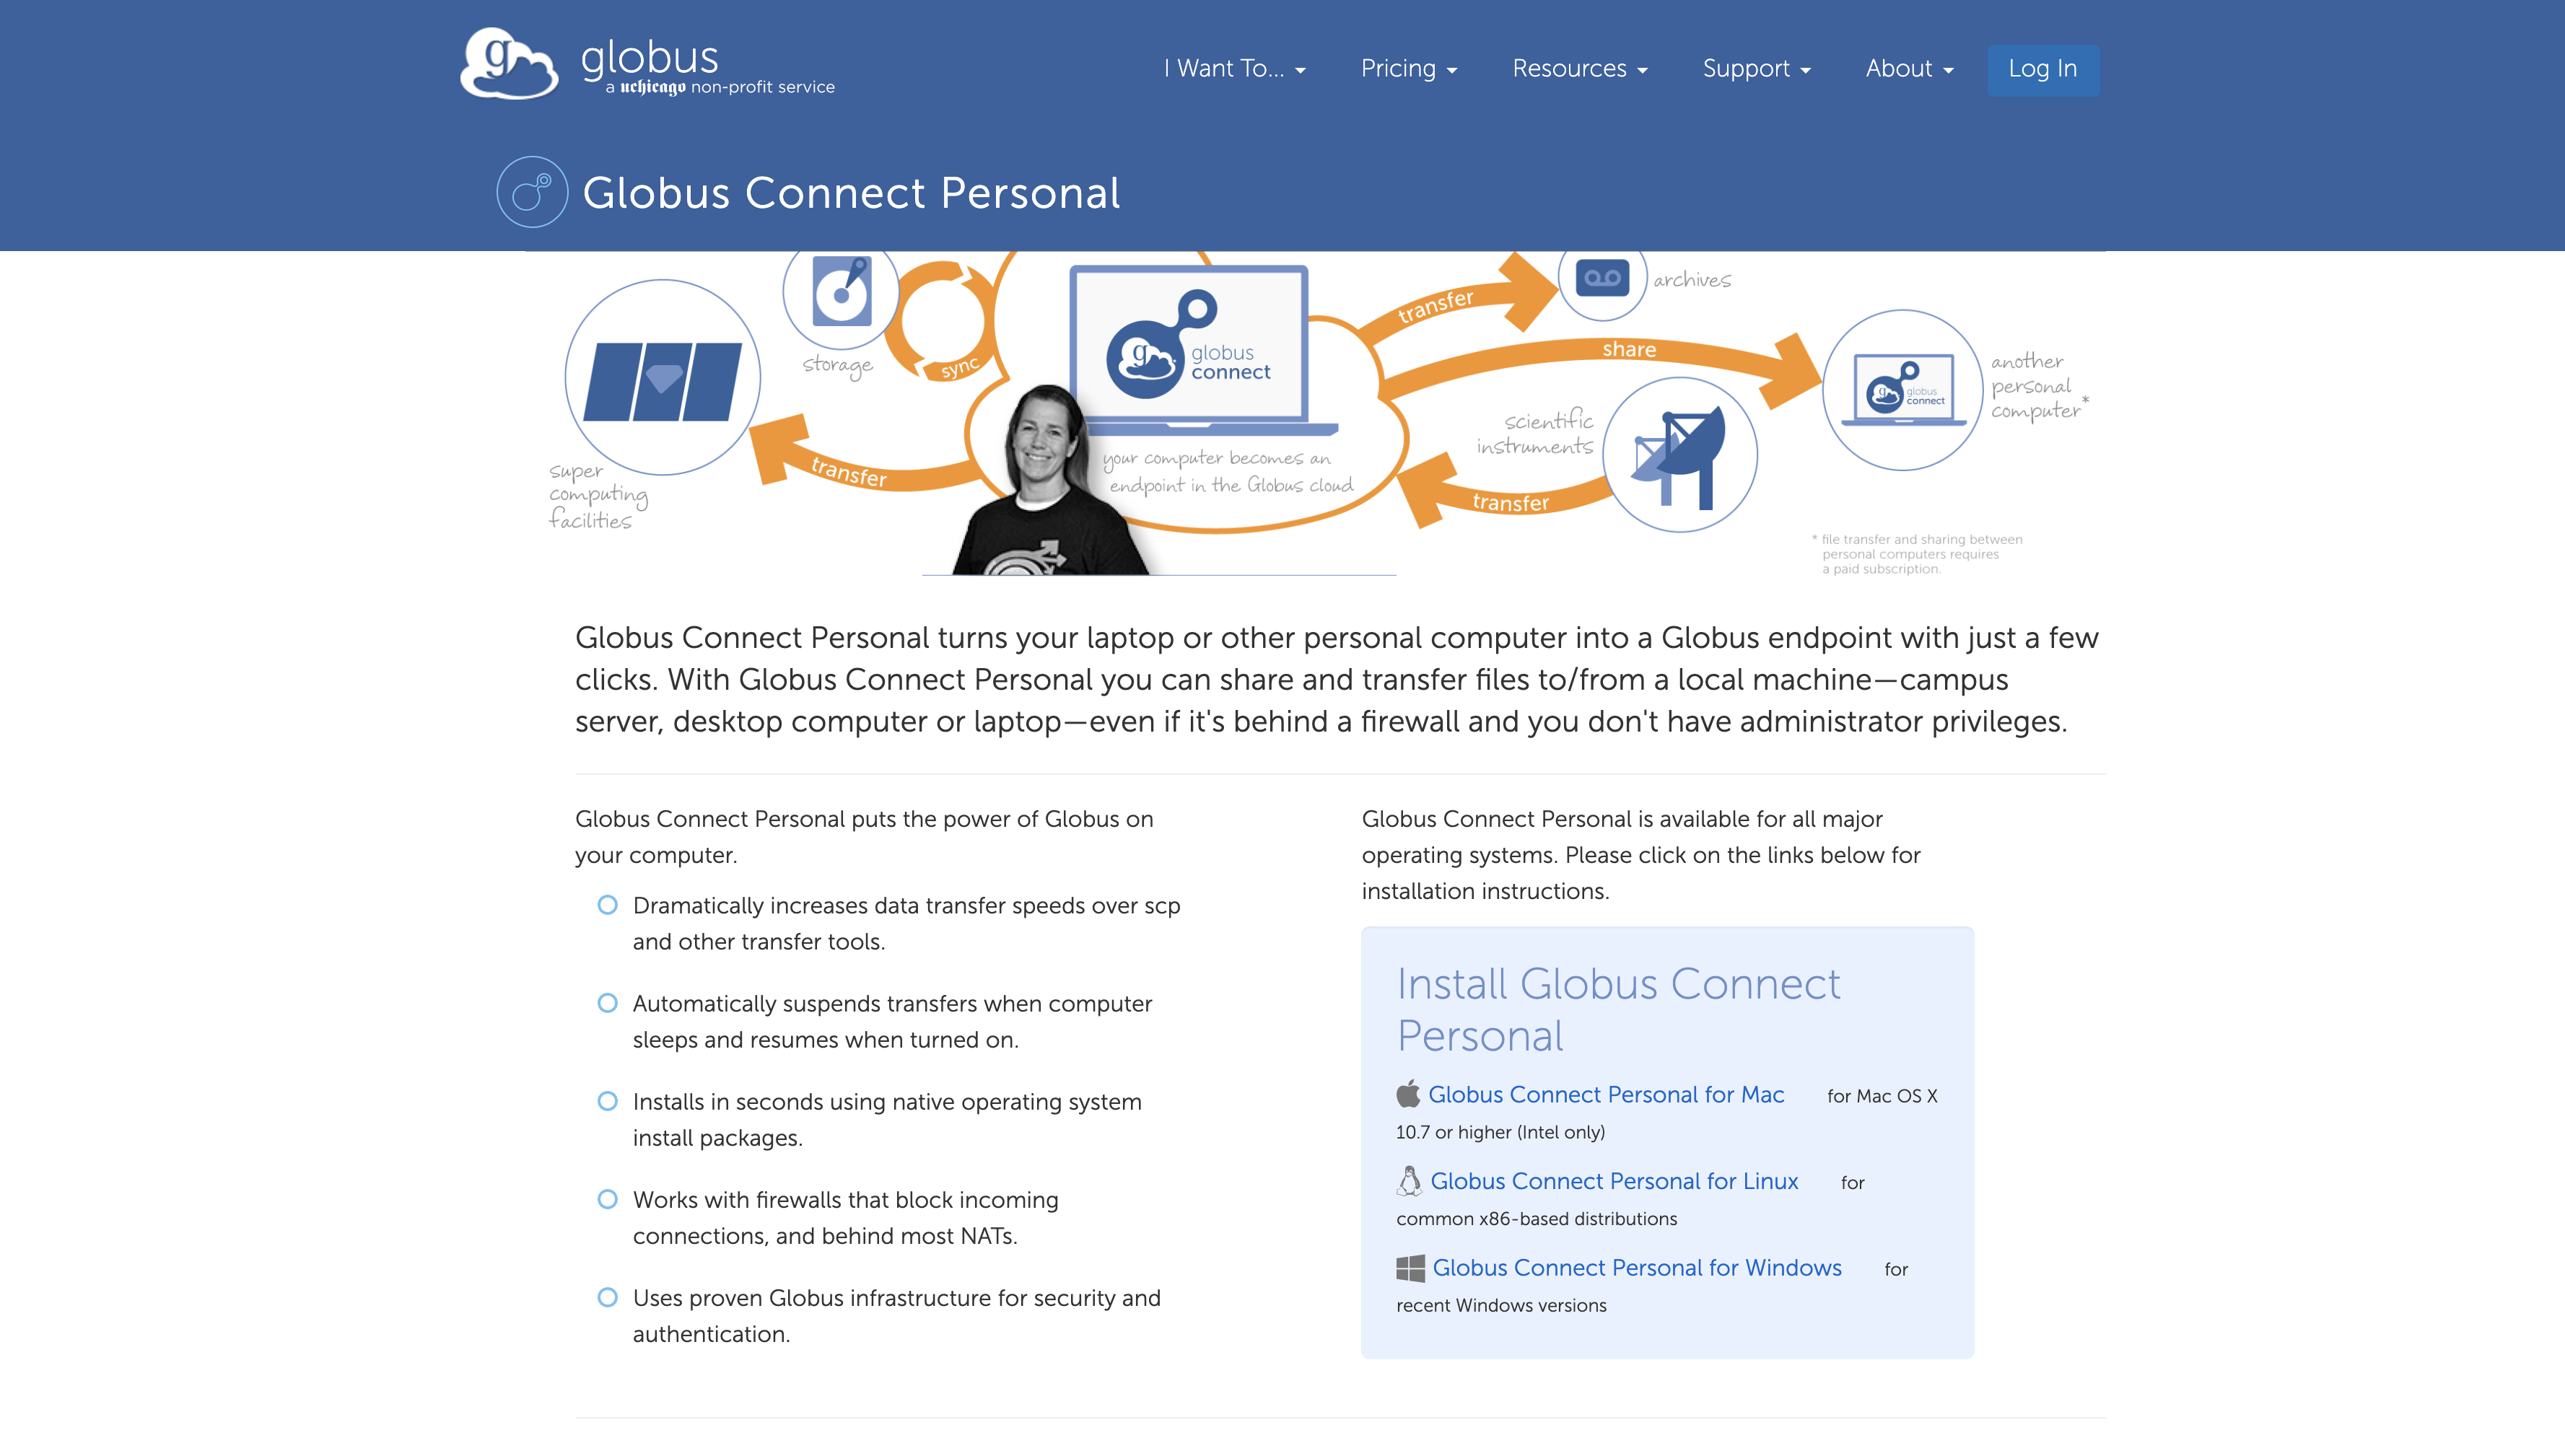
The link will take you too a page giving you instructions on installing.
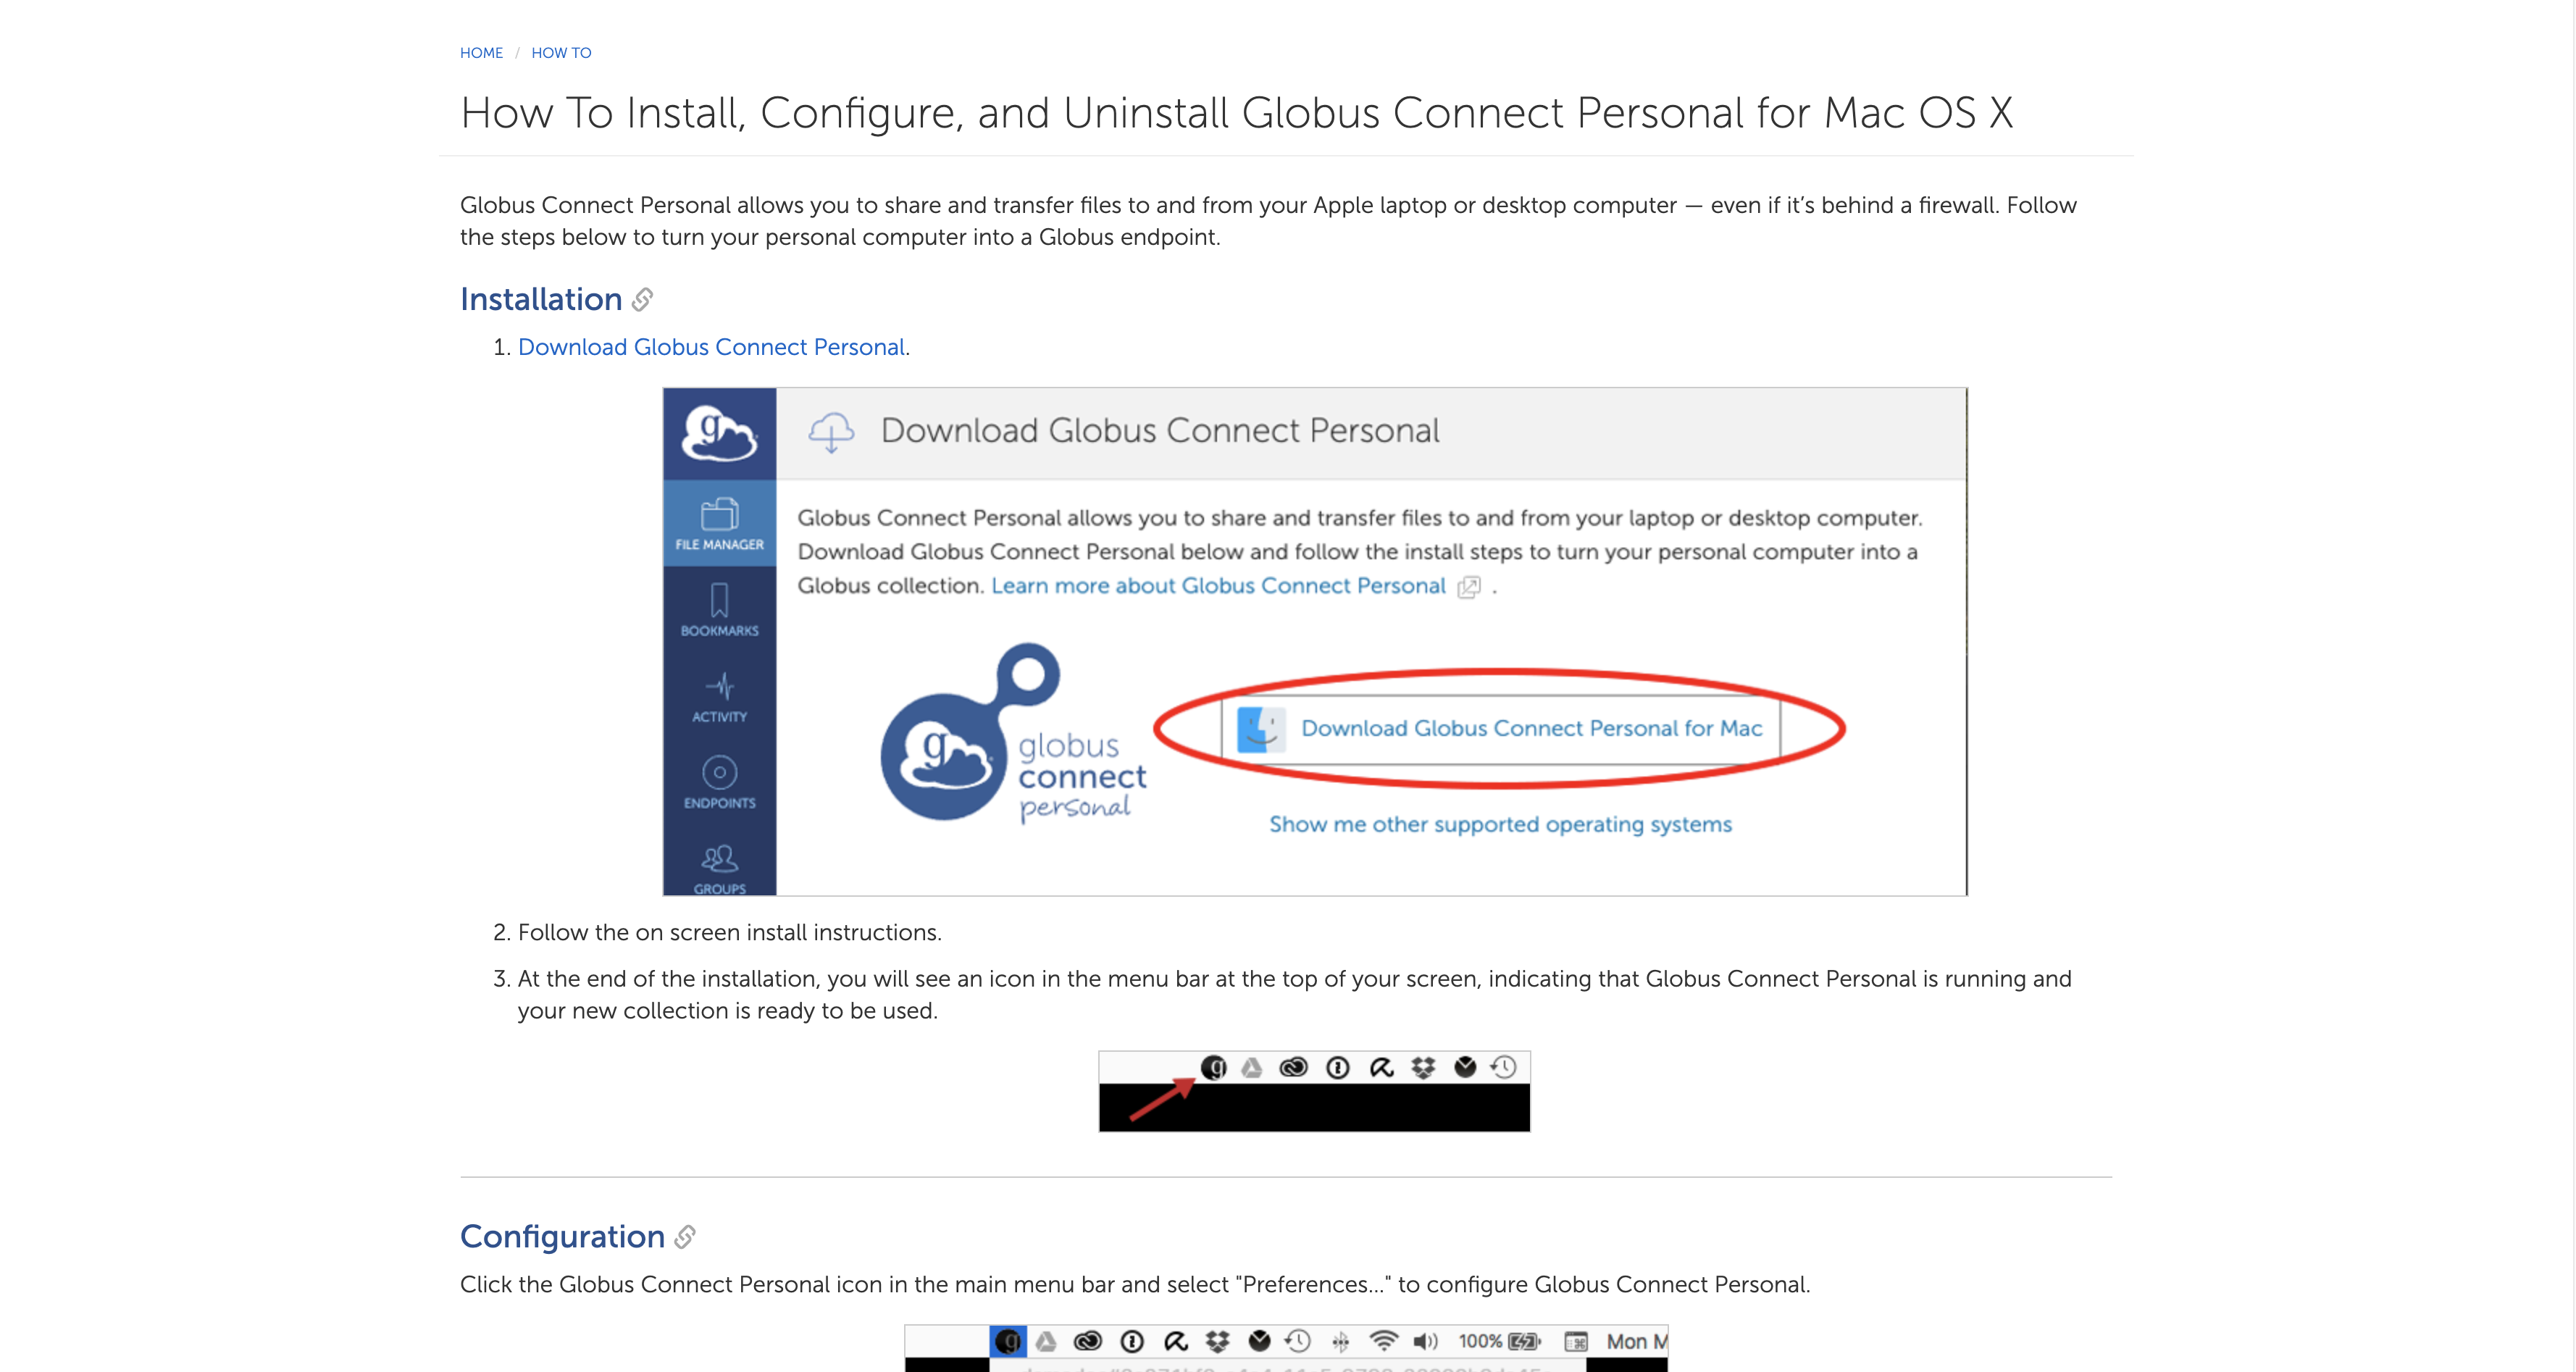
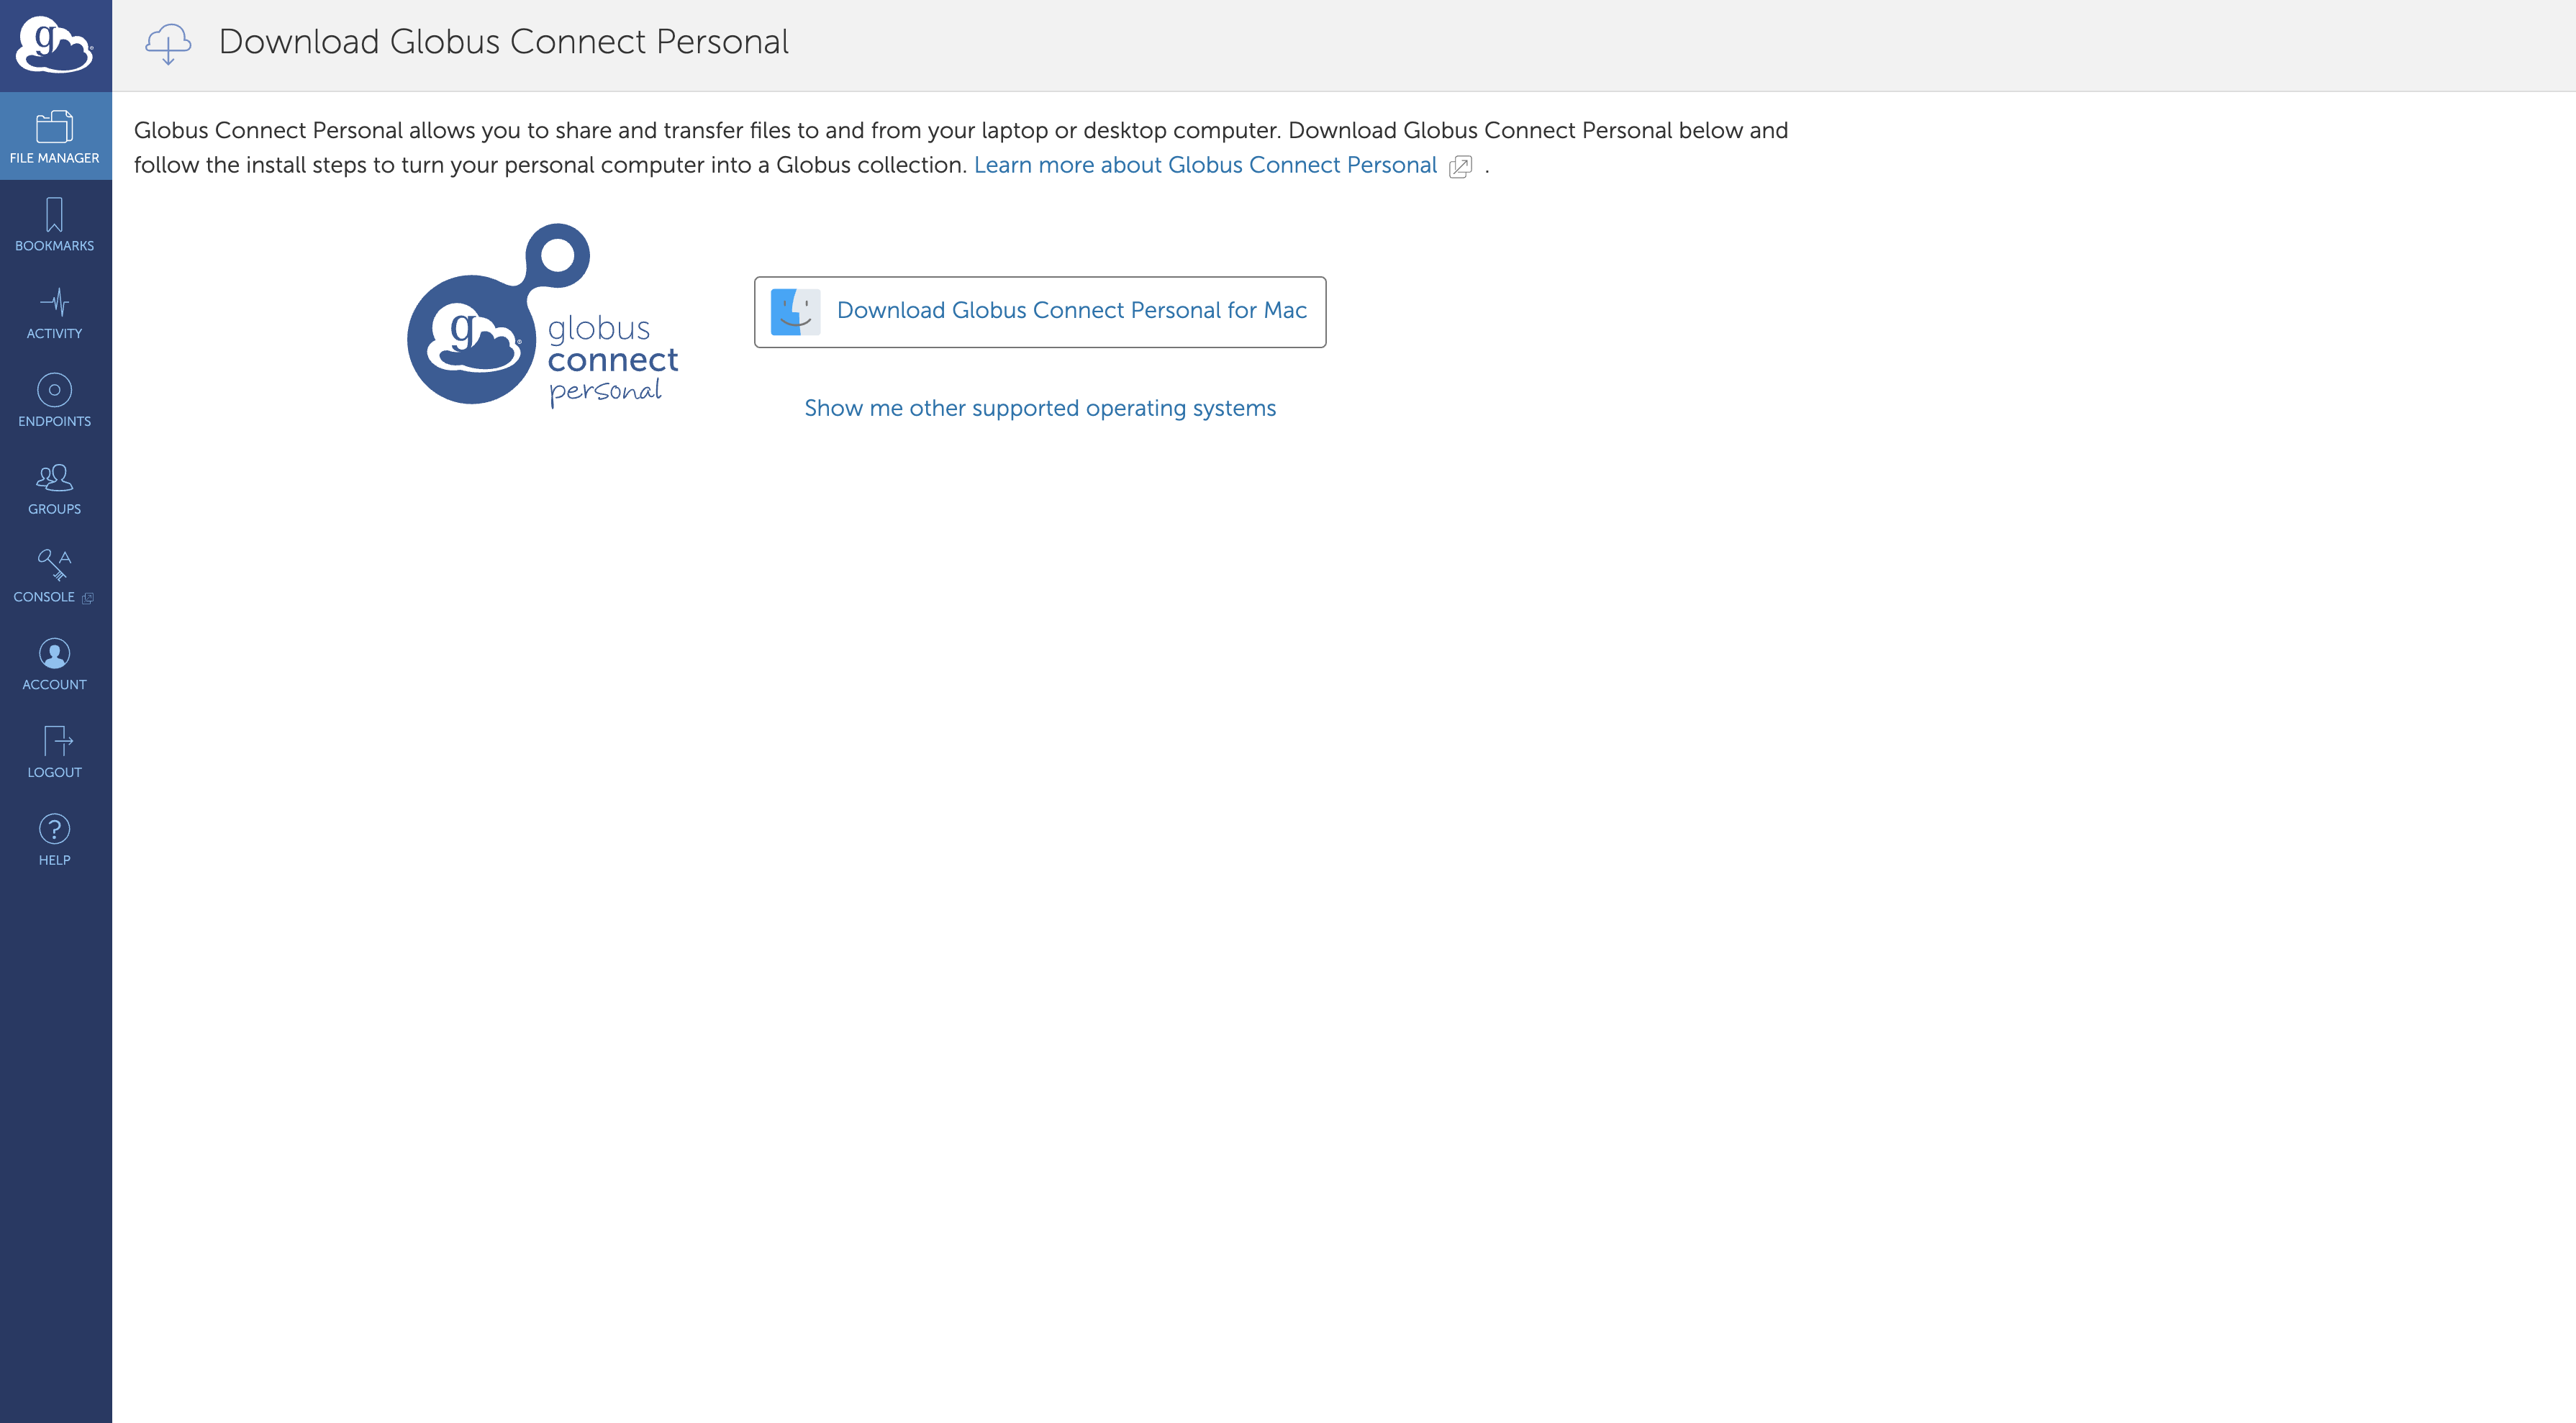
When you click the download link on that page, it will take you into the app to download the software.
If you aren’t signed in, it will ask you to sign in. Please do so with your Wustl key just like normal for Globus.
2. Install the Software
Once you have downloaded the software, you install it like you would any other software for your system.
During the install process, it will ask for some prompts.
It will ask you to log in. Clicking on the button to do so will take you into the app.
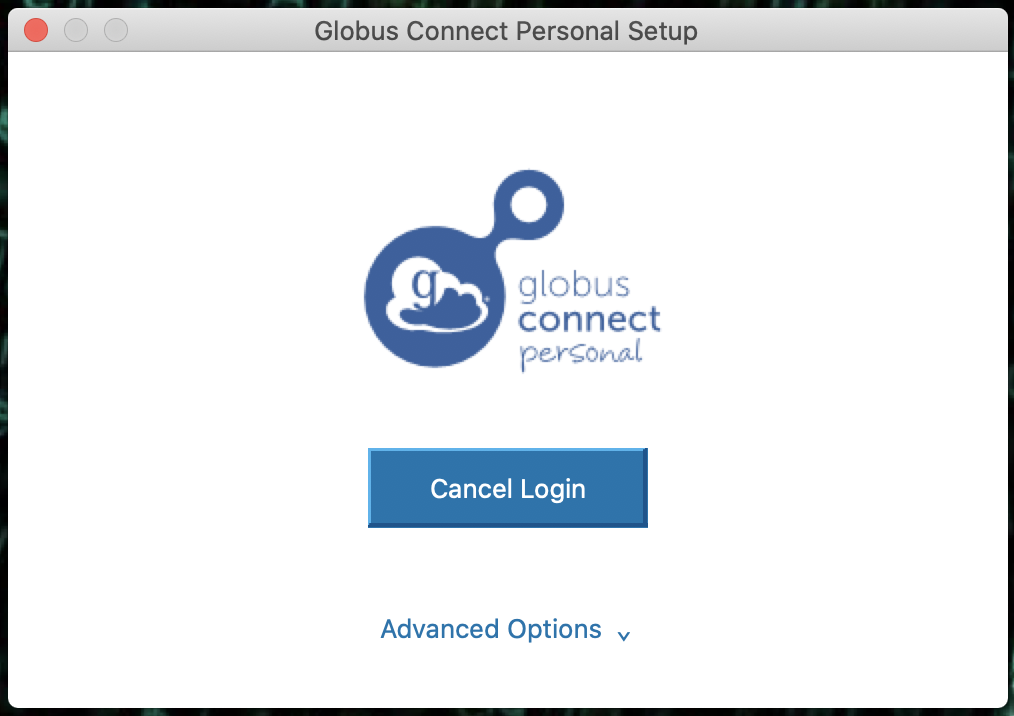

On this page it asks you to verify that you want to set up Globus Connect Personal and to give it permissions.
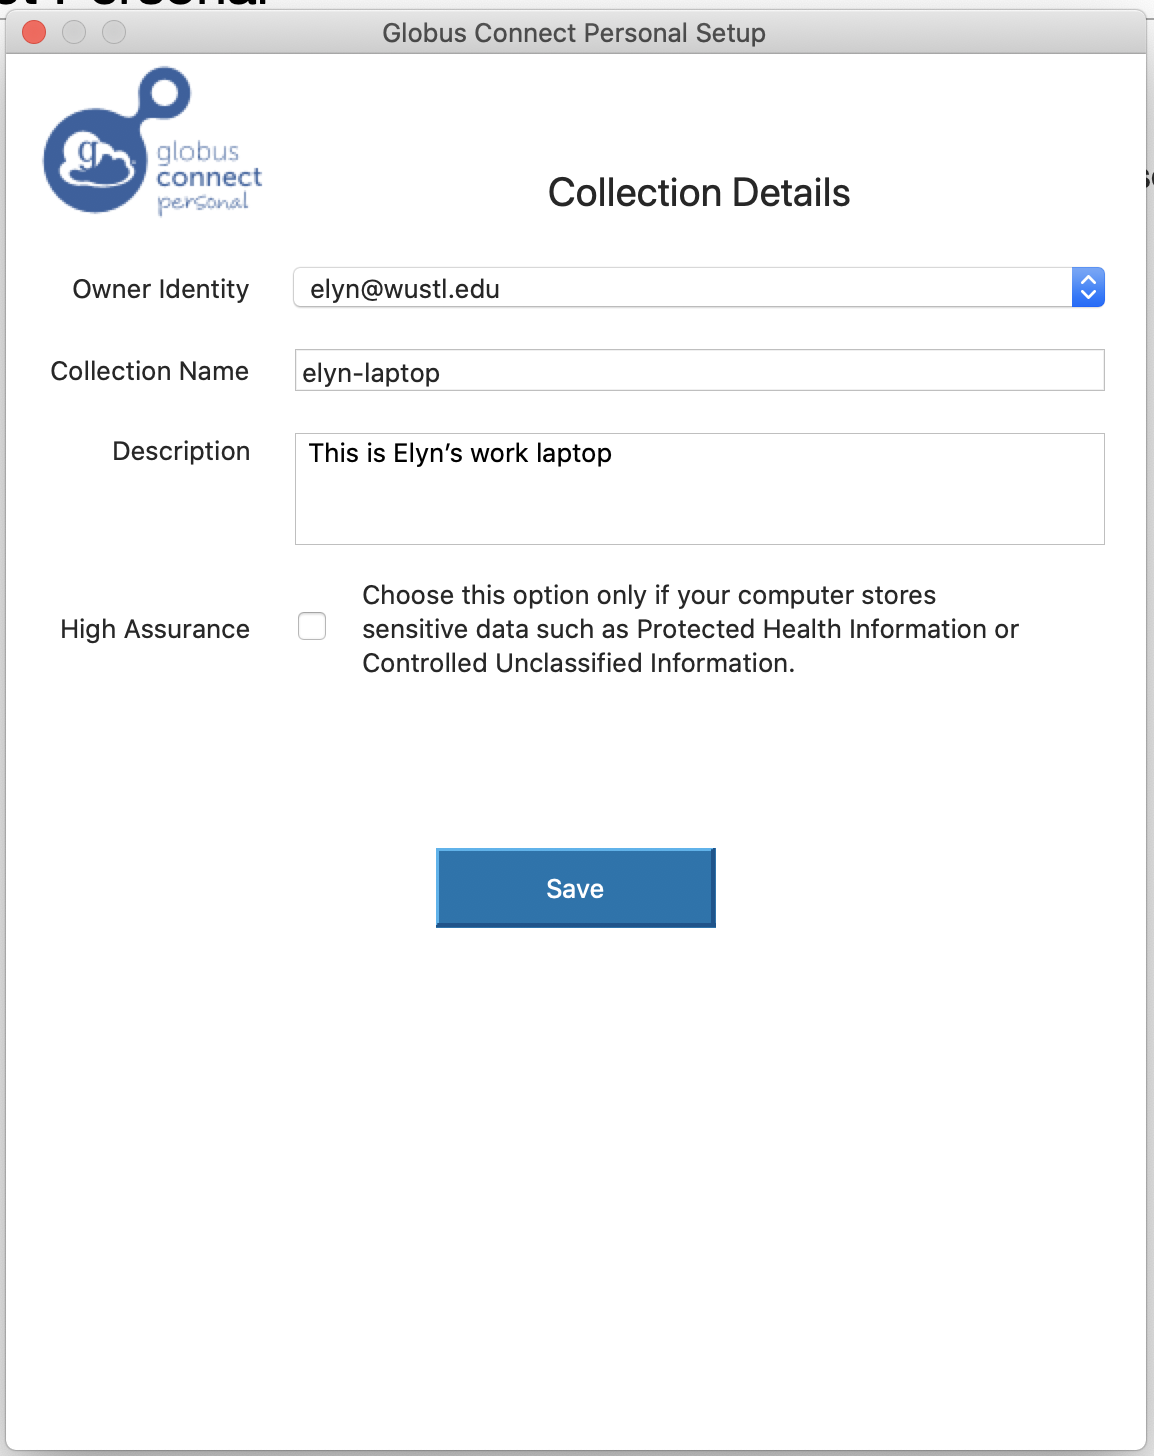
Clicking on the Allow button will take you to a page to set up a personal endpoint for your computer.
Enter the name you wish to call the colleciton and a short description, then save it.
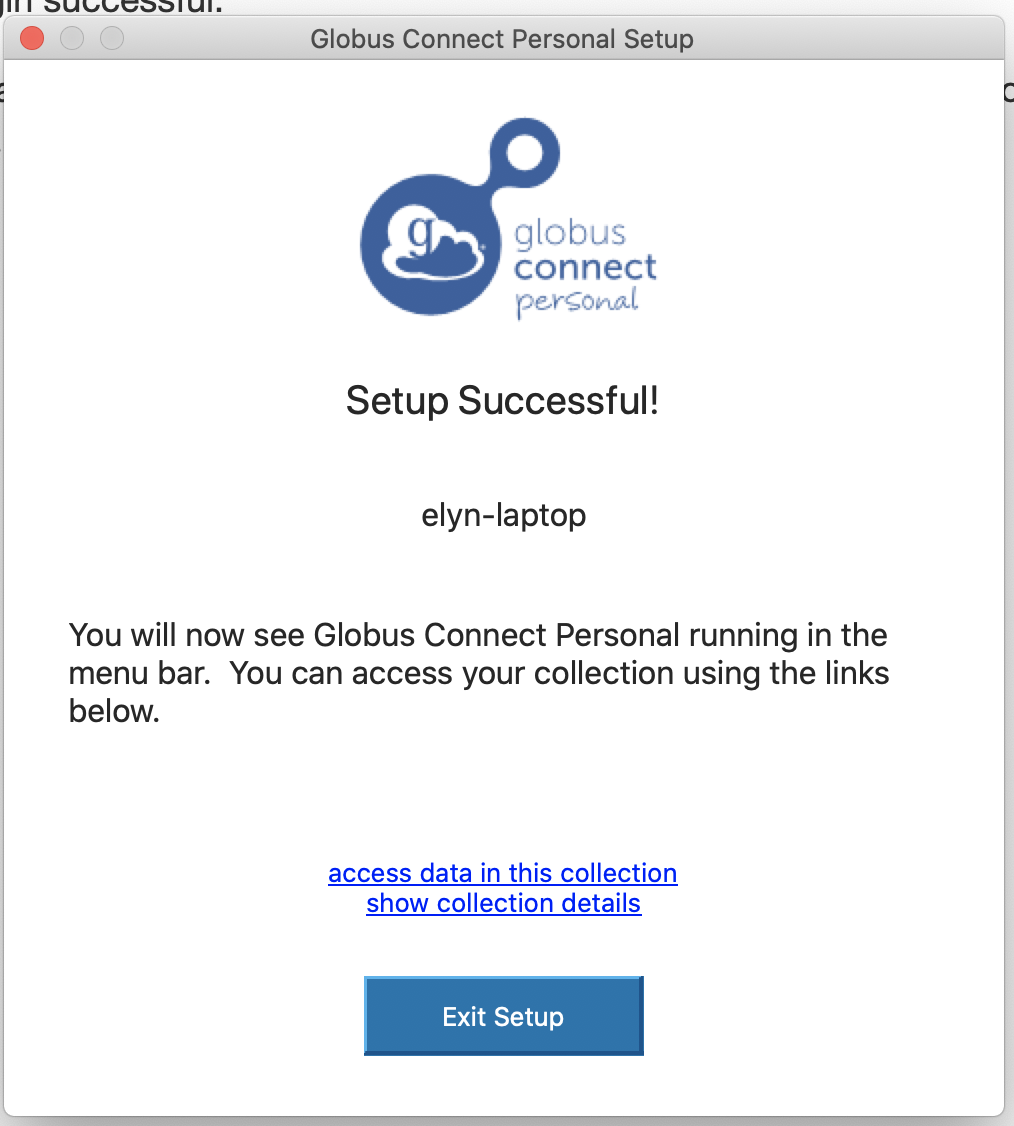
It will let you know that setup was successful. Go ahead and exit the setup at this point.
Access and Settings
Accessing Your Personal Collection
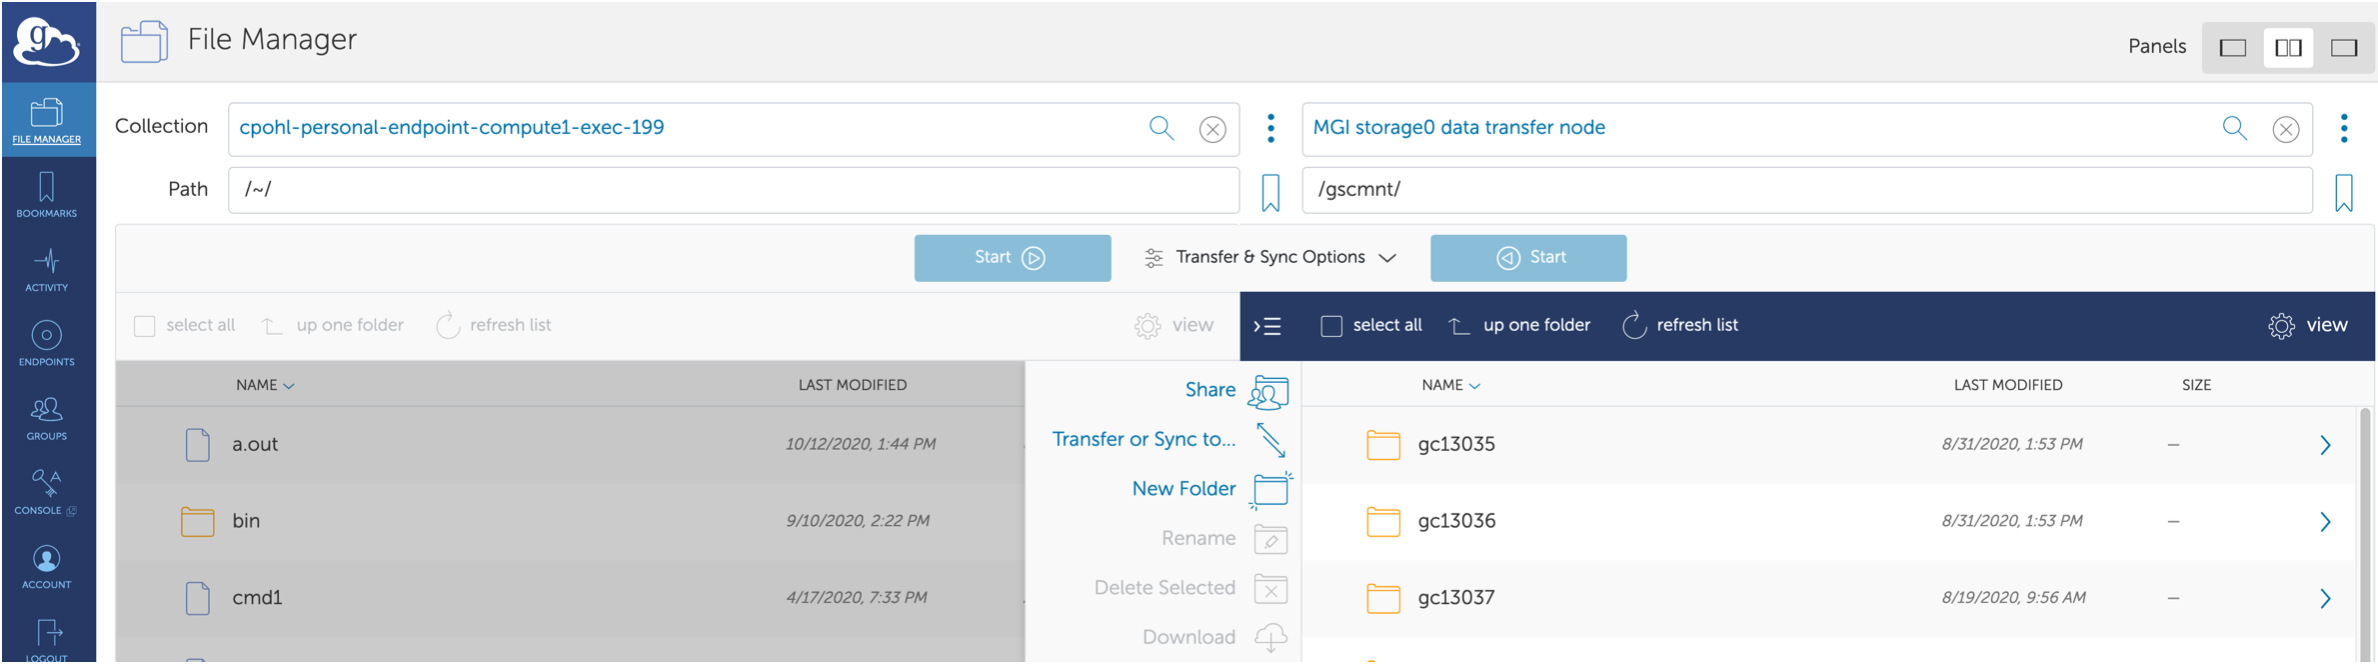
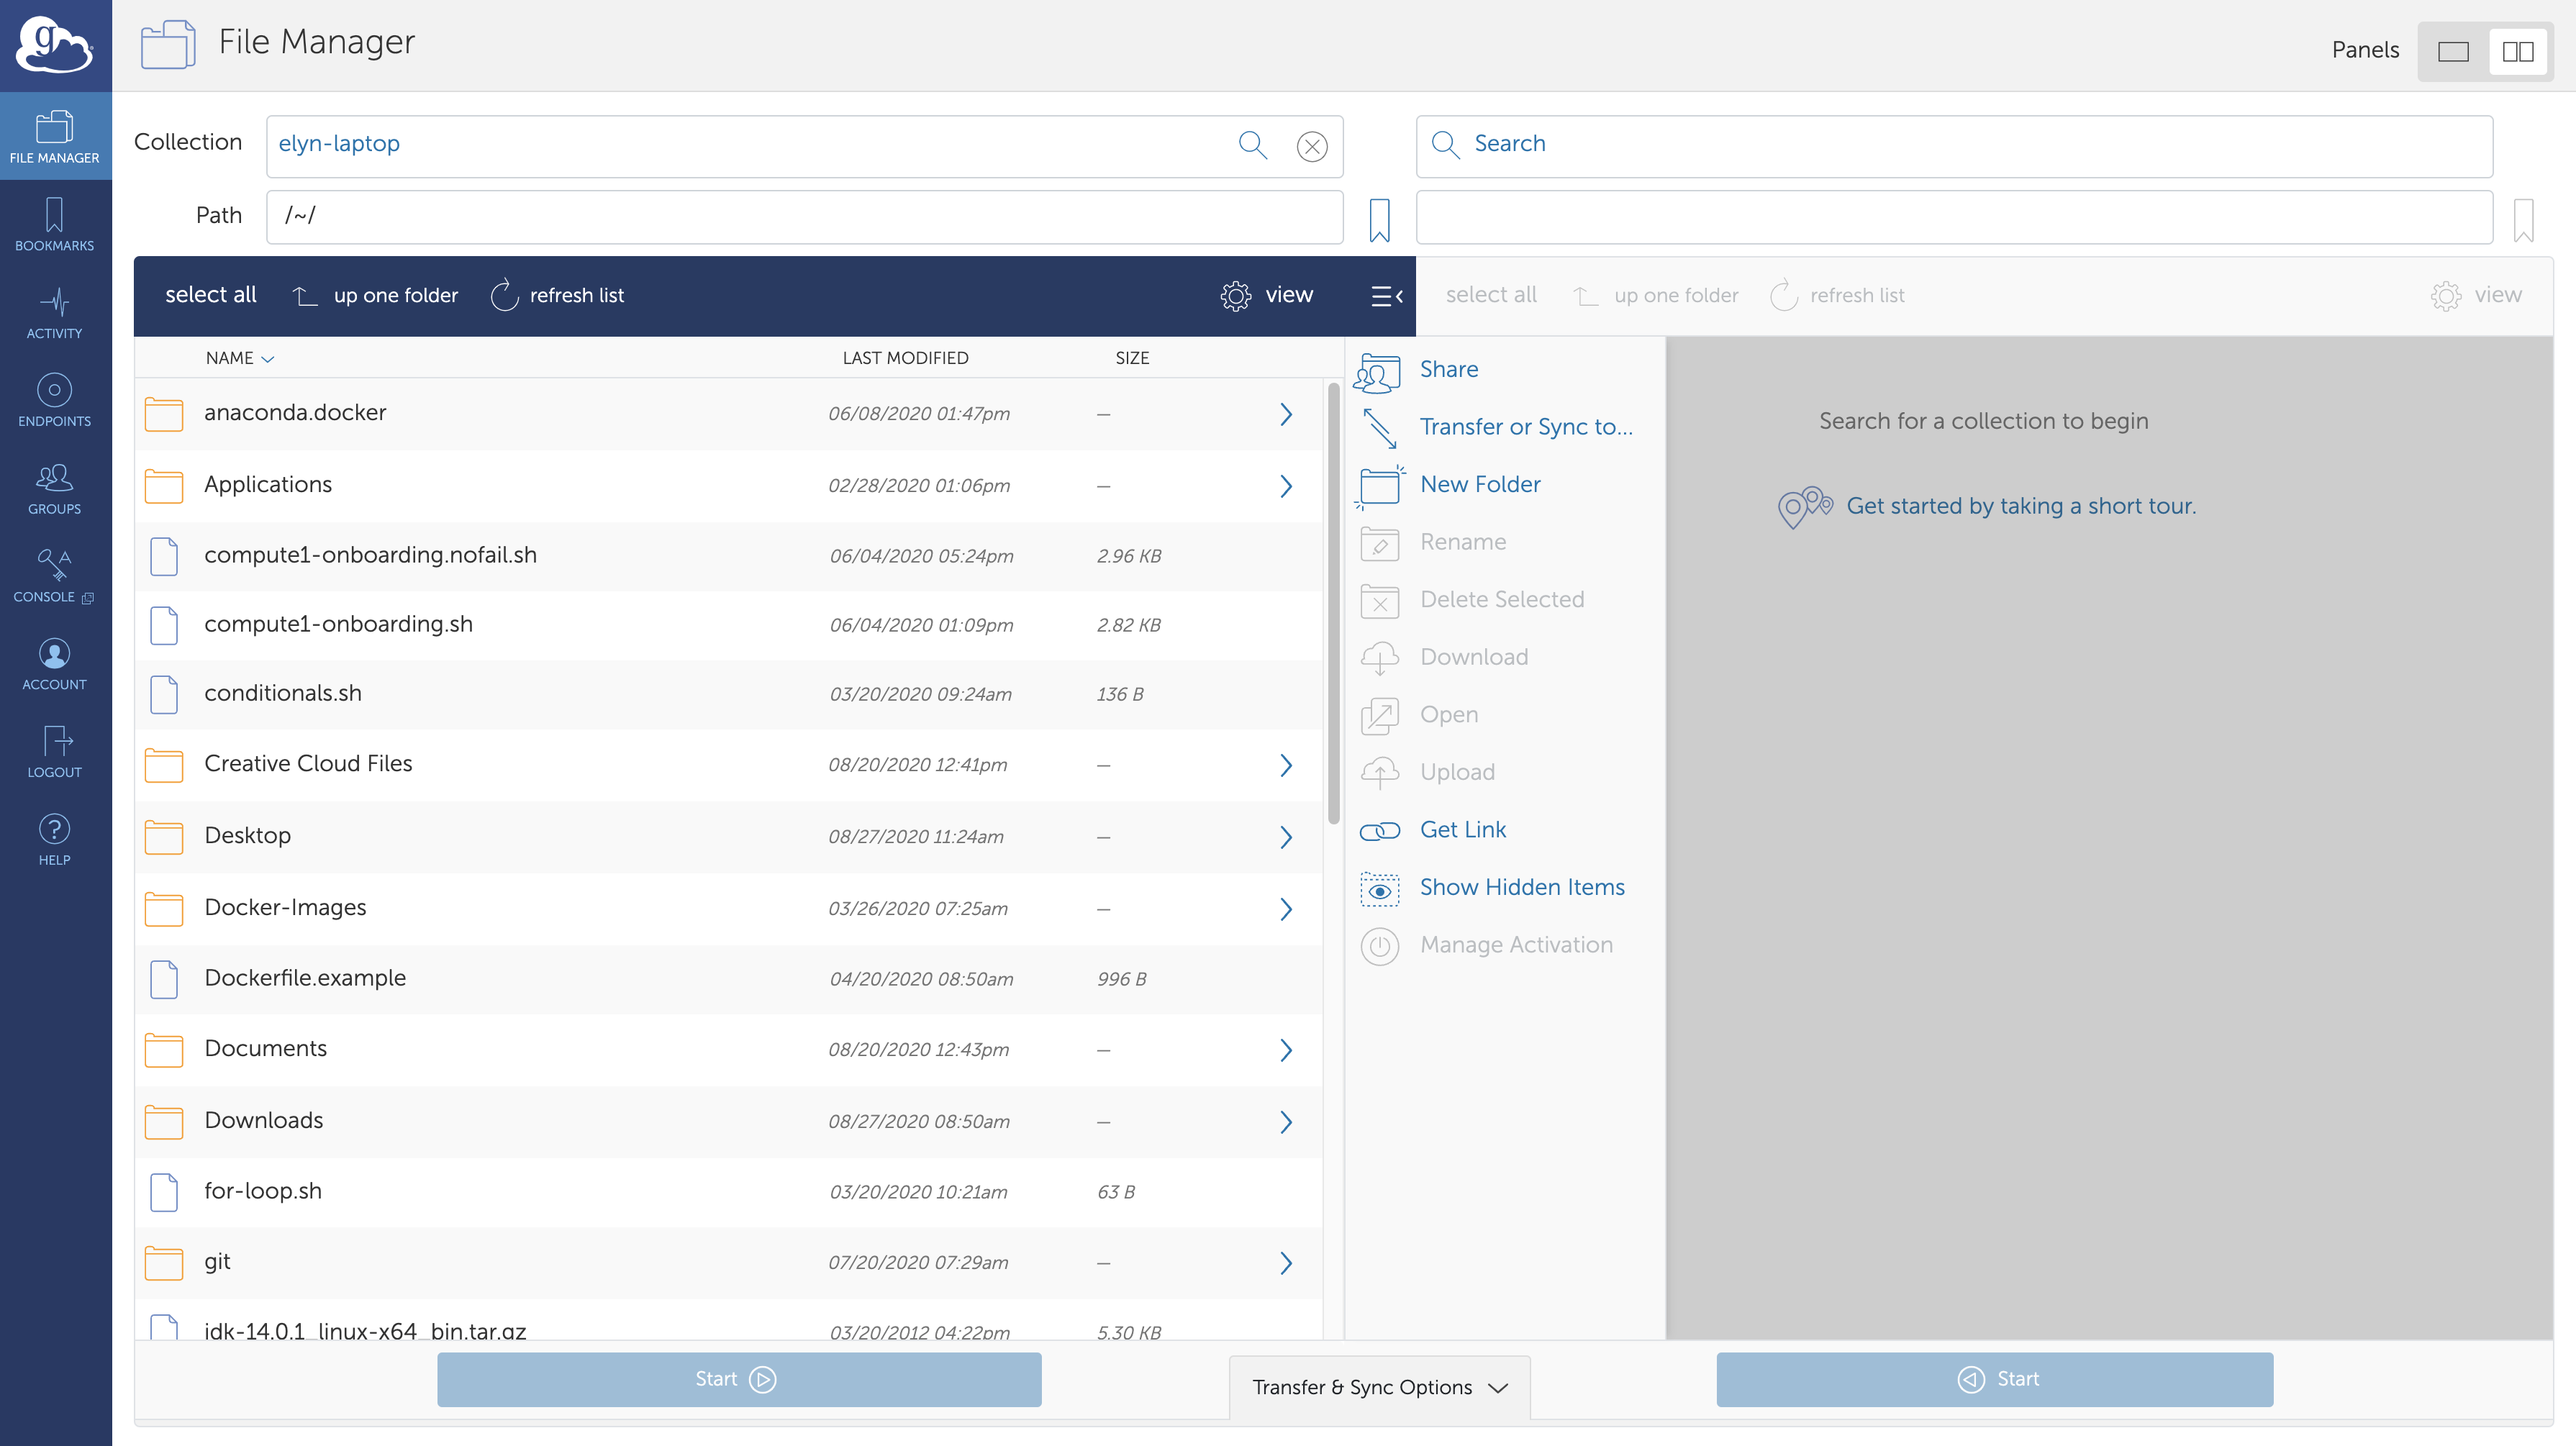
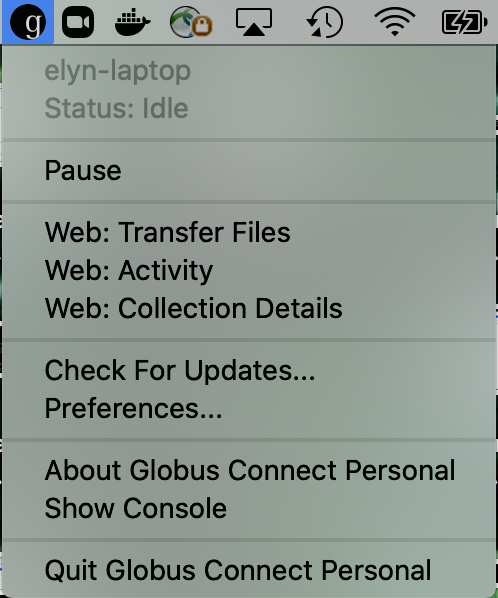
You should now be able to access your personal collection by selecting it as an endpoint in the Globus app.
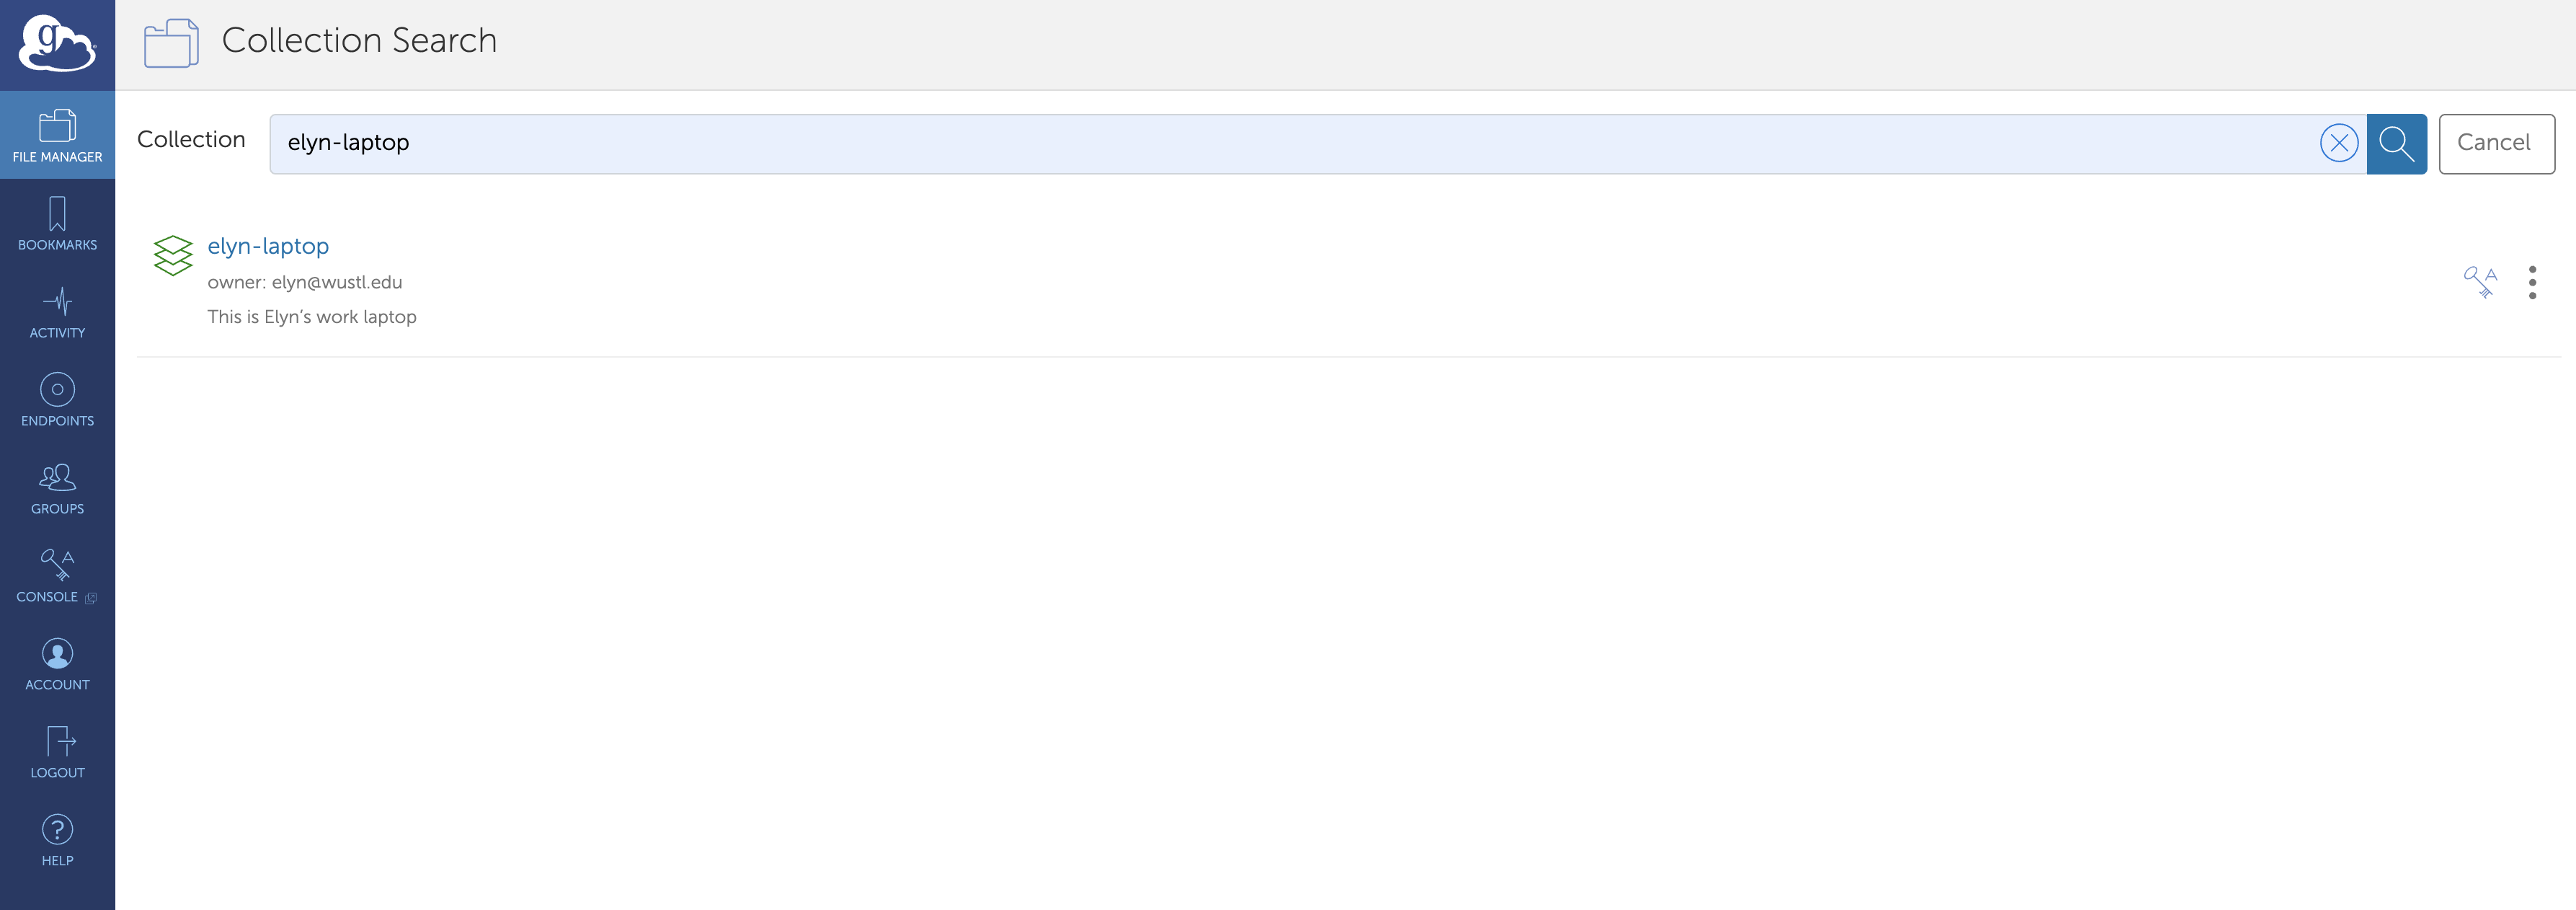
Once you select the collection, you will be able to see the folders/directories that are located in the default location.
Settings and Adding Additional Locations
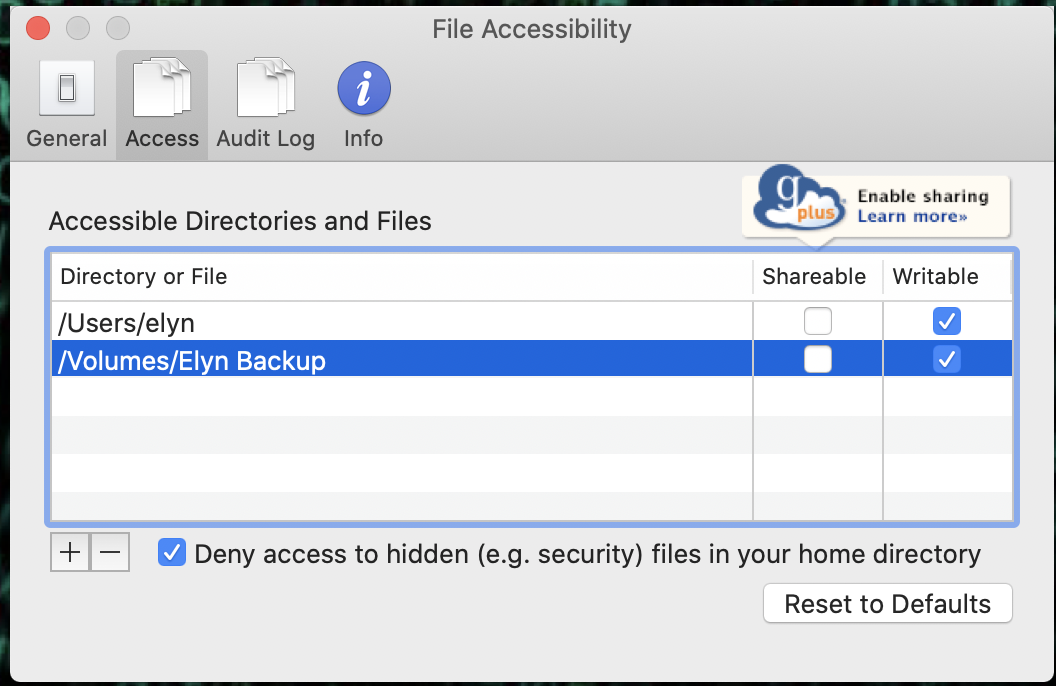
If you want to change which directories Globus has access to or add further directories or external storage, you can do so through the settings/preferences.
Once in the settings, under Access you can add and remove directories.
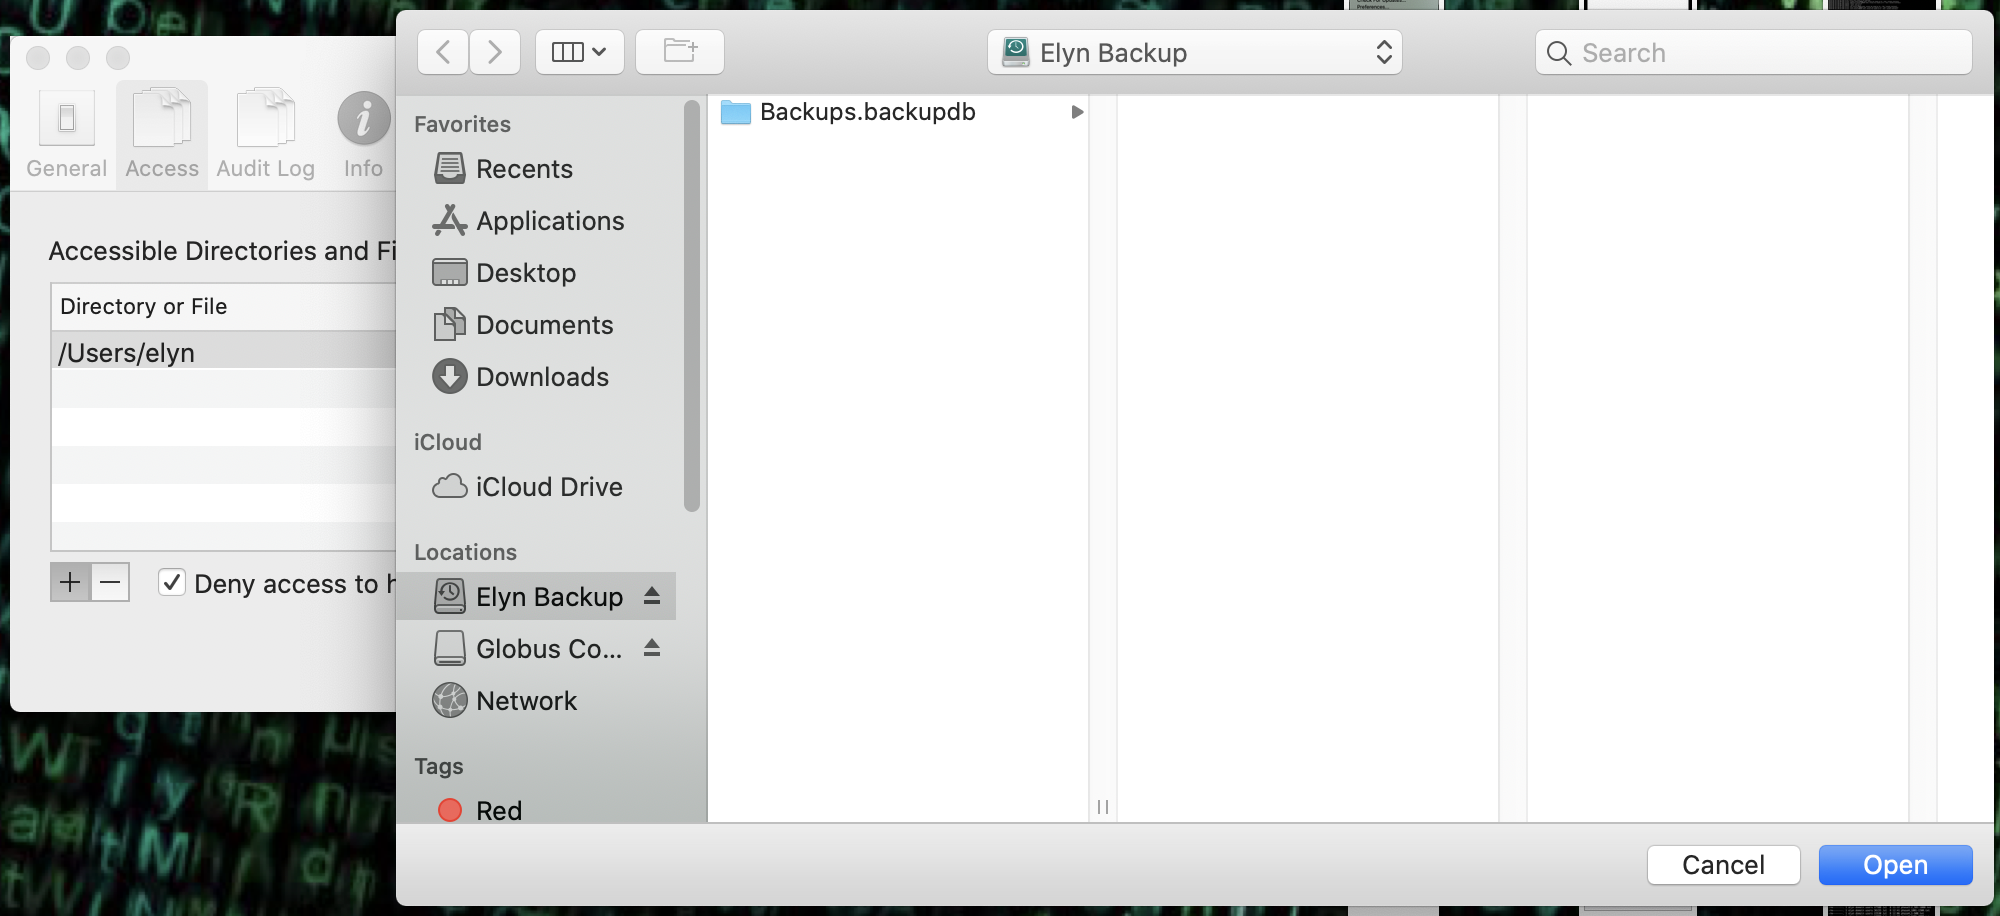
Here you can see an external hard drive being added to the colleciton.
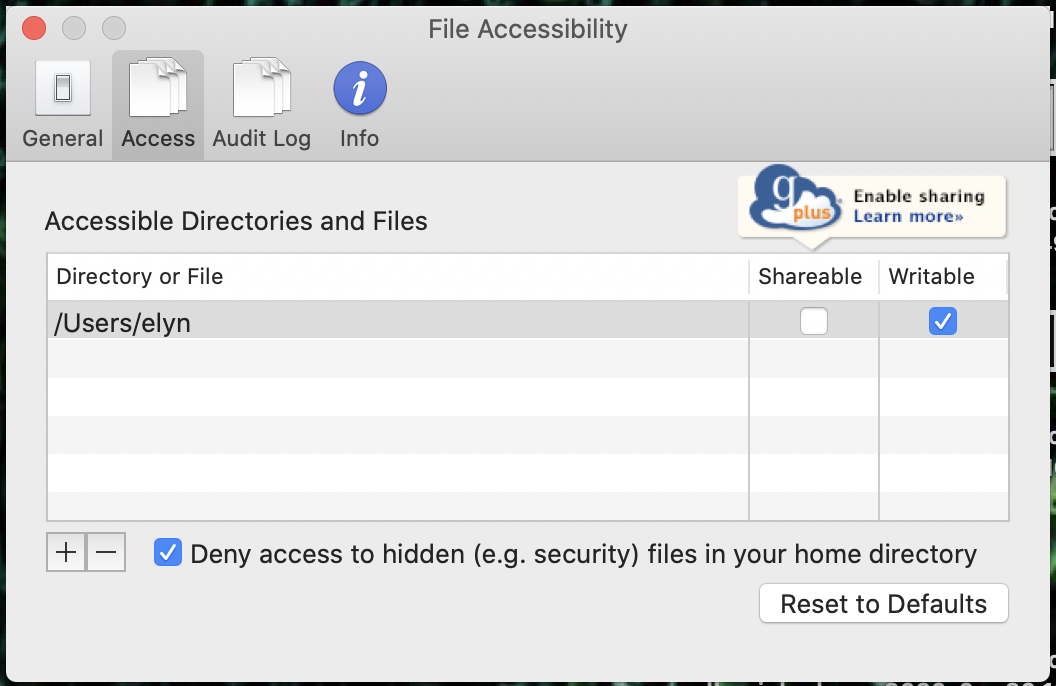
Once you have selected the new directory, you can make it writable, otherwise it is simply readable, which means you can’t transfer files to it, only from it.
Once you’ve added the directory through the settings, you can access it via the Globus app.
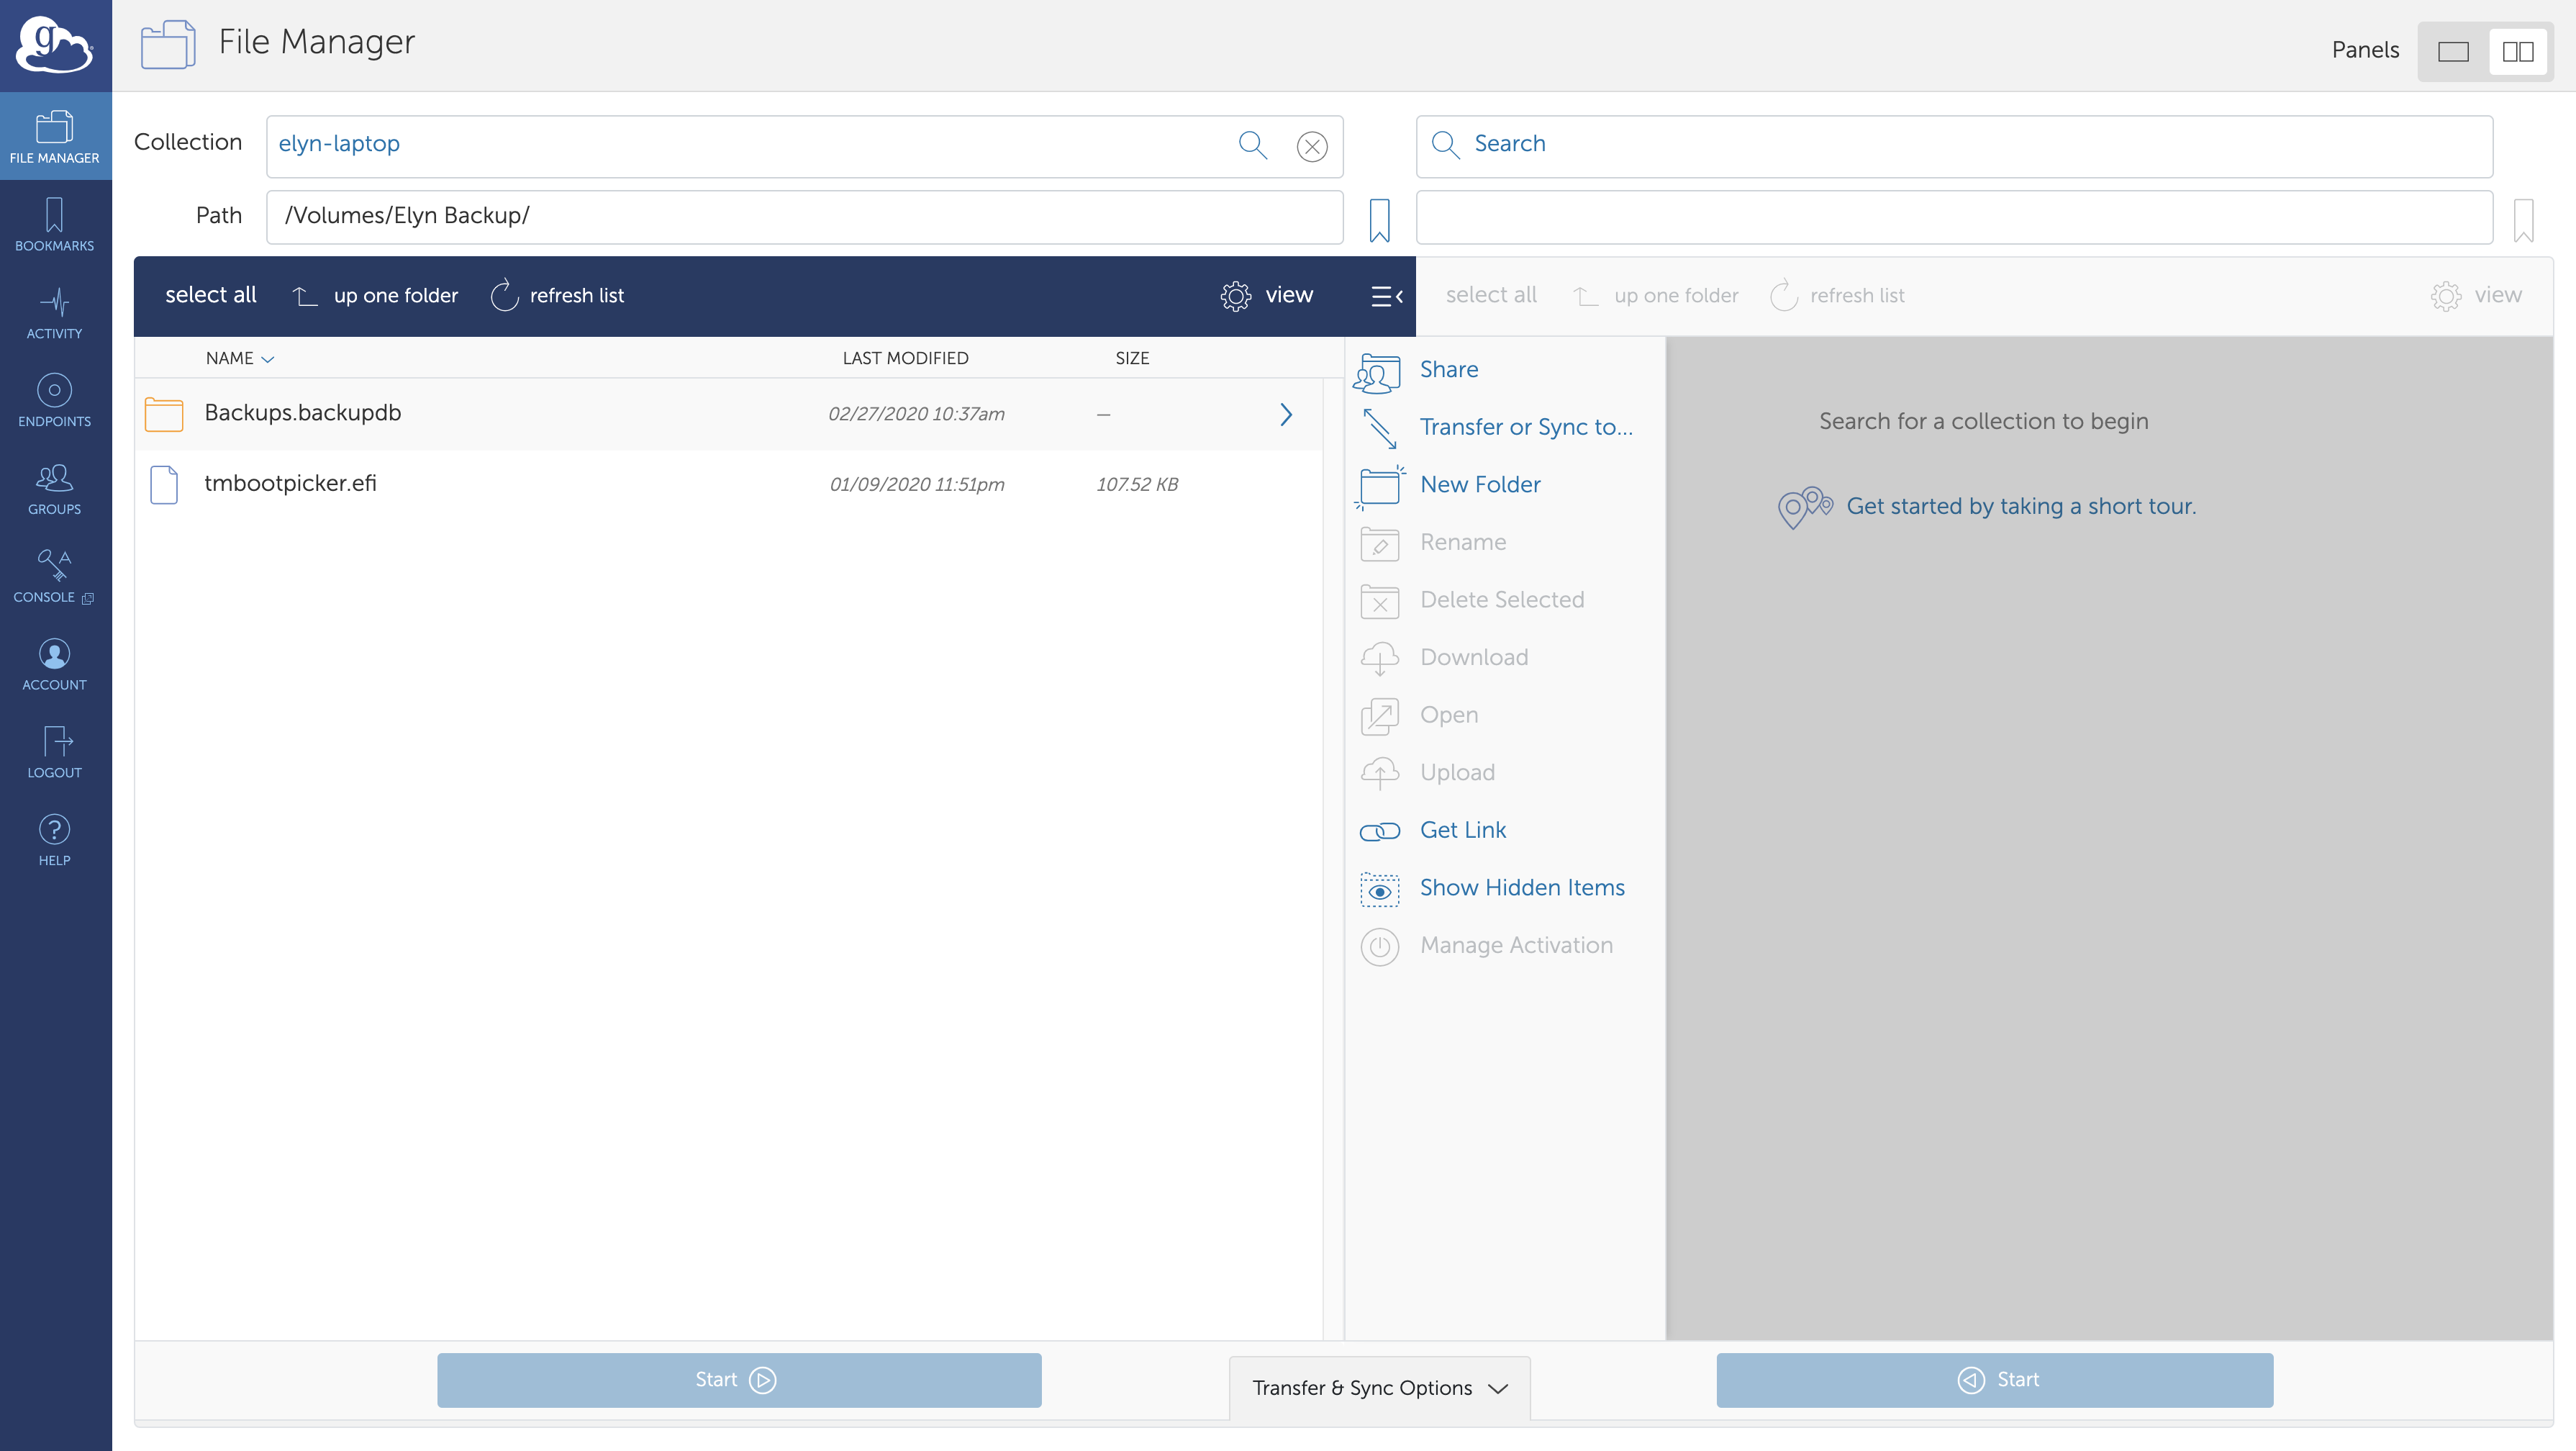
You can use this feature to have Globus Connect Personal only access the files you want it to and add external storage to the collection.
Setting up Connect Personal on the Compute Platform
Globus Connect Personal can be set up via the command line.
Note
This method is designed for use to transfer data to local or scratch storage only, NOT storageN. Please use the already available Globus DTNs to transfer data to storageN.
Setting up on Compute1
bsub command
Submit job to run container with the following command.
Add any paths you want to access from the Globus client (local or scratch) and your HOME directory is required.
PATH=/opt/globus/globusconnectpersonal-3.1.4:$PATH LSF_DOCKER_VOLUMES="$HOME:$HOME /path/to/directory:/path/to/directory" bsub -q general-interactive -Is -a 'docker(gcr.io/ris-registry-shared/globus)' /bin/bash
/path/to/directoryin the command is the path of the local or scratch directory that you wish to enable as an endpoint in Globus.
Note
If you are a member of more than one compute group, you will be prompted to specify an LSF User Group with -G group_name or by setting the LSB_SUB_USER_GROUP variable.
Set Up
While inside the container, setup can be started with the following command.
globusconnectpersonal -setup
This will start a guide that goes through the steps necessary for setting up Globus Connect Personal and will look like the following.
Globus Connect Personal needs you to log in to continue the setup process.
We will display a login URL. Copy it into any browser and log in to get a
single-use code. Return to this command with the code to continue setup.
Login here:
-----
https://auth.globus.org/v2/oauth2/authorize?client_id=4d6448ae-8ca0-40e4-aaa9-
8ec8e8320621&redirect_uri=https%3A%2F%2Fauth.globus.org%2Fv2%2Fweb%2Fauth-code&scope=openid+profile+urn%
3Aglobus%3Aauth%3Ascope%3Aauth.globus.org%3Aview_identity_set+urn%3Aglobus%3Aauth%3Ascope%3Atransfer.api.
globus.org%
3Agcp_install&state=_default&response_type=code&code_challenge=Cqt4heM3uz7n_QRRbNjtXheBckZVf9UESZREwjc4xVA&co
de_challenge_method=S256&access_type=online&prefill_named_grant=compute1-exec-N.ris.wustl.edu
-----
Enter the auth code: hIdkJ4jptWByPKvlbKUNvNFzcy4DiL
== starting endpoint setup
Input a value for the Endpoint Name: username-personal-endpoint-compute1-exec-N
registered new endpoint, id: ace0c3fc-a3b7-11eb-92d2-6b08dd67ff48
setup completed successfully
The compute1-exec-N that is used comes from the node the job lands on.
This is important to remember for the next step and any future use of Globus through this method.
Running on Compute1
After the initial setup, the following command can be used to start up the client at any time.
PATH=/opt/globus/globusconnectpersonal-3.1.4:$PATH LSF_DOCKER_VOLUMES="$HOME:$HOME /path/to/directory:/path/to/directory" bsub -q general -m compute1-exec-N -a 'docker(gcr.io/ris-registry-shared/globus)' globusconnectpersonal -start -restrict-paths rw~/,rw/path/to/directory,/tmp
/path/to/directory is the same directory and path that was enabled in the setup part of the process.
compute1-exec-N needs to be replaced with the same node name that the setup step ran on.
N represents a number that is the number of one of the nodes.
Note
If you are a member of more than one compute group, you will be prompted to specify an LSF User Group with -G group_name or by setting the LSB_SUB_USER_GROUP variable.
The endpoint that is the local or scratch directory can be now accessed via the web app and used for data transfer.