Local VNC Viewer
This guide provides a step-by-step instructions on how you can connect to RIS compute serivces through local PC/Laptop through GUI.
This guide details step-by-step instructions on connecting to RIS compute services via VNC GUI through a local Linux/MacOS computer. Windows platform is currently not supported.
Pre-requisites
Connecting to WashU Network
If you are off campus, you will need to use a VPN to access compute1.
Instructions for accessing the WashU VPNs can be found here.
If you run into issues using the VPN, you will need to follow the directions in the previous link to contact WashU IT proper.
Compute/Storage Allocation
User must have a compute/storage allocation.
If you do not have one, You can request here..
Install TurboVNC Viewer
Install TurboVNC Viewer on the local computer
On MacOS, run:
brew install --cask turbovnc-viewer
Validate that installation is successful. There should be an application under Finder -> Applications.
Install expect, on local computer run:
brew install expect
Validate that installation is successful.; run:
which expect
/usr/bin/expect ## output
(Optional) Add vncviewer in the PATH variable, Open Terminal then run:
echo 'export PATH="/opt/TurboVNC/bin:$PATH"' >> ~/.zshrc

source ~/.zshrc
Add SSH Private-Public Key Pair
If you do not have SSH private-public key pair already setup. Please refer our guide here
Connecting through NoVNC
User should be either connected to campus network or WUSTL VPN.
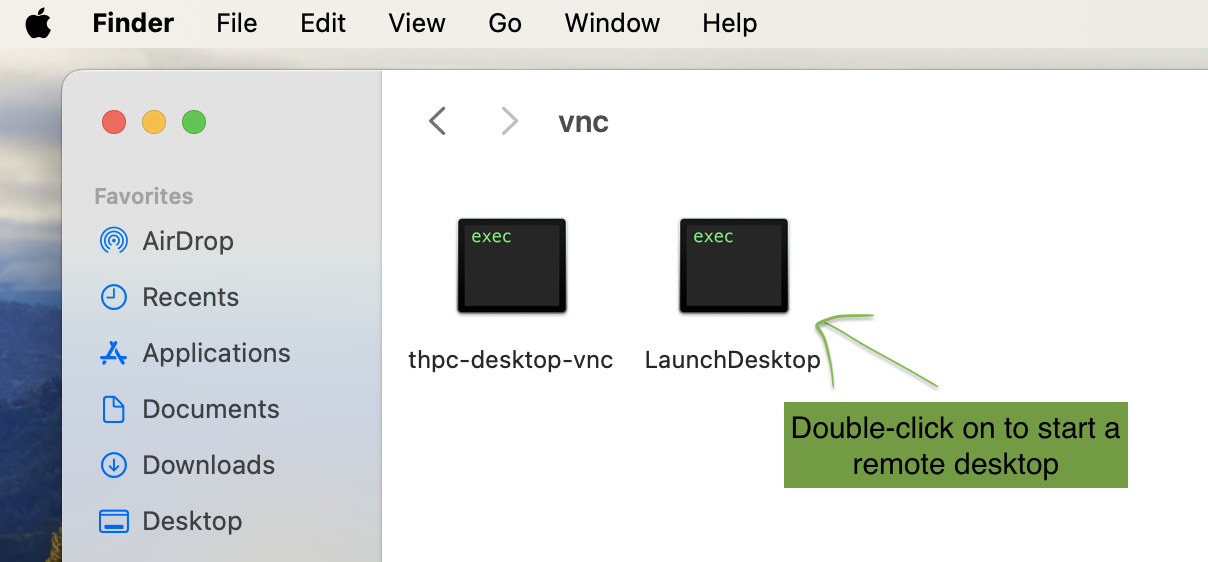
Download LaunchDesktop.zip to a desired location, preferably, on the Desktop. (note: WUSTL login required)
Unzip LaunchDesktop.zip or just double-click on the zip file.
This will output an executable file LaunchDesktop.
Now open the LaunchDesktop file with any text editor and enter your wustl key in the first line as below example:
# Set a WUSTL key
set WUSTLKEY "WUSTL_KEY"
Double-click the executable. It will open a terminal session, connect to RIS platform, submits a job and output a command to connect VNC viewer. (Refer example screenshot below)
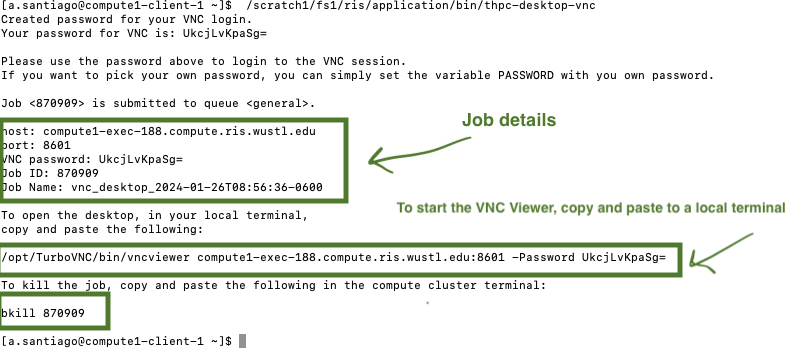
Now, copy the command that starts with /opt/TurboVNC/… in another instance of terminal and run it.

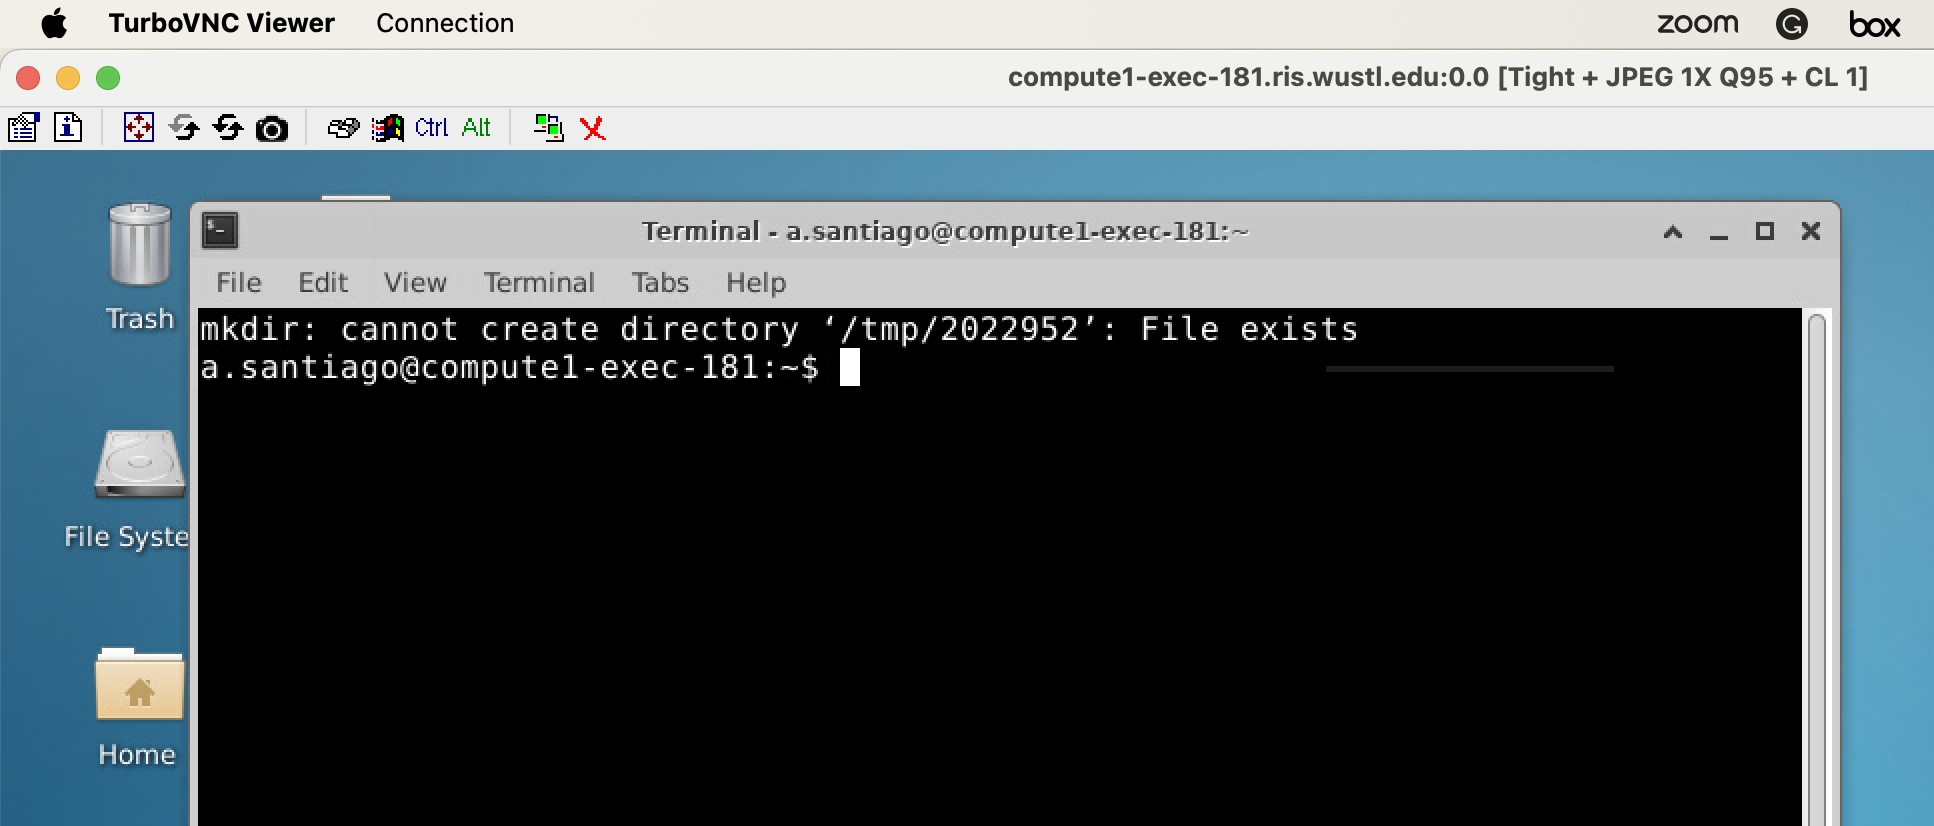
You shall be able to now access desktop GUI on the compute node.
Compute Resources
See the RIS Service Desk for additional assistance.