Docker Basics: Building, Tagging, & Pushing A Custom Docker Image
Note
Connecting to get command line access: ssh wustlkey@compute1-client-1.ris.wustl.edu
Queue to use: workshop, workshop-interactive
Group to use: compute-workshop (if part of multiple groups)
In this tutorial we’re going to create a custom docker container with Python3, R, and Git
Prerequisites
A willingness to learn
Docker Hub Account (Sign Up Page)
Docker Desktop (OSX or Win 10 Pro) or Docker installed on a Linux Distribution
An Editor or IDE of your choice (this demo uses Visual Studio Code with the Docker Extension).
Workshop Video
Step By Step Instructions
- CHOOSE A BASE IMAGE
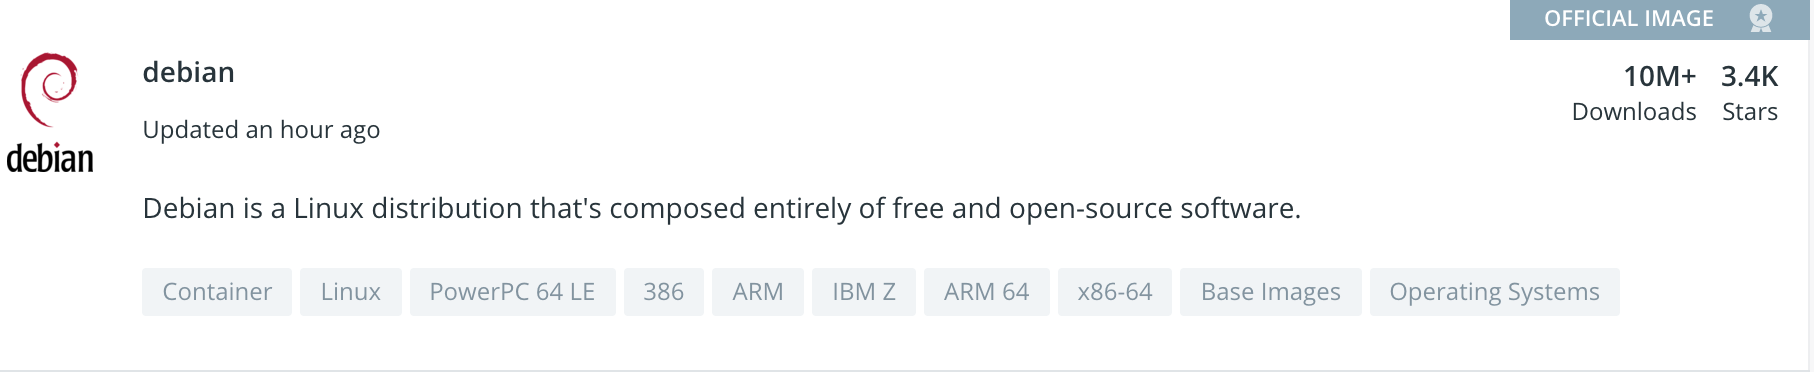
Docker Best Practices suggests using an official image and using the smallest image that meets your needs. We’re choosing Debian in this example because it’s one of the smaller containers that already contains the libraries R and Python rely on.
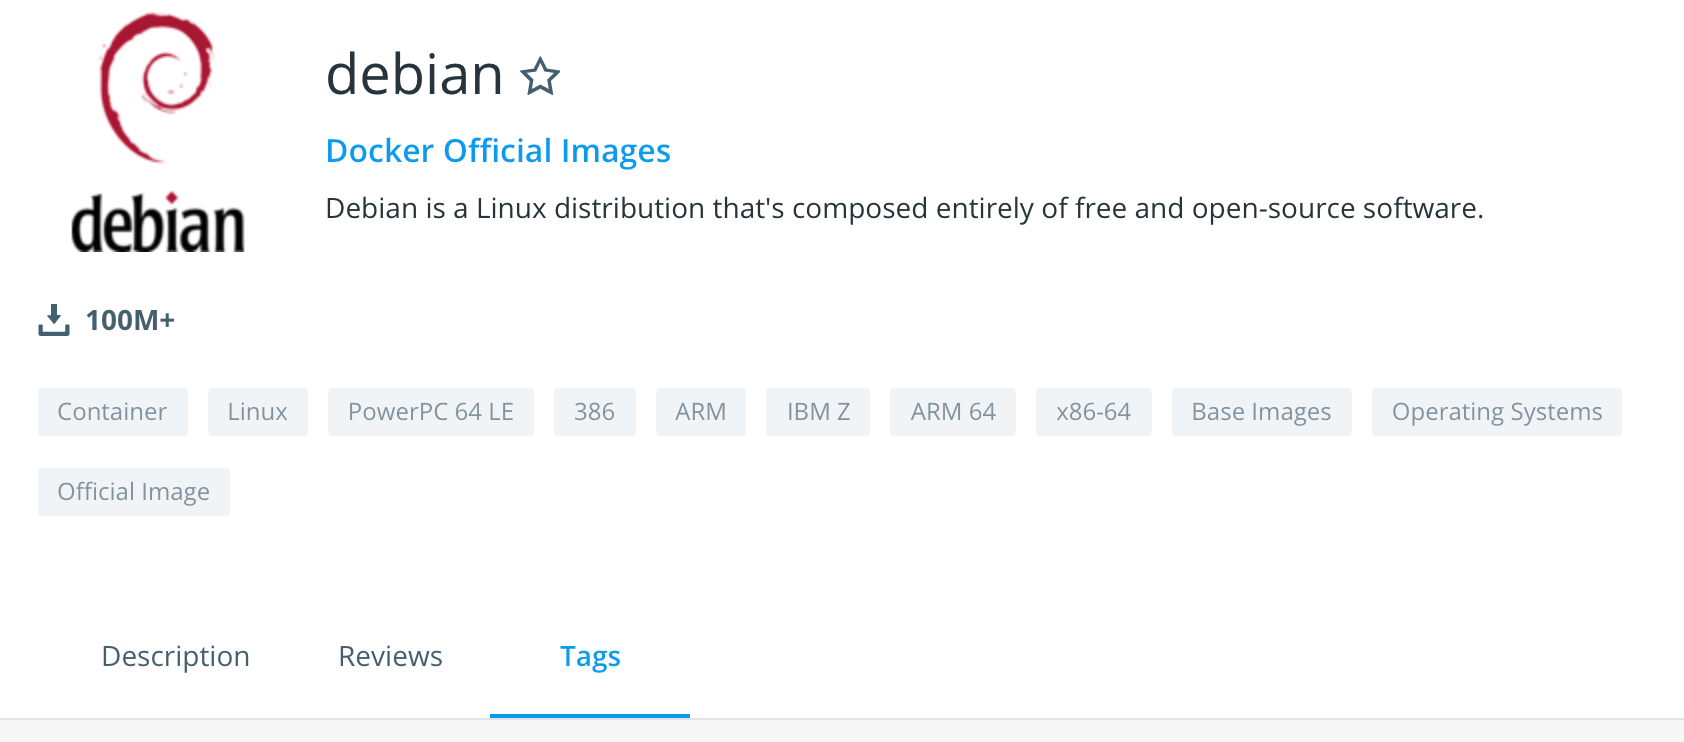
Docker hub makes it easy to search for images. You’ll see the Debian has an official image. Select this image.
You can select the tags tab to see all available tags.
I chose the stretch-slim tag. Stretch was the name for the most recent version of Debian Linux when this was written. Slim is used to denote that it’s a small image designed for containers.

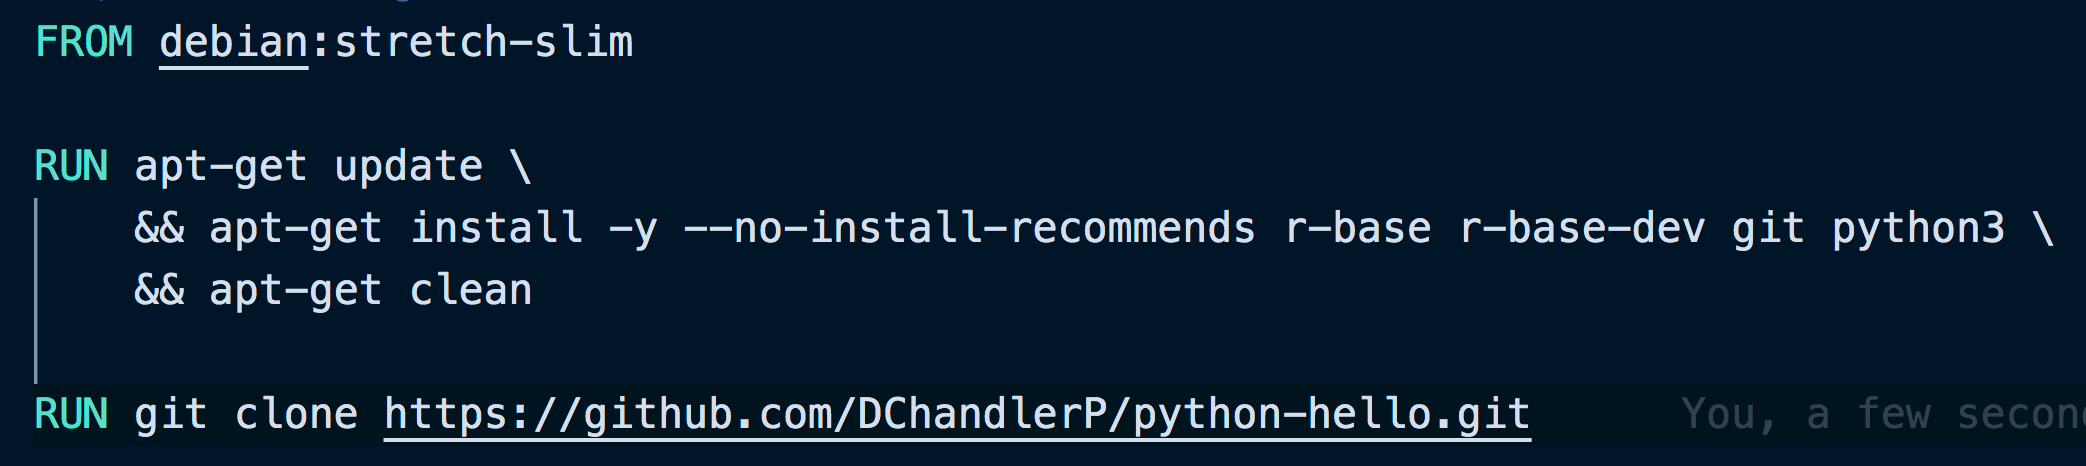
In your Dockerfile, write
FROM debian:stretch-slim.FROMis Docker’s way of specifying that this is the base image layer. After that you’re adding the image namedebianwith the version tagstretch-slim.
- INSTALLING SOFTWARE & DEPENDENCIES WITH
apt-get
Right now, we just have a containerized Linux distribution. We need to install R, Python, and Git. We can do this all using the apt package manager with the command apt-get.
RUN apt-get update \
&& apt-get install -y --no-install-recommends r-base r-base-dev git python3 \
&& apt-get clean
RUNtells Docker to RUN the commands that follow.
apt-get updatetells apt-get to get the most recent sources for packages you’ll install.apt-get installis the command that proceeds the list of applications you wish to install.A
-yflag is required. Without it apt-get won’t know that yes, you really want to install the software and dependencies specified and the build will fail.The
-- no-install-recommendsflag is simply to keep the image smaller. You could omit it, but you’ll find the resulting image will be larger.
r-baseandr-base-devare packages needed to install R.gitis the package for downloading source code from a git repository.Python3is the package for installing Python 3. If you wanted a version of Python2, you’d get 2.7 if you left off the 3.
apt-get cleanremoves all packages from the cache to save space in the final image.Note
Docker Best Practices points out that having all these commands on the same line is is to prevent caching. If one command in this statement changes, the whole layer is rebuilt. One could have them in individual RUN statements although this is probably better suited for troubleshooting and initial development.
- BRING IN CODE
You’ve now got an image that contains Python, R, and git. But, it has no code to run. There are several ways to bring in code into your container. The first we’ll cover is using git clone. Fully covering everything git can do is outside the scope of this tutorial, but this page has great resources for learning more about git.
- Git Clone
Bringing in code from git is as simple as running appending the url of the repo you want to “git clone’. Here I’ve got some code that will print
helloin Python when we run our container.git clone https://github.com/DChandlerP/python-hello.git
- COPY
You could use Docker COPY for code that’s on the same machine as where you’re building your image. So if I put
print("Hello1")inhello.pyin the same directory as my Dockerfile I could add it to the root folder in the container just like this:COPY hello.py /
For this demonstration, let’s stick with using git clone. My Dockerfile should look like this:
- DOCKER BUILD & TAG
Docker build has many options but it’s often faster to just build and tag an image at the same time although this can be done separately if you prefer. The syntax to build and tag an image is is as follows:
docker build -t your_dockerhub_username/image_name:tag .
The
.indicates that you want to build in the current working directory. The-tflag is to indicate that you want to tag the image at the same time you do a build. The following is a concrete example using the author’s Docker hub username run in the terminal:
Building was fast in that gif because all the layers were cached, if you haven’t built a dockerfile before expect this to take a few minutes. It gave it the tag “latest” by default since I didn’t provide a tag explicitly.
- DOCKER RUN
It’s possible to skip this step, but it’s a good idea to run an image locally before running it on LSF using the Docker wrapper to be sure it works in Docker. The syntax will generally look something like this:
docker run -it your_dockerhub_username/image_name:optional_tag command /file_path/file
Or for a concrete example:

- DOCKER PUSH
Currently this image is only on your local machine. You need to push it to Docker hub so that you pull it down and run it on any machine with Docker including our Compute1 cluster.
docker push your_dockerhub_username/image_name:optional_tag
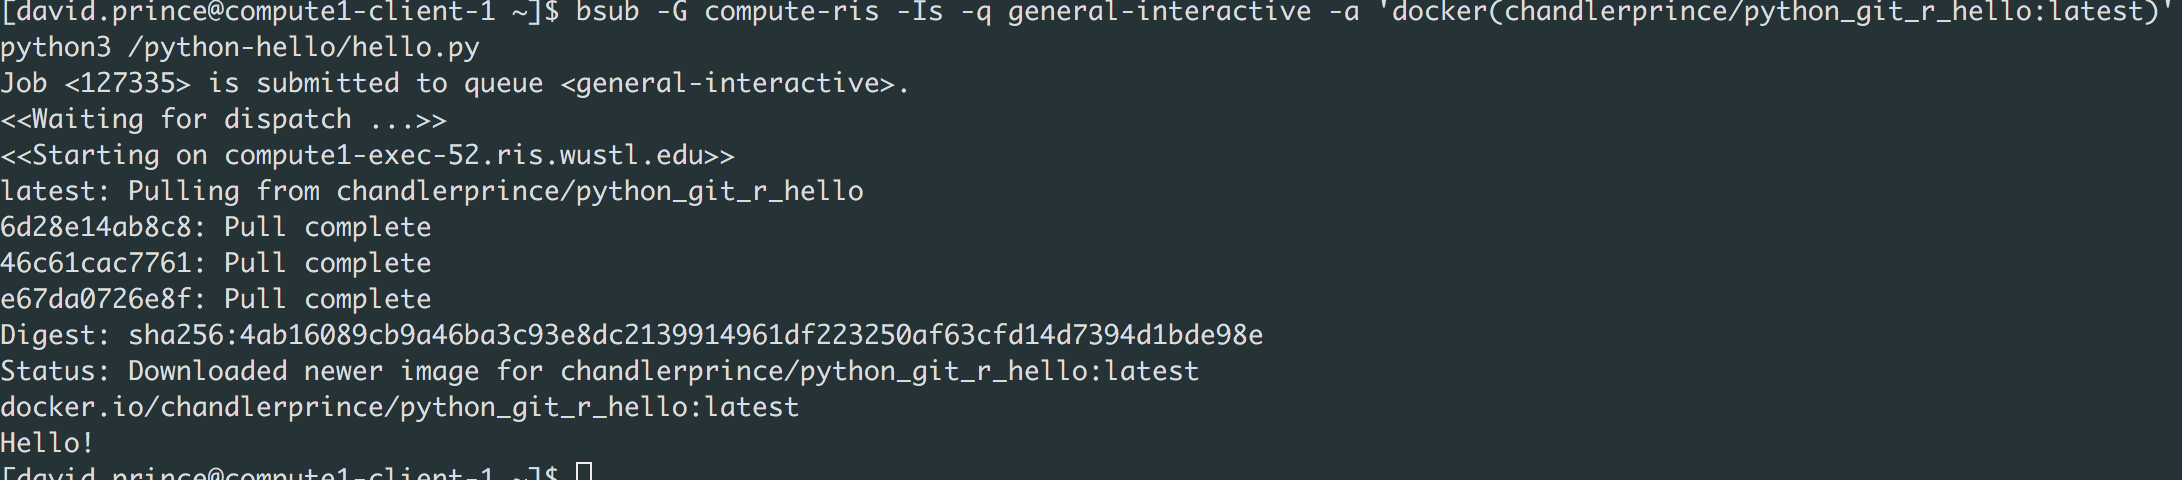
RUNNING A CONTAINER ON COMPUTE1
ssh wustlkey@compute1-client-1.ris.wustl.edubsub -Is -q workshop-interactive -a 'docker(your_dockerhub_username/image_name:optional_tag)' command /file_path/file
You may be required to add
-G group_nameafterbsubif you belong to more than one group.