RIS Docker Workshop
Note
Connecting to get command line access: ssh wustlkey@compute1-client-1.ris.wustl.edu
Queue to use: workshop, workshop-interactive
Group to use: compute-workshop (if part of multiple groups)
Docker Workshop Video
Coming Soon!
What will this documentation provide?
An introduction to using Docker.
An example of utilizing Docker to create images.
Leveraging Docker images to do analysis on the RIS Compute Platform.
What is needed?
Access to the RIS Compute Platform.
Knowledge of how to submit jobs on the RIS Compute Platform.
Docker installed on your local computer or ability to utilize Docker development on compute, documentation found here.
An account on Docker Hub.
What is Docker?
The technical definition of Docker is an open-source project that automates the deployment of software applications inside containers by providing an additional layer of abstraction and automation of OS-level virtualization on Linux.
The simpler definition is that Docker is a tool that allows users to deploy applications within a sandbox (containers) to run on the host operating system (RIS Compute Platform).
This method allows for all dependencies and environments to be able to remain unique to the software without interacting or interfering with other software’s environments.
What is a container?
A container is a virtual machine (VM), that runs software applications.
This means that a container is virtual computer that has an operating system (OS) and whatever software users installed.
Docker has created a syntax language for creating these virtual computers which get referred to then as Docker containers.
You can find more information about why RIS chose Docker and containers here.
Where can I find Docker?
Creating a Docker Container
1. Decide The Base Container
The first thing you’ll want to when creating a docker container, is decide what type of container you want to start with as the base.
You can start with a base container of just an operating system, like Ubuntu, or you can start with a container that already has software installed.
For our example we are going to start with the
bionicUbuntu image.To do that we need to open up a text editor and create the base of our container.
#Start from bionic base Ubuntu image.
FROM ubuntu:bionic
2. Install Software and Software Dependencies
The next step is to determine what software we’re going to install.
For this example we’ll be installing a software called cowsay.
To do this, we’ll have to use apt-get to install the software.
First we’ll want to do an update using the following command.
RUN apt-get update
Then we need to actually install cowsay. In the install, since we’re installing in a Docker image, we’ll want to use some options to make it cleaner.
The command should look like the following.
RUN apt-get install -y --no-install-recommends cowsay
Once all of the software we want to install has been installed, we will want to run a clean to help keep our image clean and smaller.
RUN apt-get clean
We can run all the apt-get commands with the same RUN command if we wish, by utilizing
&&. Now our Dockerfile should look like the following.
RUN apt-get update \
    && apt-get install -y --no-install-recommends cowsay \
    && apt-get clean
We next will need to add the directory where cowsay is installed to the PATH variable so that we can use the software.
ENV PATH="$PATH:/usr/games"
RUN export PATH
Now our Dockerfile should look like the following.
#Start from bionic base Ubuntu image.
FROM ubuntu:bionic

#Install cowsay
RUN apt-get update \
    && apt-get install -y --no-install-recommends cowsay \
    && apt-get clean

#Add cowsay to the PATH variable
ENV PATH="$PATH:/usr/games"
RUN export PATH
3. Build, Test, and Upload An Image
Once you have your Dockerfile saved within a directory (folder) designed for the image, the next step is to build the container.
The Docker base command to build a Docker container from a Dockerfile, looks like the following.
docker build -t username/container-name:tag directory
In our case, we’ll be using a directory named docker-example and we’ll simply call the container docker-example.
usernamerefers to your Docker Hub username.So, our Docker build command should look like the following.
docker build -t username/docker-example:latest docker-example/
If it builds successfully, you should get output of information about the building process, but at the end you’ll see the following.

Now we can run the Docker image we’ve created.
The base Docker
runcommand is as follows.
docker run username/container-name:tag command
For our example image, this will look like the following.
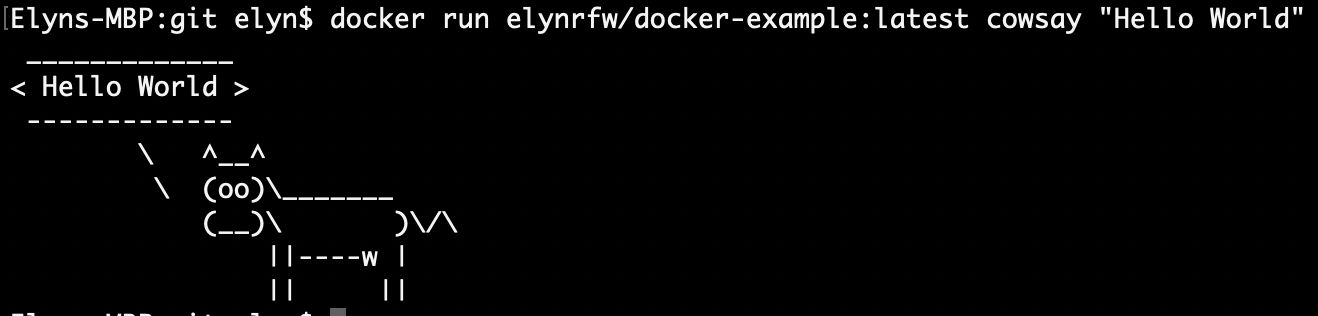
docker run username/docker-example:latest cowsay "Hello World!"
Your output should look like the following.
Once we are certain our Docker image is functioning correctly, we can then push it to Docker Hub.
The basic
pushcommand looks as follows.
docker push username/container-name:tag
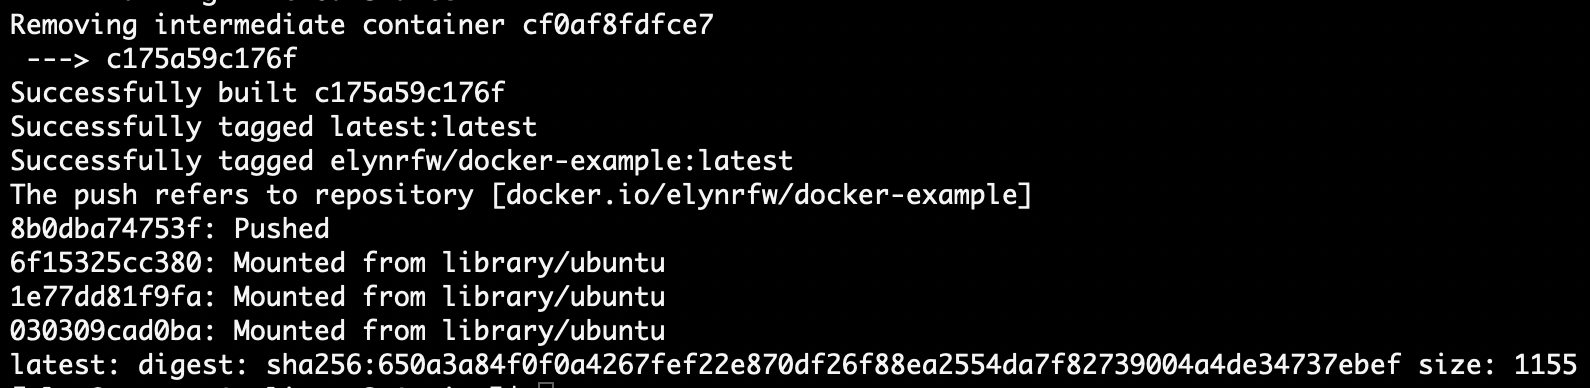
You should see output like the following for the push.

4. Expanding An Image
While it’s fun to tell our cow what to say, what if we had it say randomly generated fortunes?
We can do this by also installing the fortune library into our docker container.
Luckily, once our base image has been designed this requires changing only 1 line in our Dockerfile.
We will add
fortuneandfortunesto ourapt-get installcommand, like the following.
&& apt-get install -y --no-install-recommends cowsay fortune fortunes \
Once that is changed, we can save the Dockerfile and rebuild the image.
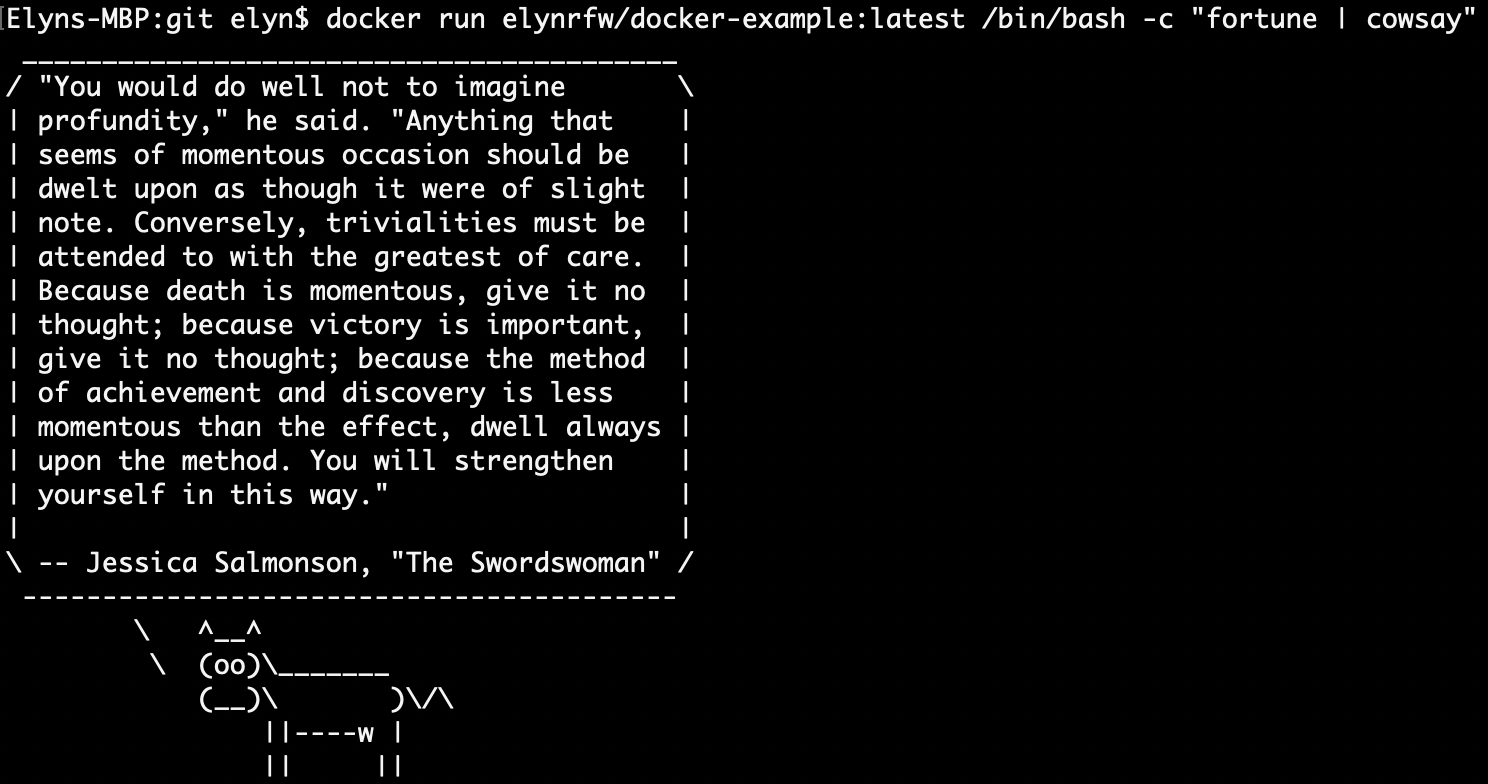
Now we can pipe
fortuneintocowsayand create our fortune telling cow.Unfortunately when running Docker, to be able to use the pipe command we need to add
/bin/bash -cto our command.So our new Docker run command should look like the following.
docker run username/docker-example:latest /bin/bash -c "fortune | cowsay"
If everything is working correctly, we should get output like the following.
You can re-upload your image to Docker Hub so that you have the newest image available for the next part.
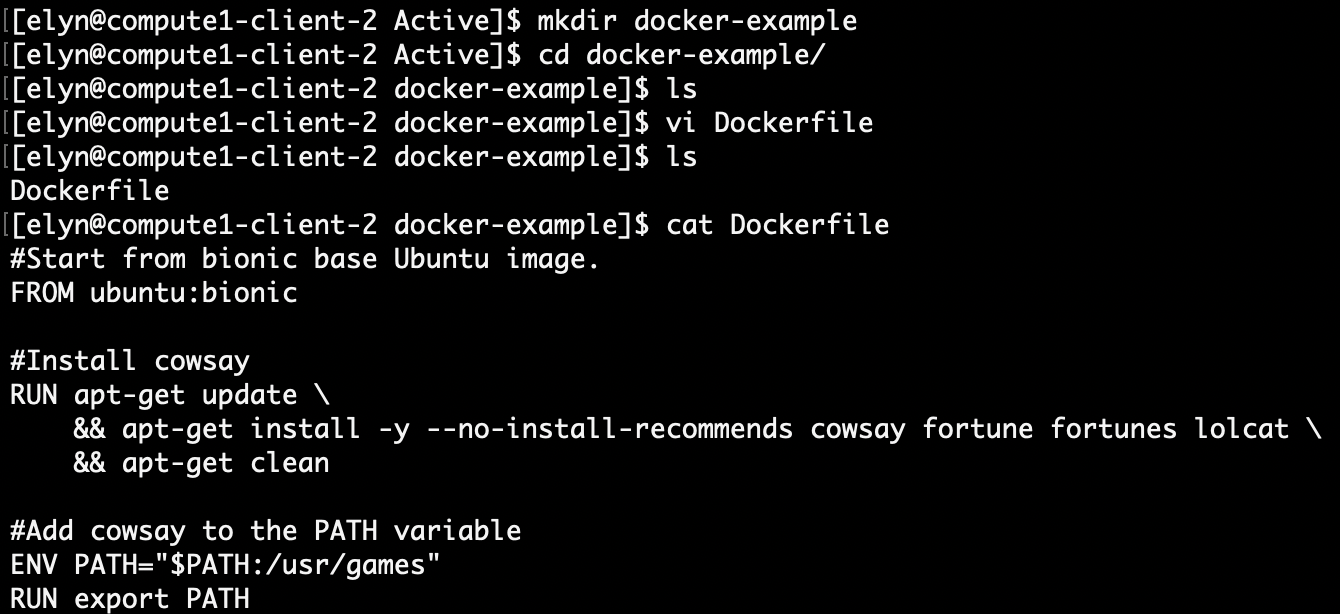
Your complete Dockerfile should now look like the following.
#Start from bionic base Ubuntu image.
FROM ubuntu:bionic

#Install cowsay
RUN apt-get update \
    && apt-get install -y --no-install-recommends cowsay fortune fortunes \
    && apt-get clean

#Add cowsay to the PATH variable
ENV PATH="$PATH:/usr/games"
RUN export PATH
Using a Docker Container on the Compute Platform
Now that we have our docker container created and uploaded to Docker Hub, we can use it to run the software we installed on the RIS Compute Platform.
Note
If you are not knowledgeable on how to use the RIS Compute Platform, you can go over the following documentation.
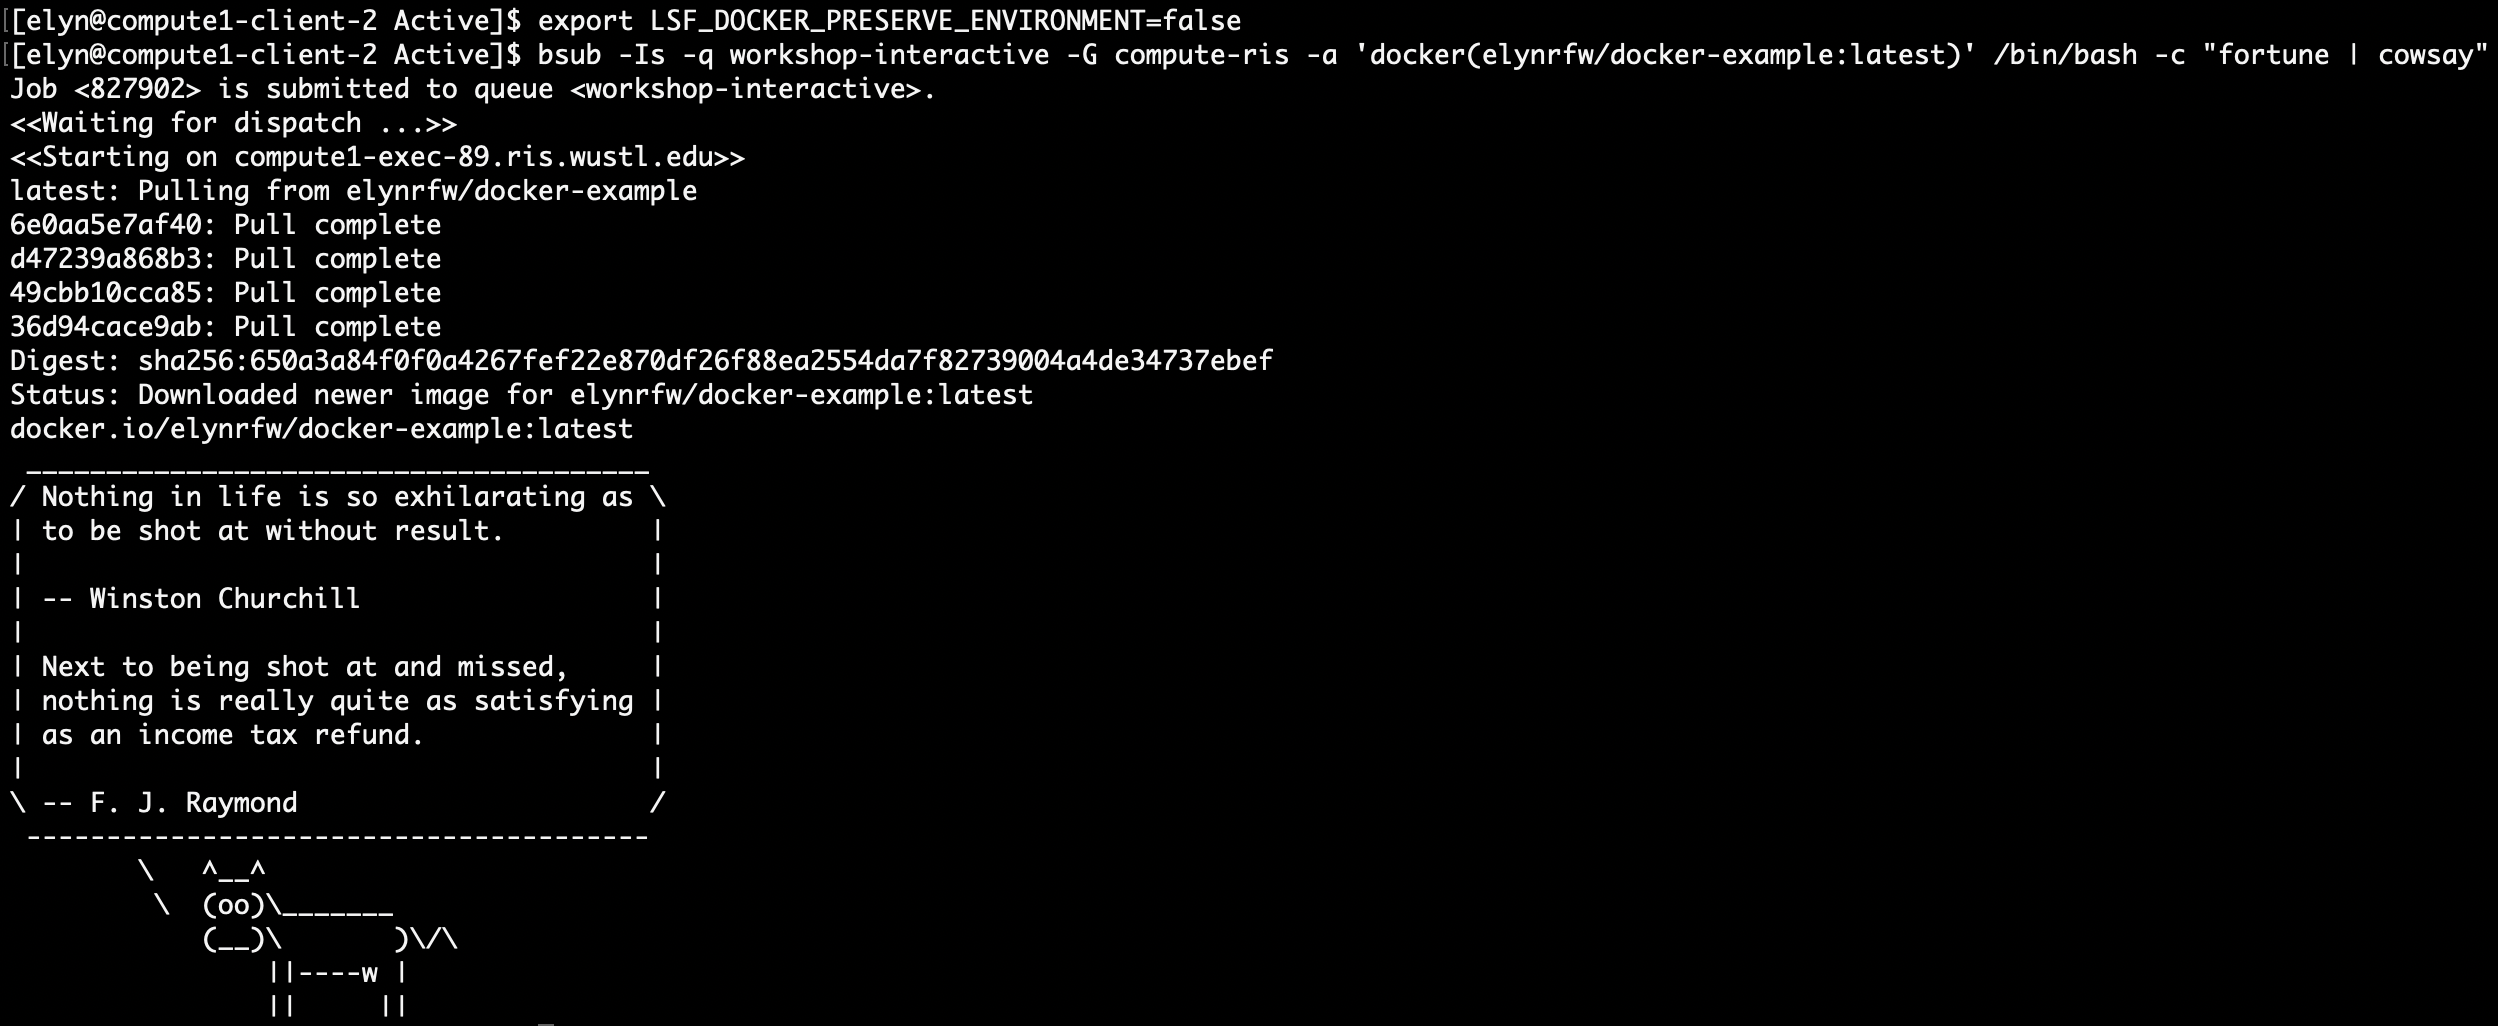
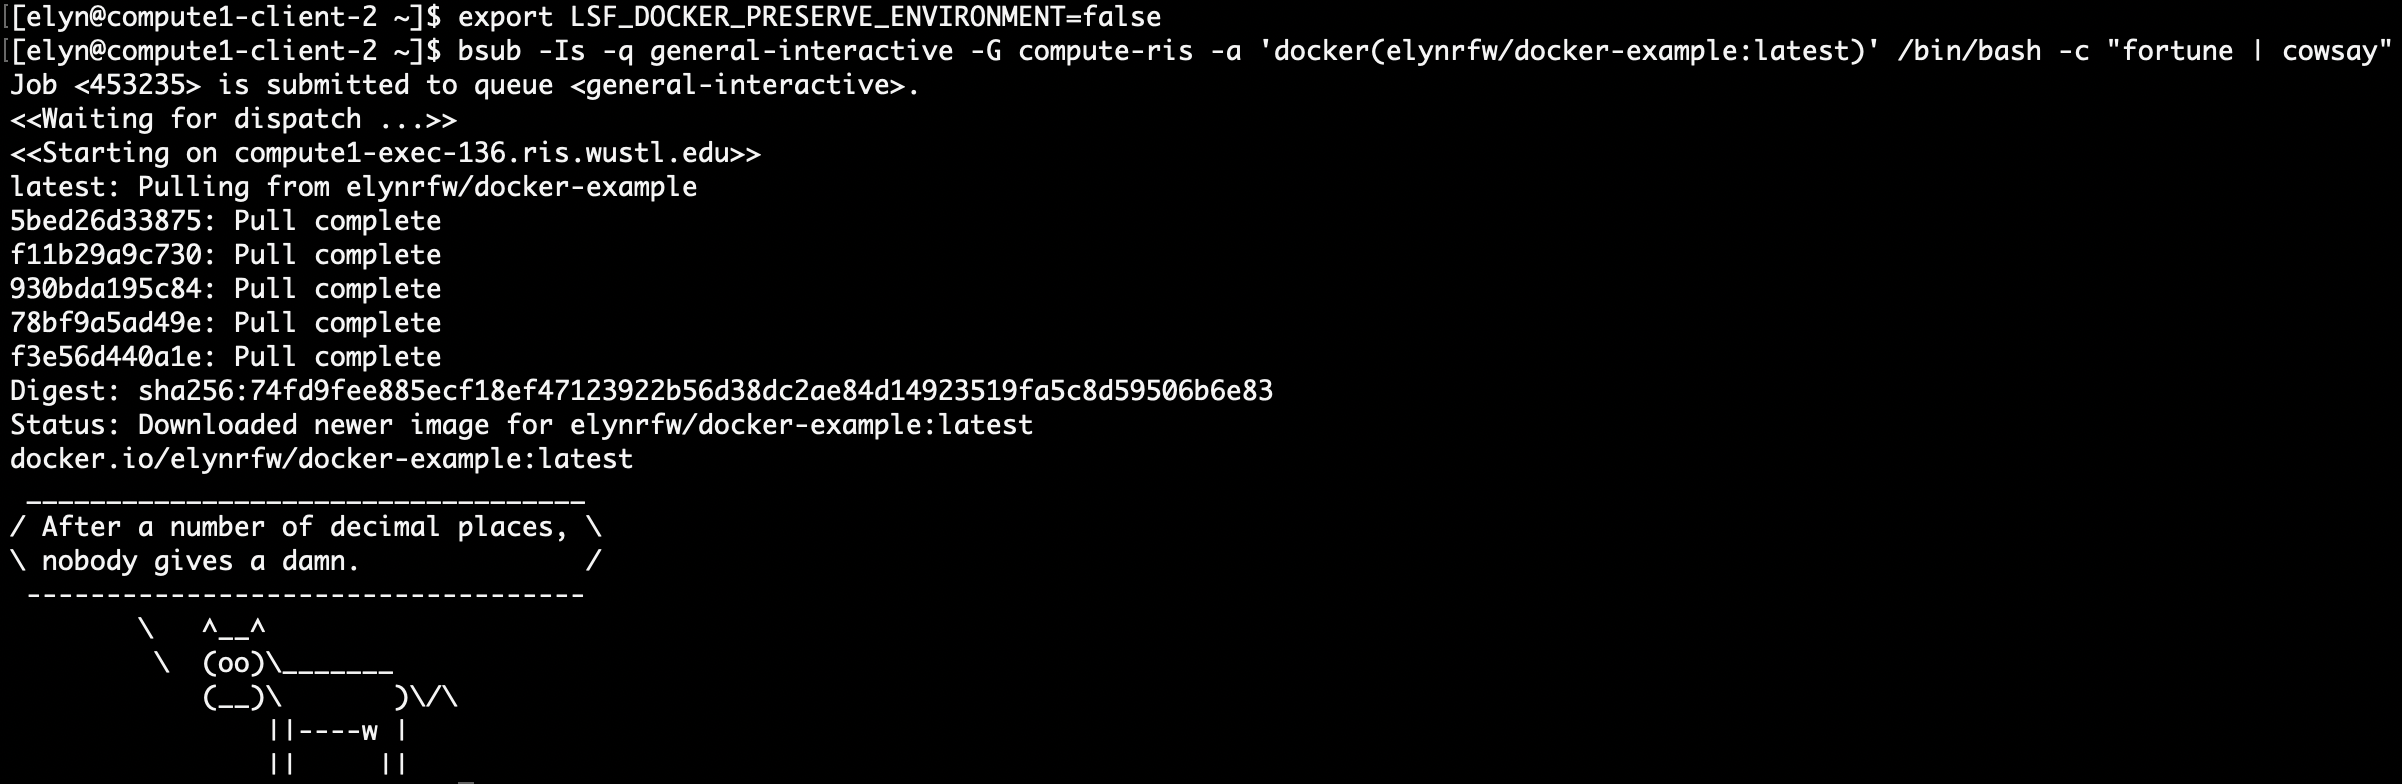
To get the output we want on the RIS Compute Platform, we will have to use the following commands.
export LSF_DOCKER_PRESERVE_ENVIRONMENT=false
bsub -Is -q workshop-interactive -G compute-workshop -a 'docker(username/docker-example:latest)' /bin/bash -c "fortune | cowsay"
We need to use the
LSF_DOCKER_PRESERVE_ENVIRONMENTvariable because we had to set environment variables within our container and we want to use those instead of preserving those on the Compute Platform.Again, in this case the username is your Docker Hub username.
If everything is working correctly, you should see results like the following.
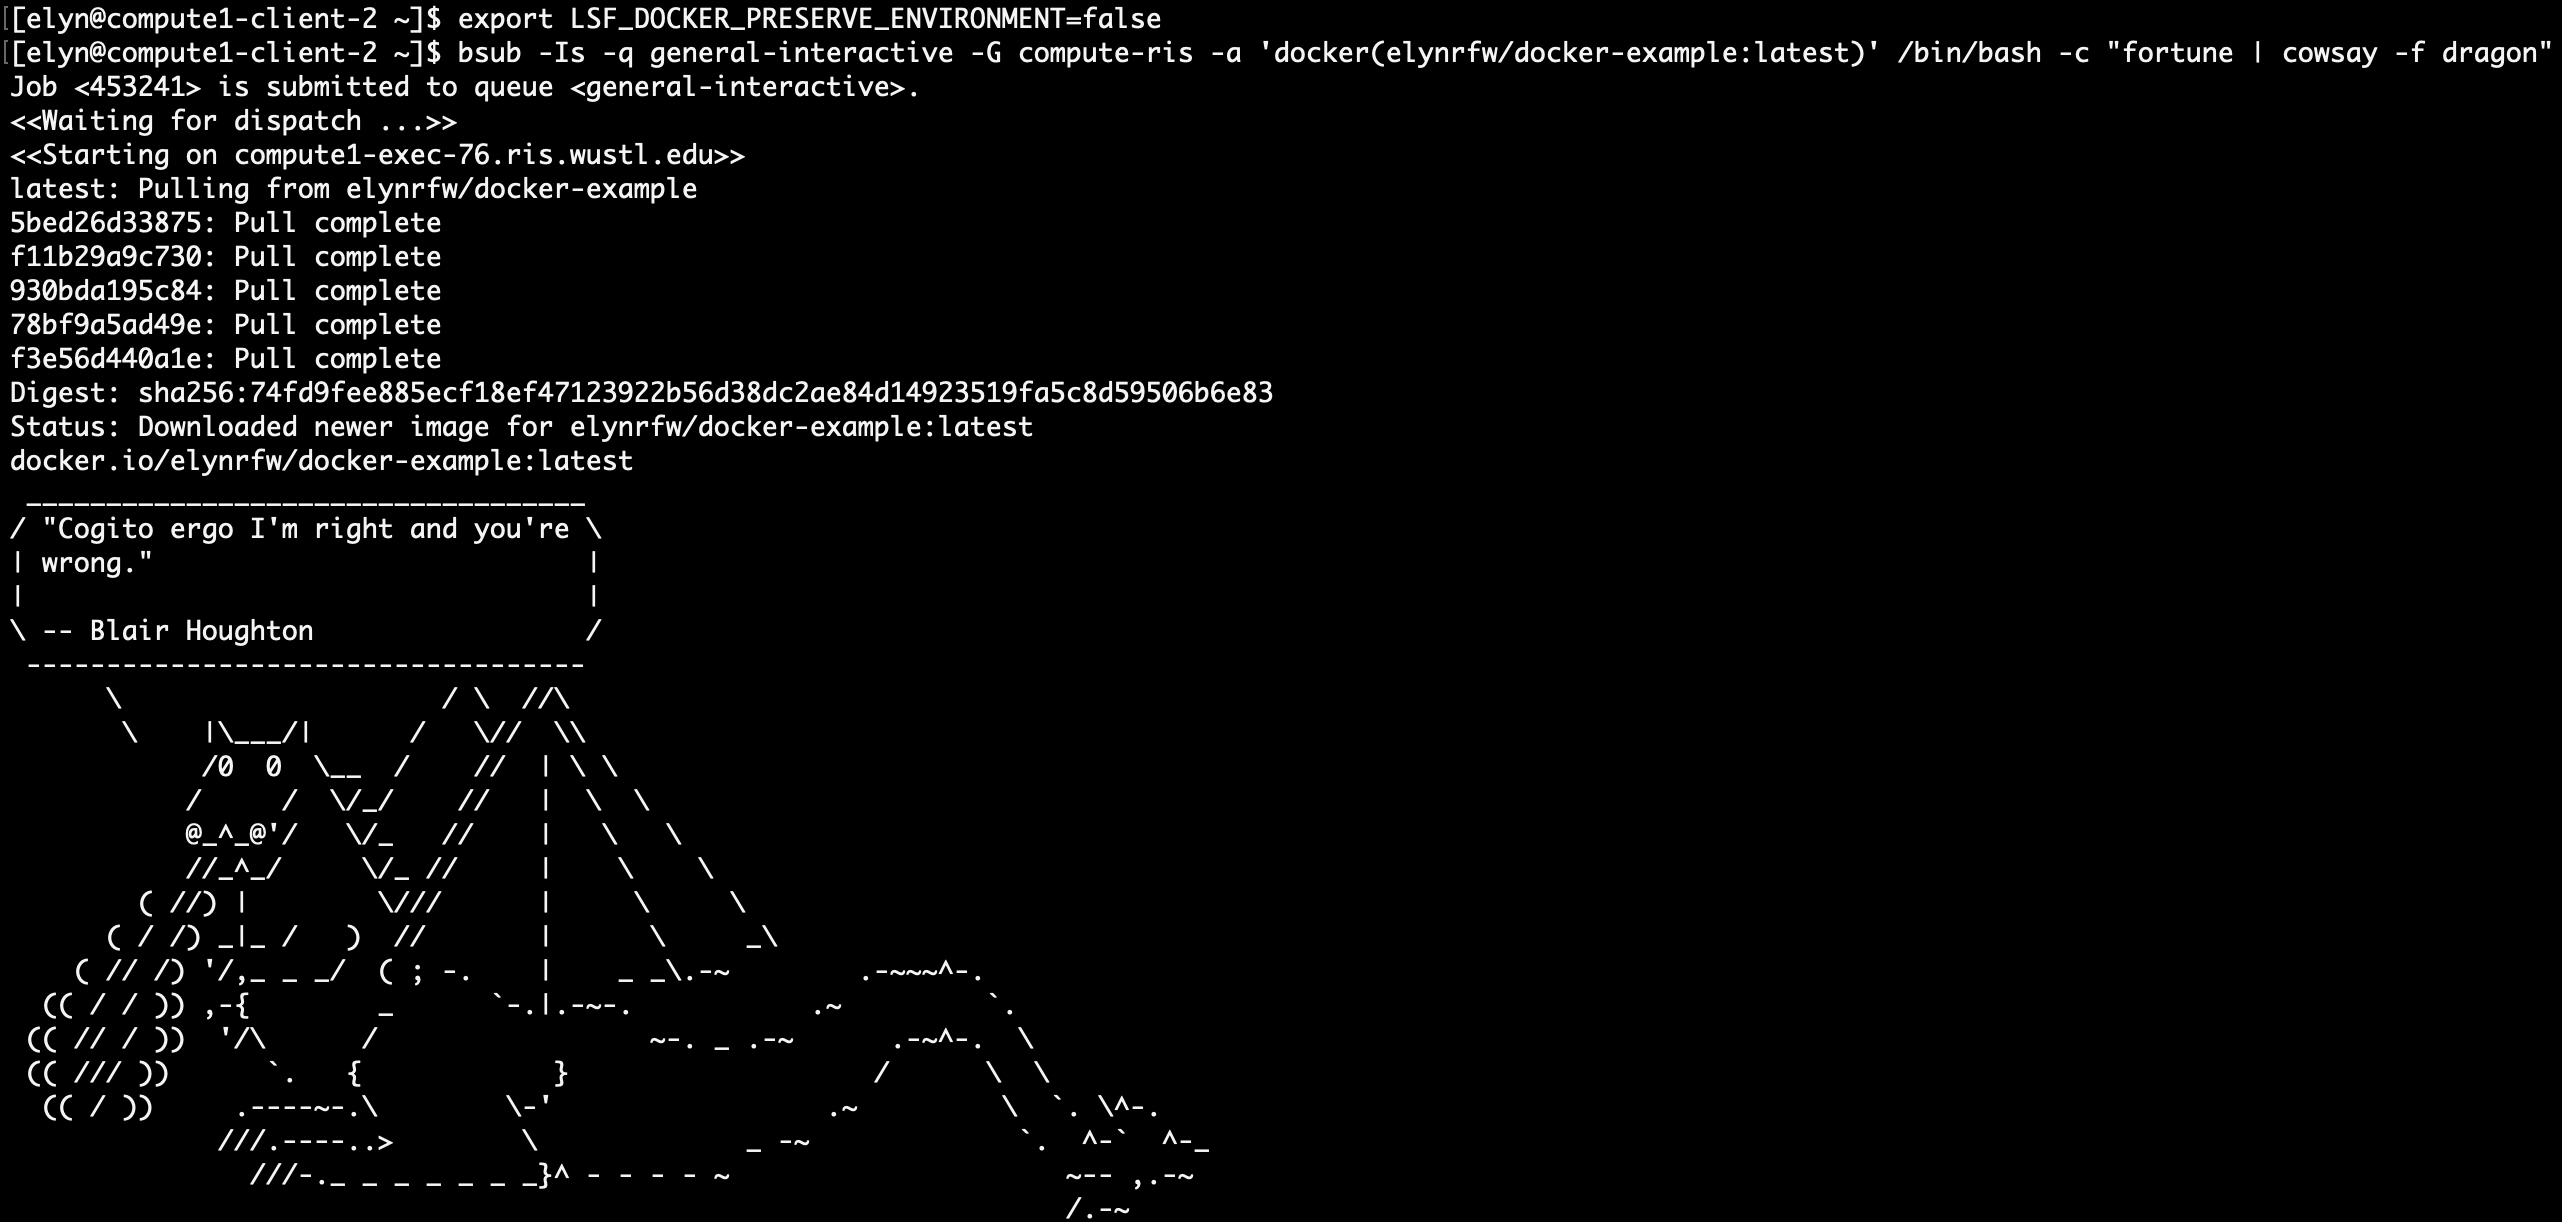
cowsayhas a fun little additional aspect. If a fortune telling cow isn’t fantastic enough, we can always use a dragon.If you add the
-f dragonoption to the cowsay command, you can turn your cow into a dragon.
export LSF_DOCKER_PRESERVE_ENVIRONMENT=false
bsub -Is -q workshop-interactive -G compute-workshop -a 'docker(username/docker-example:latest)' /bin/bash -c "fortune | cowsay -f dragon"
Advanced Container Addition
As an advanced step, we can add another library that will add color to our cows and dragons.
lolcatadds rainbow coloring to the display.Once we add it to our container, update, and upload to Docker Hub, we can add the color via
lolcatwith the following command.There are no hints for this step as it is advanced and designed for the user to figure out.
export LSF_DOCKER_PRESERVE_ENVIRONMENT=false
bsub -Is -q workshop-interactive -G compute-workshop -a 'docker(username/docker-example:latest)' /bin/bash -c "fortune | cowsay | lolcat"

Example of Using the Compute Platform for Development
As mentioned before you can develop a Docker image on the Compute Platform.
The first thing you’ll need to do is let Docker Hub know your credentials by using the following command.
LSB_DOCKER_LOGIN_ONLY=1 bsub -G compute-workshop -q workshop-interactive -Is -a 'docker_build' -- .
This command only needs to be done once and will ask for your Docker Hub credentials (you’ll need an Docker Hub account prior to this step).
The login credentials you’ll need to use are those for Docker Hub NOT your WashU credentials.

Once you have this set, you can start development of your Docker image.
If you wish to use the Compute Platform to develop images or other software, we suggest checking out our documentation on doing so (Coming Soon!).
For this simple example, we’ll use the
vitext editor that’s available on the Compute Platform.You need to create a directory called docker-example and then
cdinto that directory.Once in the docker-example directory, you will need to create your Dockerfile via the following command.
vi Dockerfile
Once in the editor you will need to press the
Ikey to be able to edit the file. Now you just need to put in the information in the Dockerfile like developed above.Once you’ve entered the info, then you press the
escapekey to disengage edit mode.Then you need to press the
:key and typewqand hit theenterkey. This will write your changes and quit the editor.Now you can use the
catcommand on your file to make sure it contains the correct information.
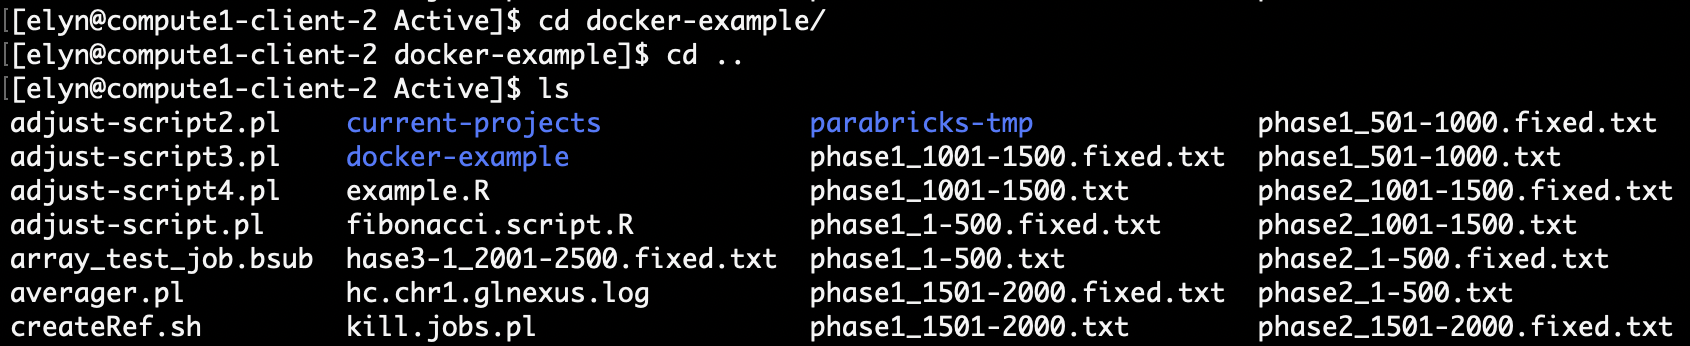
In order to build and push our Docker image, we need to
cdback out of docker-example directory.
Then we need to use the following command to build and push our Docker image.
bsub -G compute-workshop -q workshop-interactive -Is -a 'docker_build(username/docker-example)' -- latest docker-example
Where
usernameis your Docker Hub username.Once this is entered you will see the normal Docker building information.

Now that the container is built and pushed, we can use the container like we need above in order to have our fortune telling cow.
export LSF_DOCKER_PRESERVE_ENVIRONMENT=false
bsub -Is -q workshop-interactive -G compute-workshop -a 'docker(username/docker-example:latest)' /bin/bash -c "fortune | cowsay"