Installing Python Packages In Your Docker Container
Note
Connecting to get command line access: ssh wustlkey@compute1-client-1.ris.wustl.edu
Queue to use: workshop, workshop-interactive
Group to use: compute-workshop (if part of multiple groups)
Workshop Video
pip (and a Linux package manger) vs anaconda
pipandcondaare the two most popular ways to install python packages. There may be instances where you can only find directions on how to install an application with one tool or the either. In that case, the decision has been made for you. In situations where you can find both, using pip and and a your Linux package manager (e.g.,apt-getin Debian and Ubuntu) can yield quicker build times and smaller final container sizes. However, because pip can only install Python packages, you may find yourself also having to use your package manager (i.e.,apt-get install -y dependency) to install non Python dependencies. Conda has the advantage of including non-python dependencies. It’s disadvantages are the slower build times and significantly larger final containers.pip install documentation: https://pip.pypa.io/en/stable/reference/pip_install/
conda install documentation: https://docs.conda.io/projects/conda/en/latest/commands/install.html
Case Study: Spacy
spaCy is a free, open-source library for advanced Natural Language Processing (NLP) in Python. Here’s some sample code we will call
script.pyfrom Spacy that iterates over every token in the stringHello World!.script.pywill be created in the same directory as the Dockerfile.from spacy.lang.en import English # Create the nlp object nlp = English() # Created by processing a string of text with the nlp object doc = nlp("Hello world!") # Iterate over tokens in a Doc for token in doc: print(token.text)
Pip Example: Installing Spacy with pip
# Python has an official image. Alpine and slim are the small versions
FROM python:3.7.7-slim-stretch
#Installation directions found at https://spacy.io/usage --no-cache-dir allows one to save space in the final image
RUN pip install --no-cache-dir -U spacy
# Copies script.py file in my current directory to root in the container
COPY script.py /
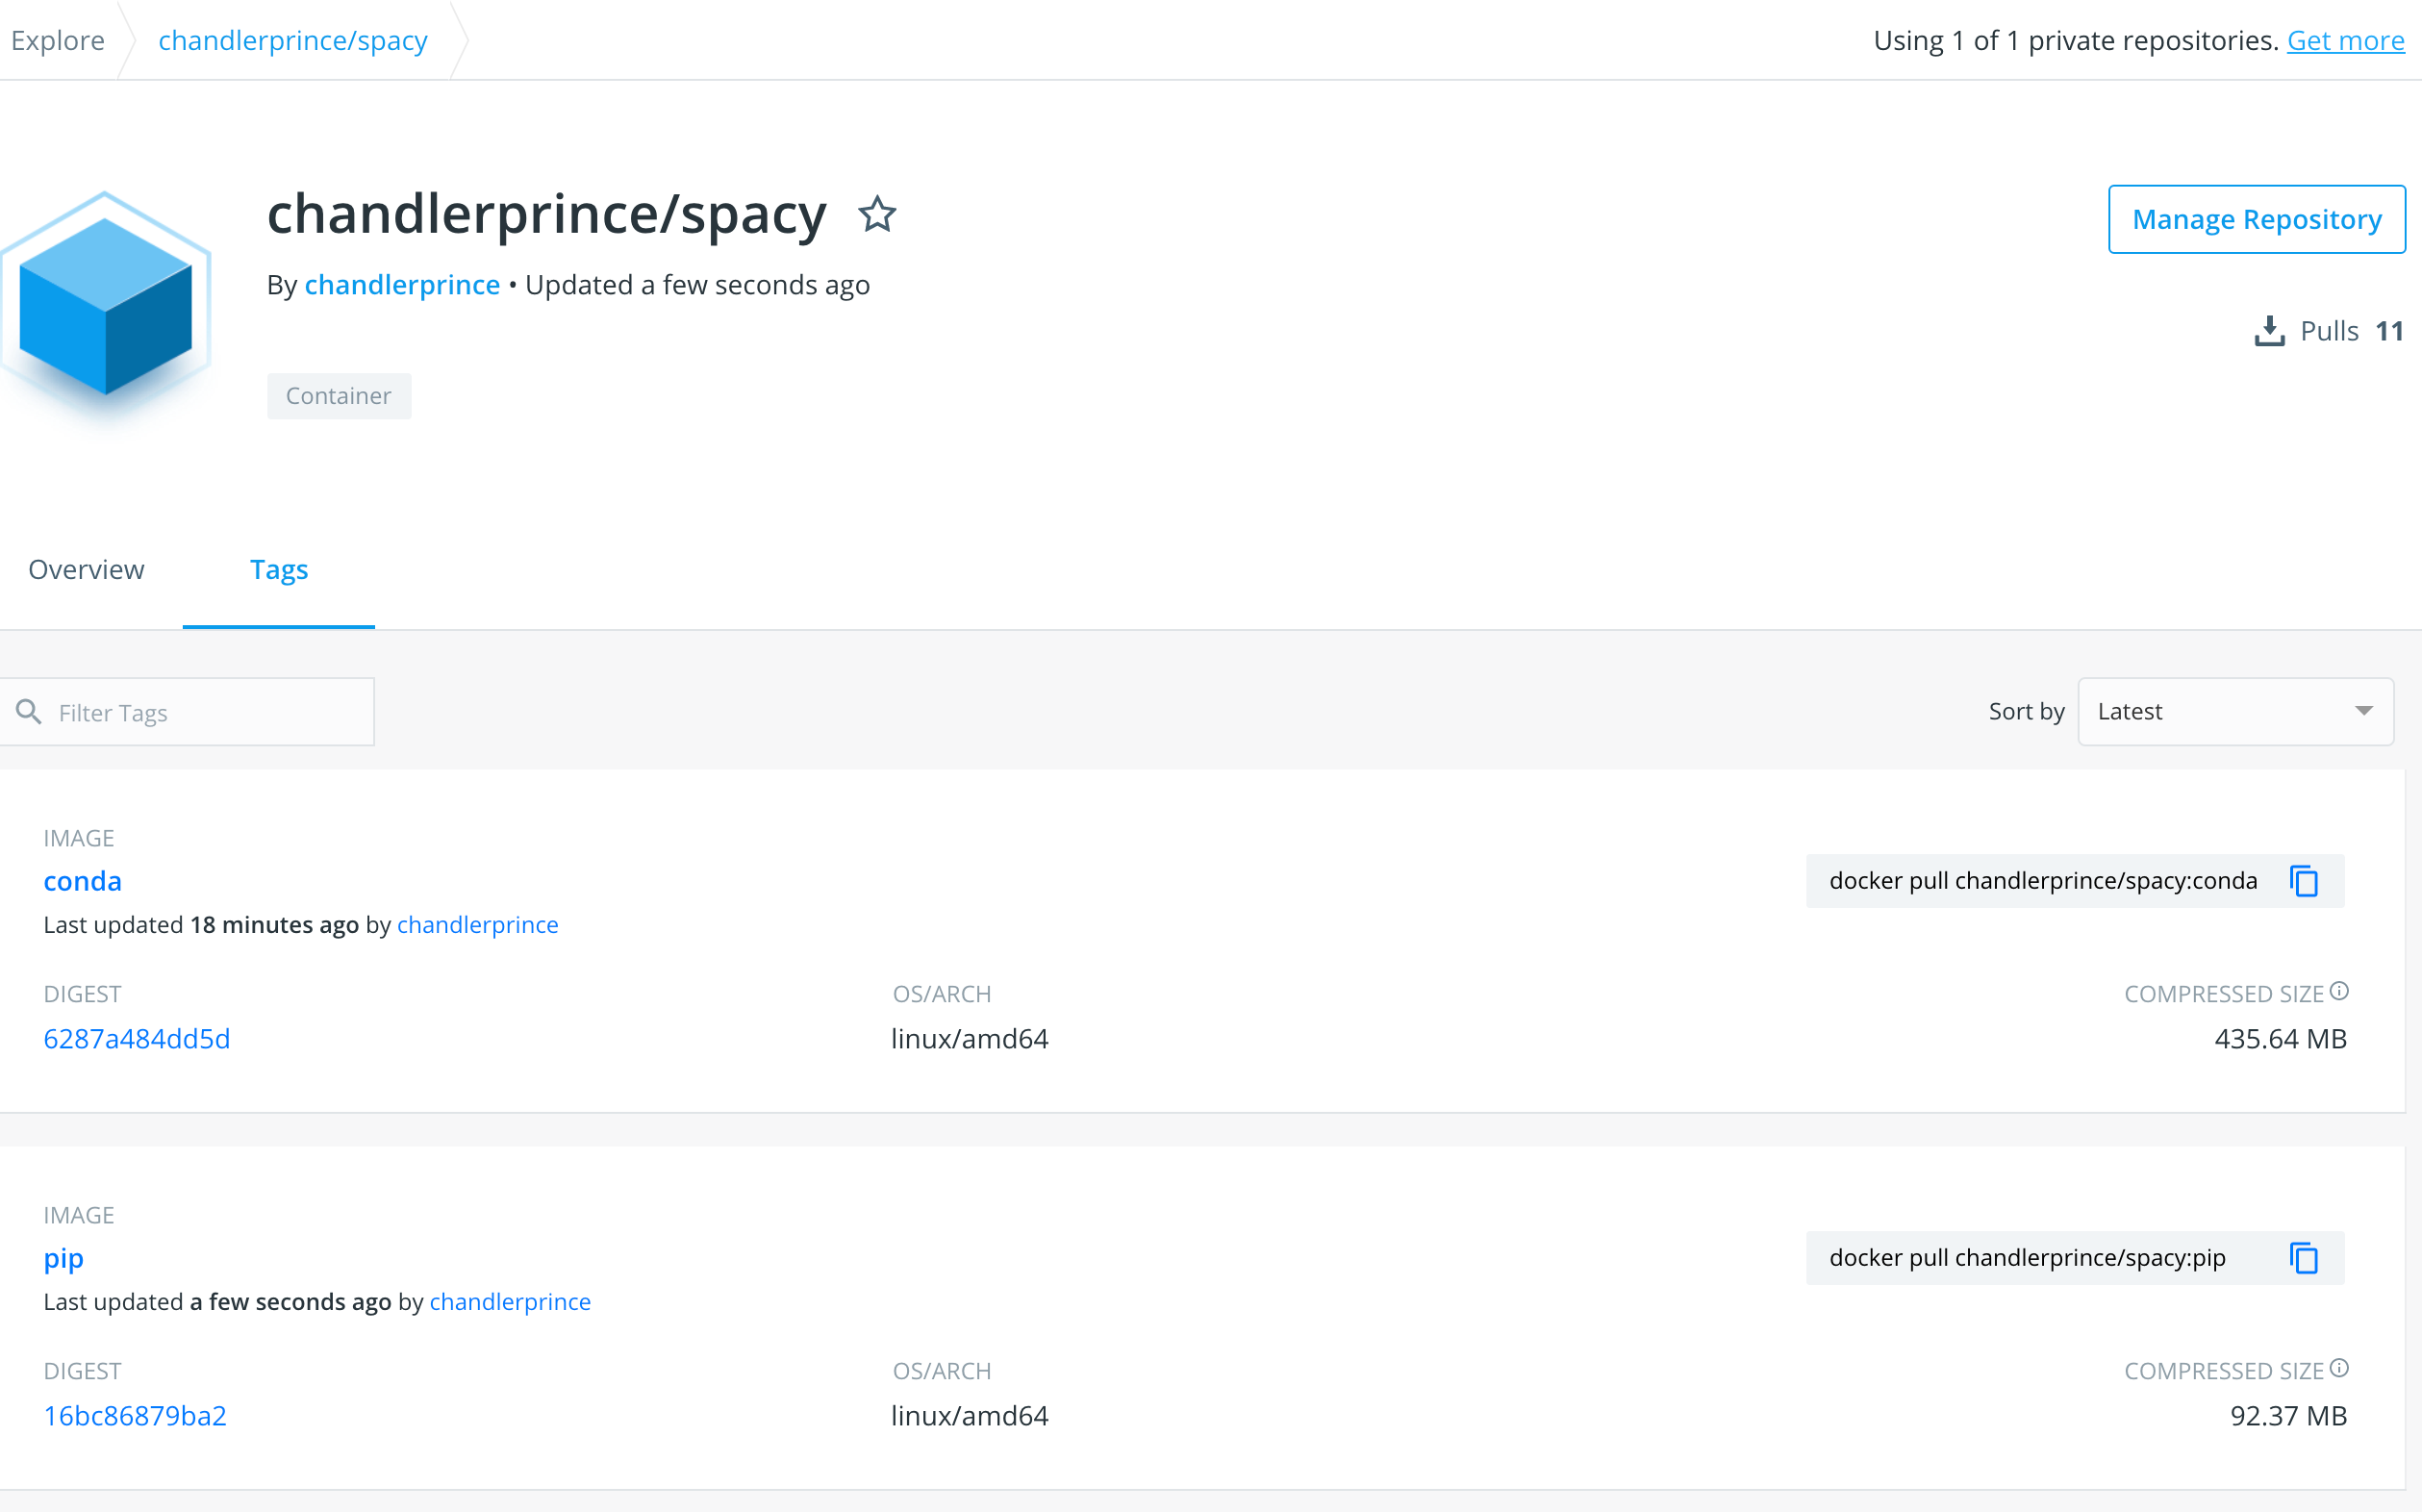
Build the image with the image name of spacy and a tag of pip so you’ll be able to compare the image sizes on Docker hub
docker build -t dockerhub_username/spacy:pip .
docker push dockerhub_username/spacy:pip
Conda Example: Installing Spacy with conda
# Conda has an official base image. miniconda3 is the smaller python3 based on Debian stretch
FROM conda/miniconda3
RUN conda install -c conda-forge spacy
COPY script.py /
Build, tag, and push the image with a name of spacy and a tag of conda;
docker build -t dockerhub_username/spacy:conda .
docker push dockerhub_username/spacy:conda
- Compare Image Sizes
Check your Docker hub profile and click on your spacy image. You will see a conda and pip tag under tags. pip is much smaller and you likely noticed it was faster to build.
- Try Running Both Versions on Compute1
Which one runs faster and uses less bandwidth?
bsub -G group_name -Is -q general-interactive -a 'docker(docker_hub_username/spacy:pip)' python3 /script.py
bsub -G group_name -Is -q general-interactive -a 'docker(docker_hub_username/spacy:conda)' python3 /script.py