Recovering Data From Snapshots
storageN
The use of
storageNwithin these documents indicates that any storage platform can be used.- Current available storage platforms:
storage1
storage2
.snapshots vs .snapshot
The
.snapshotsnomenclature is used for Storage1.The
.snapshotnomenclature is used for Storage2.
Overview
This document serves as a guide for current users with storage1 allocations who wish to
recover data themselves from their .snapshots or .snapshot folder.
Prerequisites
Meet the assumptions listed for accessing storage1.
A user account for RIS Storage Platforms.
Manual Recovery Method
Note
This method works better for small numbers of files or folders. If you are recovering a lot of data, it may be easier to use the command line instructions later in this document.
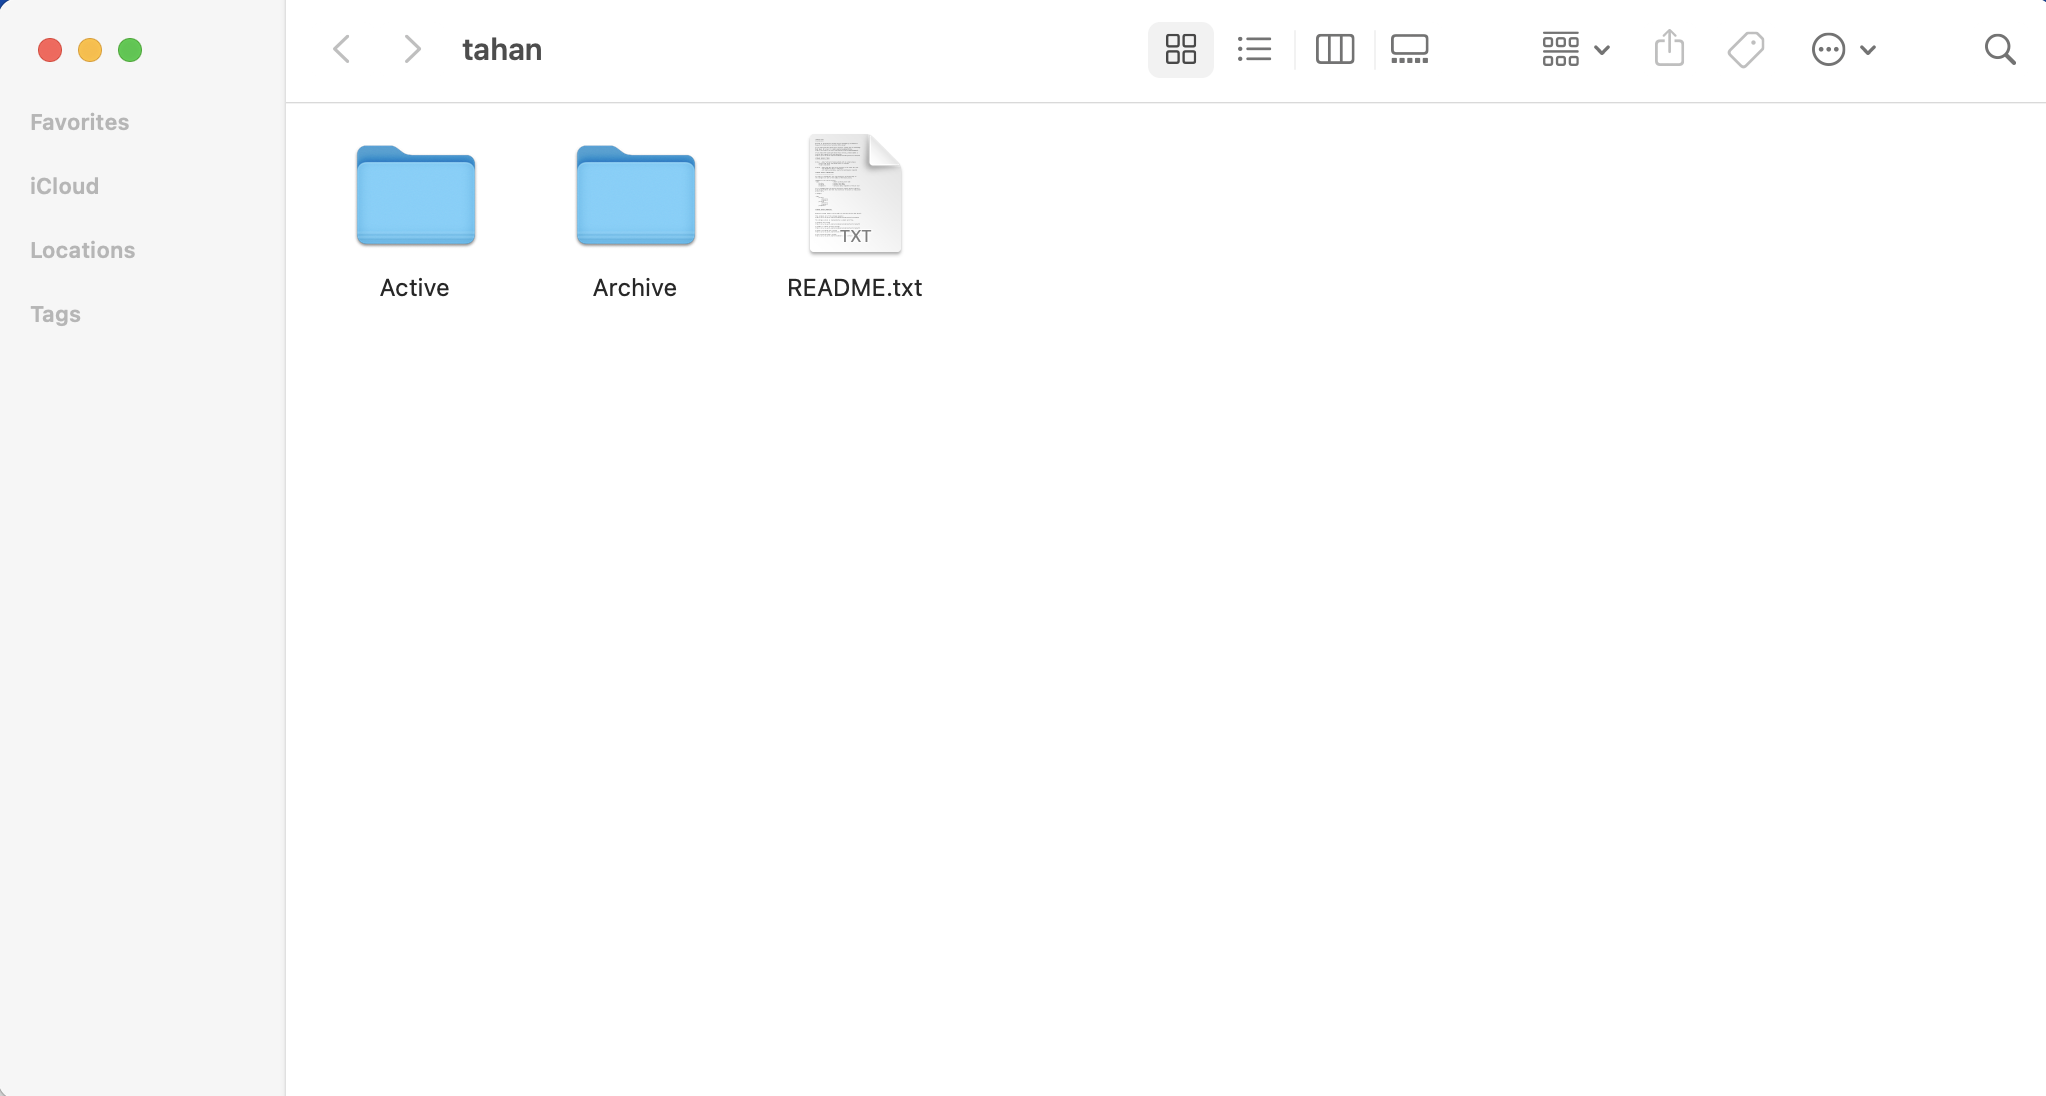
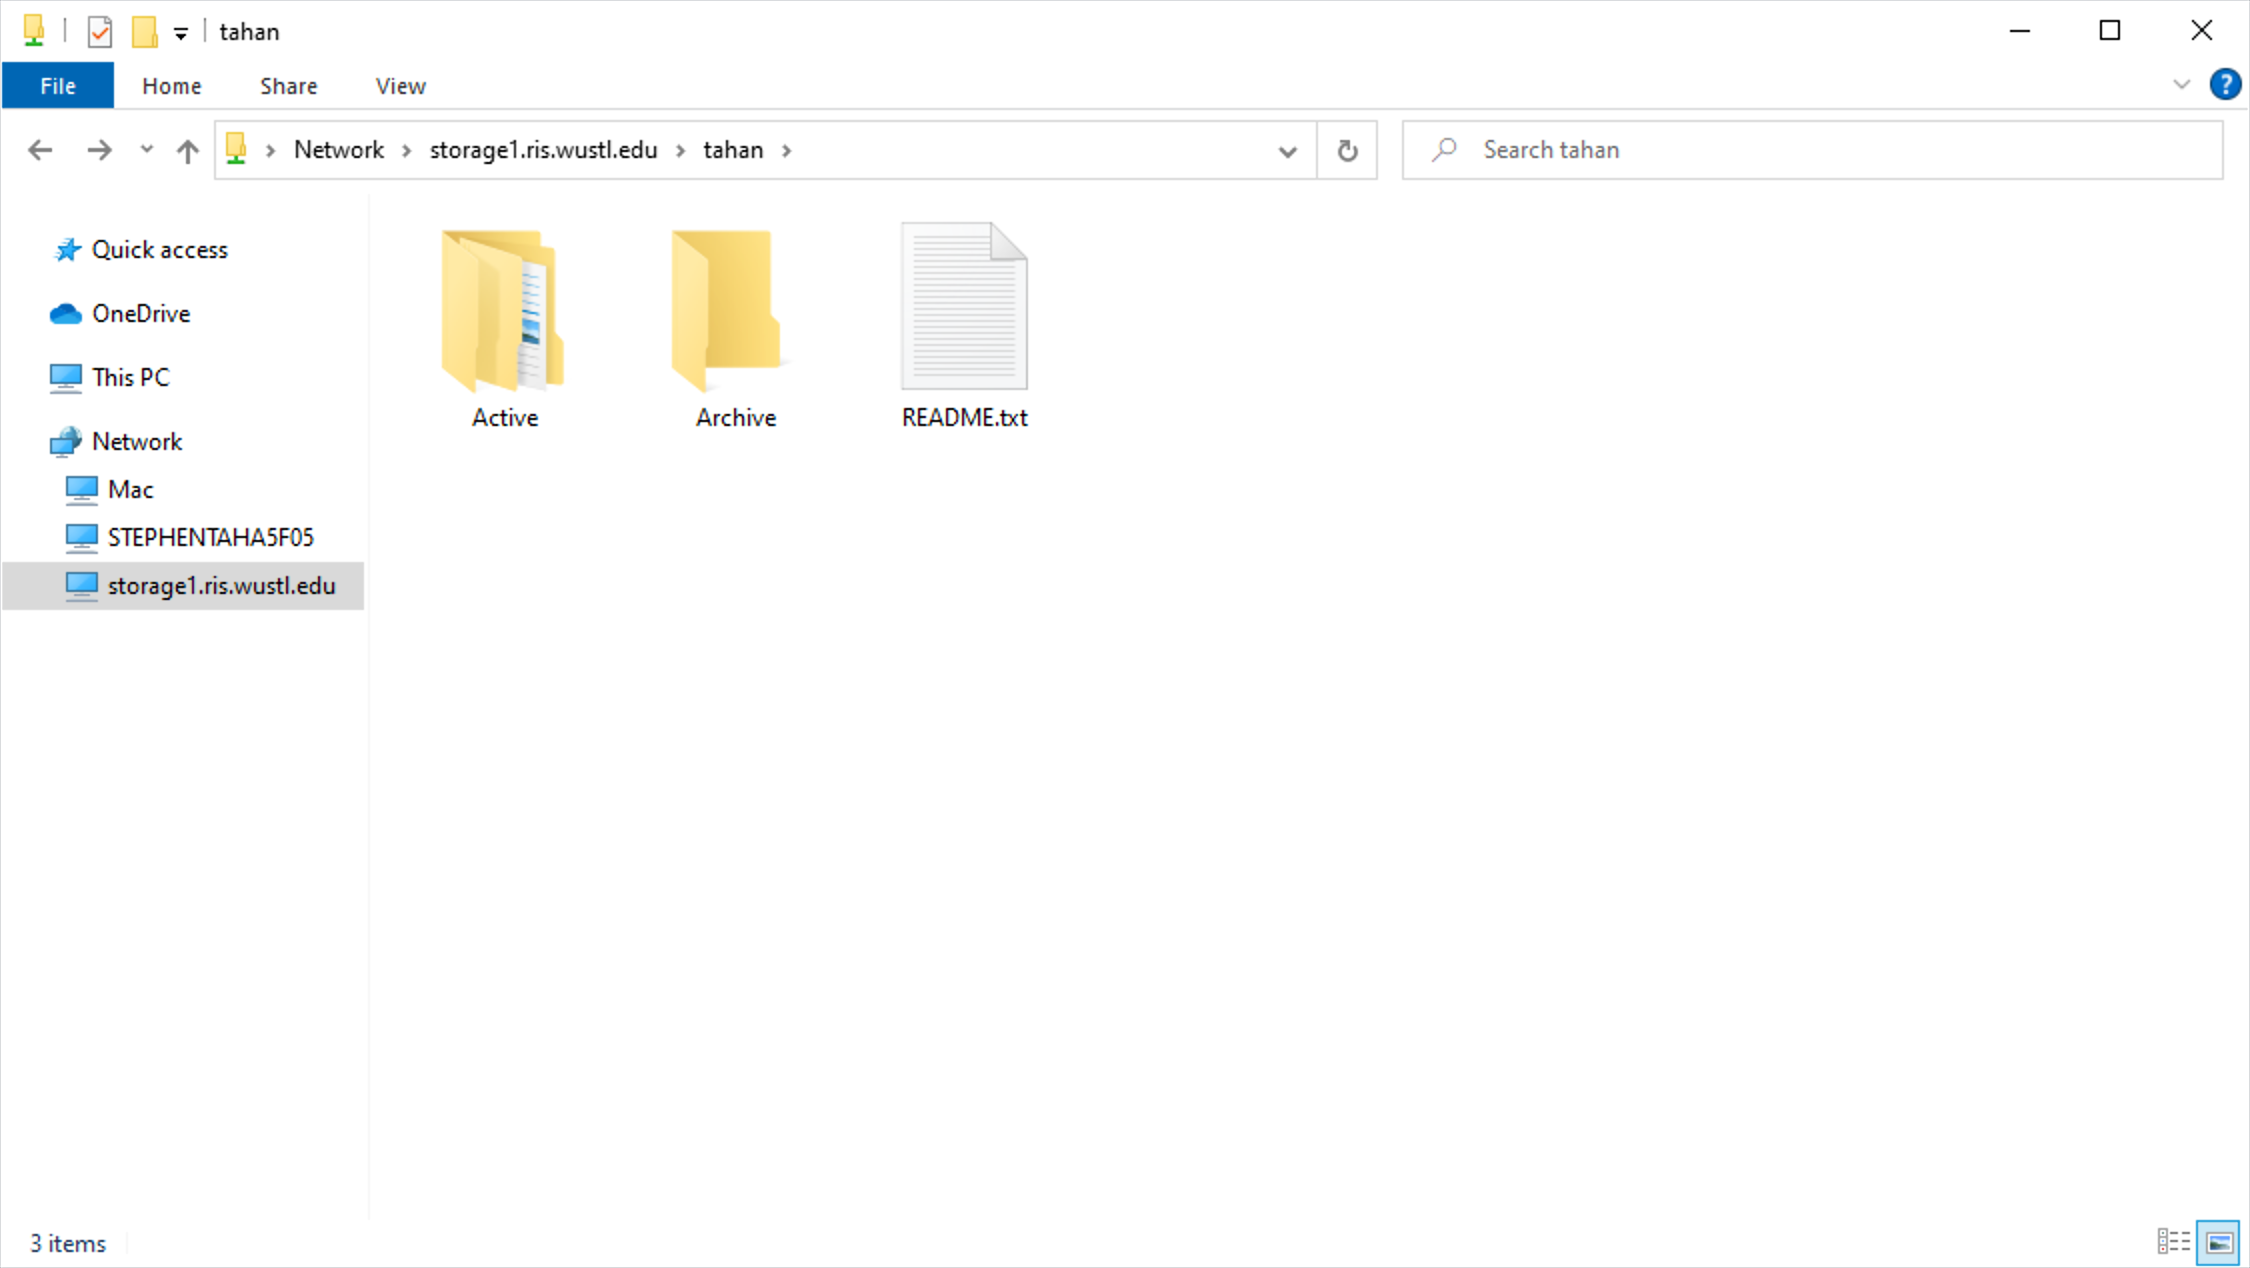
1. Navigate to your storage drive.
If you already have hidden files enabled, great! You can skip to step 3. Otherwise, your window will look similar to the window below.
Mac Finder
Windows 10 File Explorer
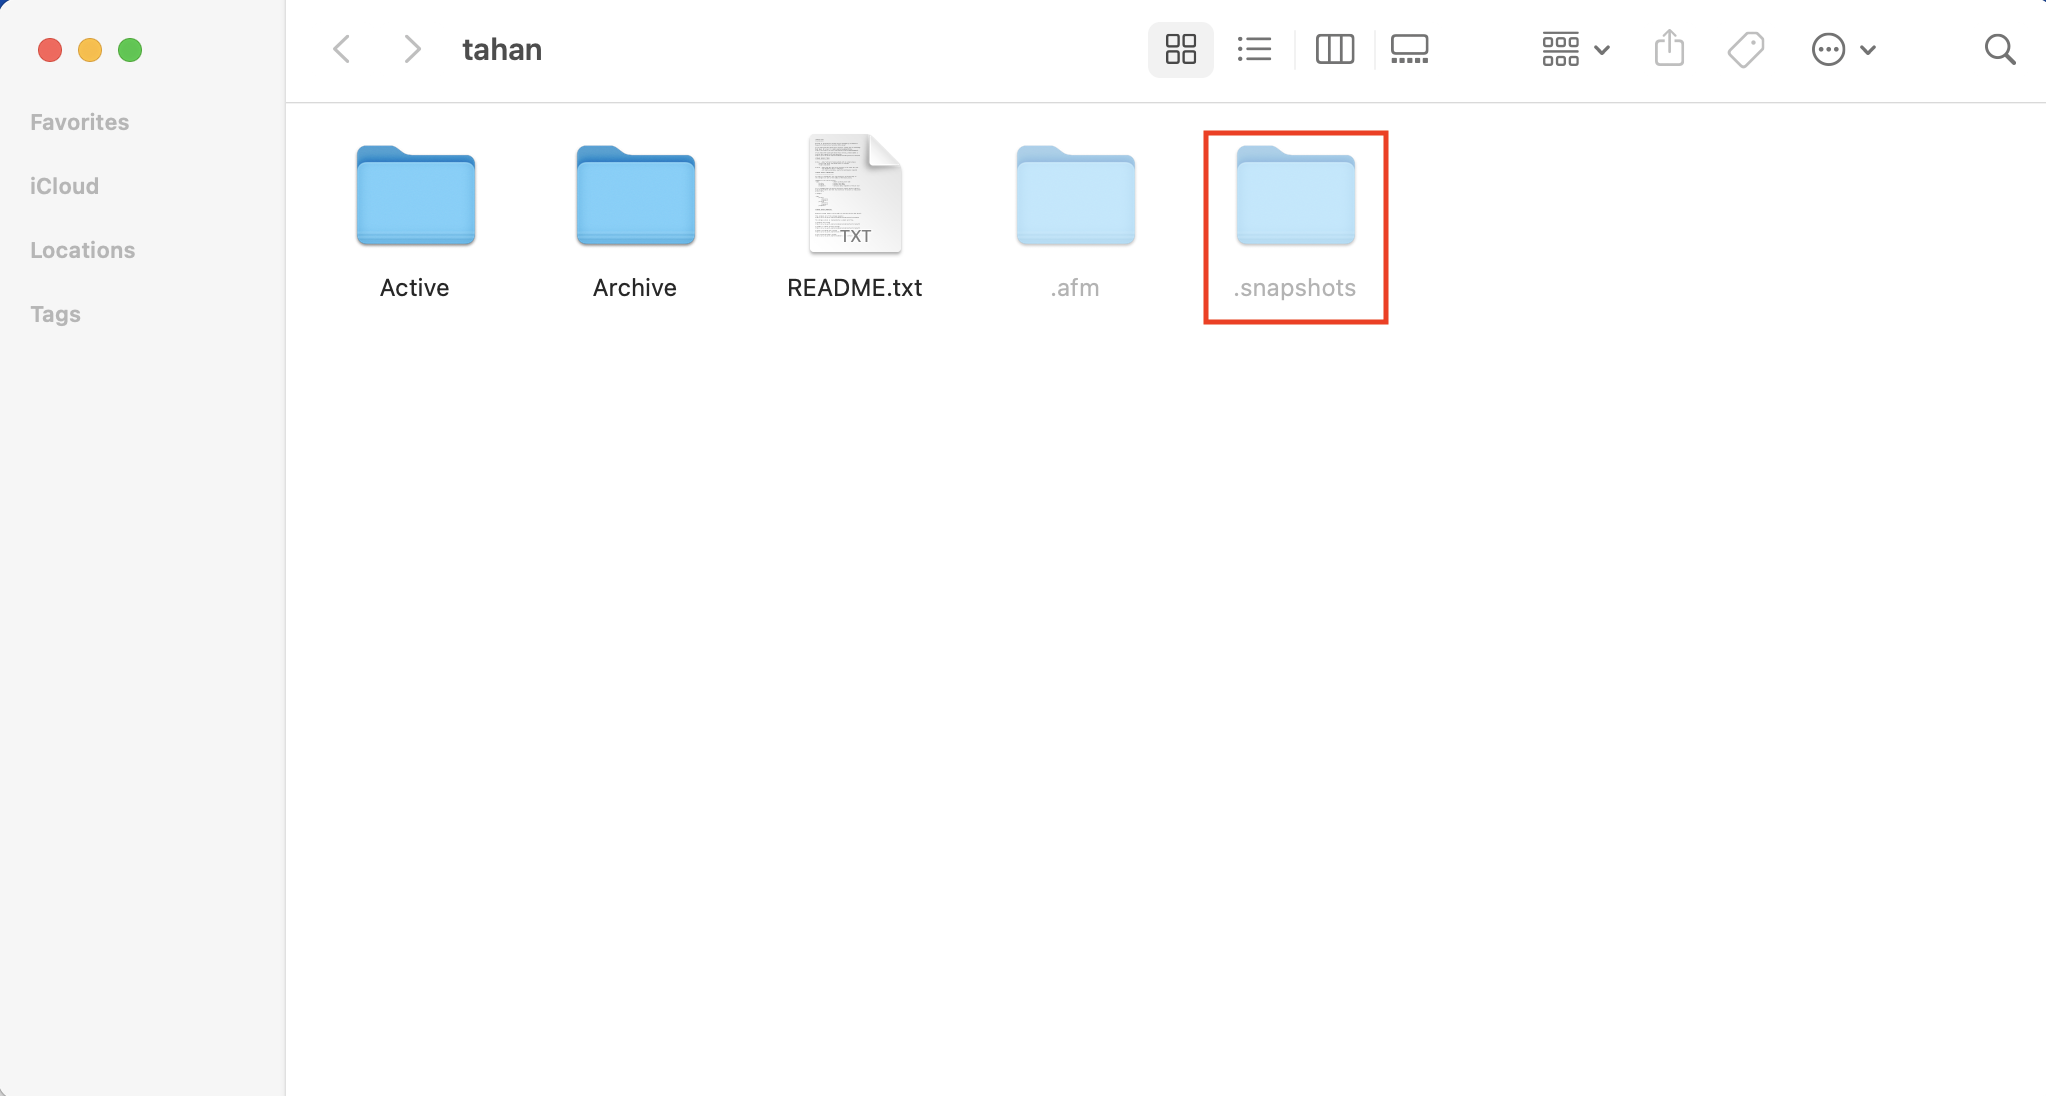
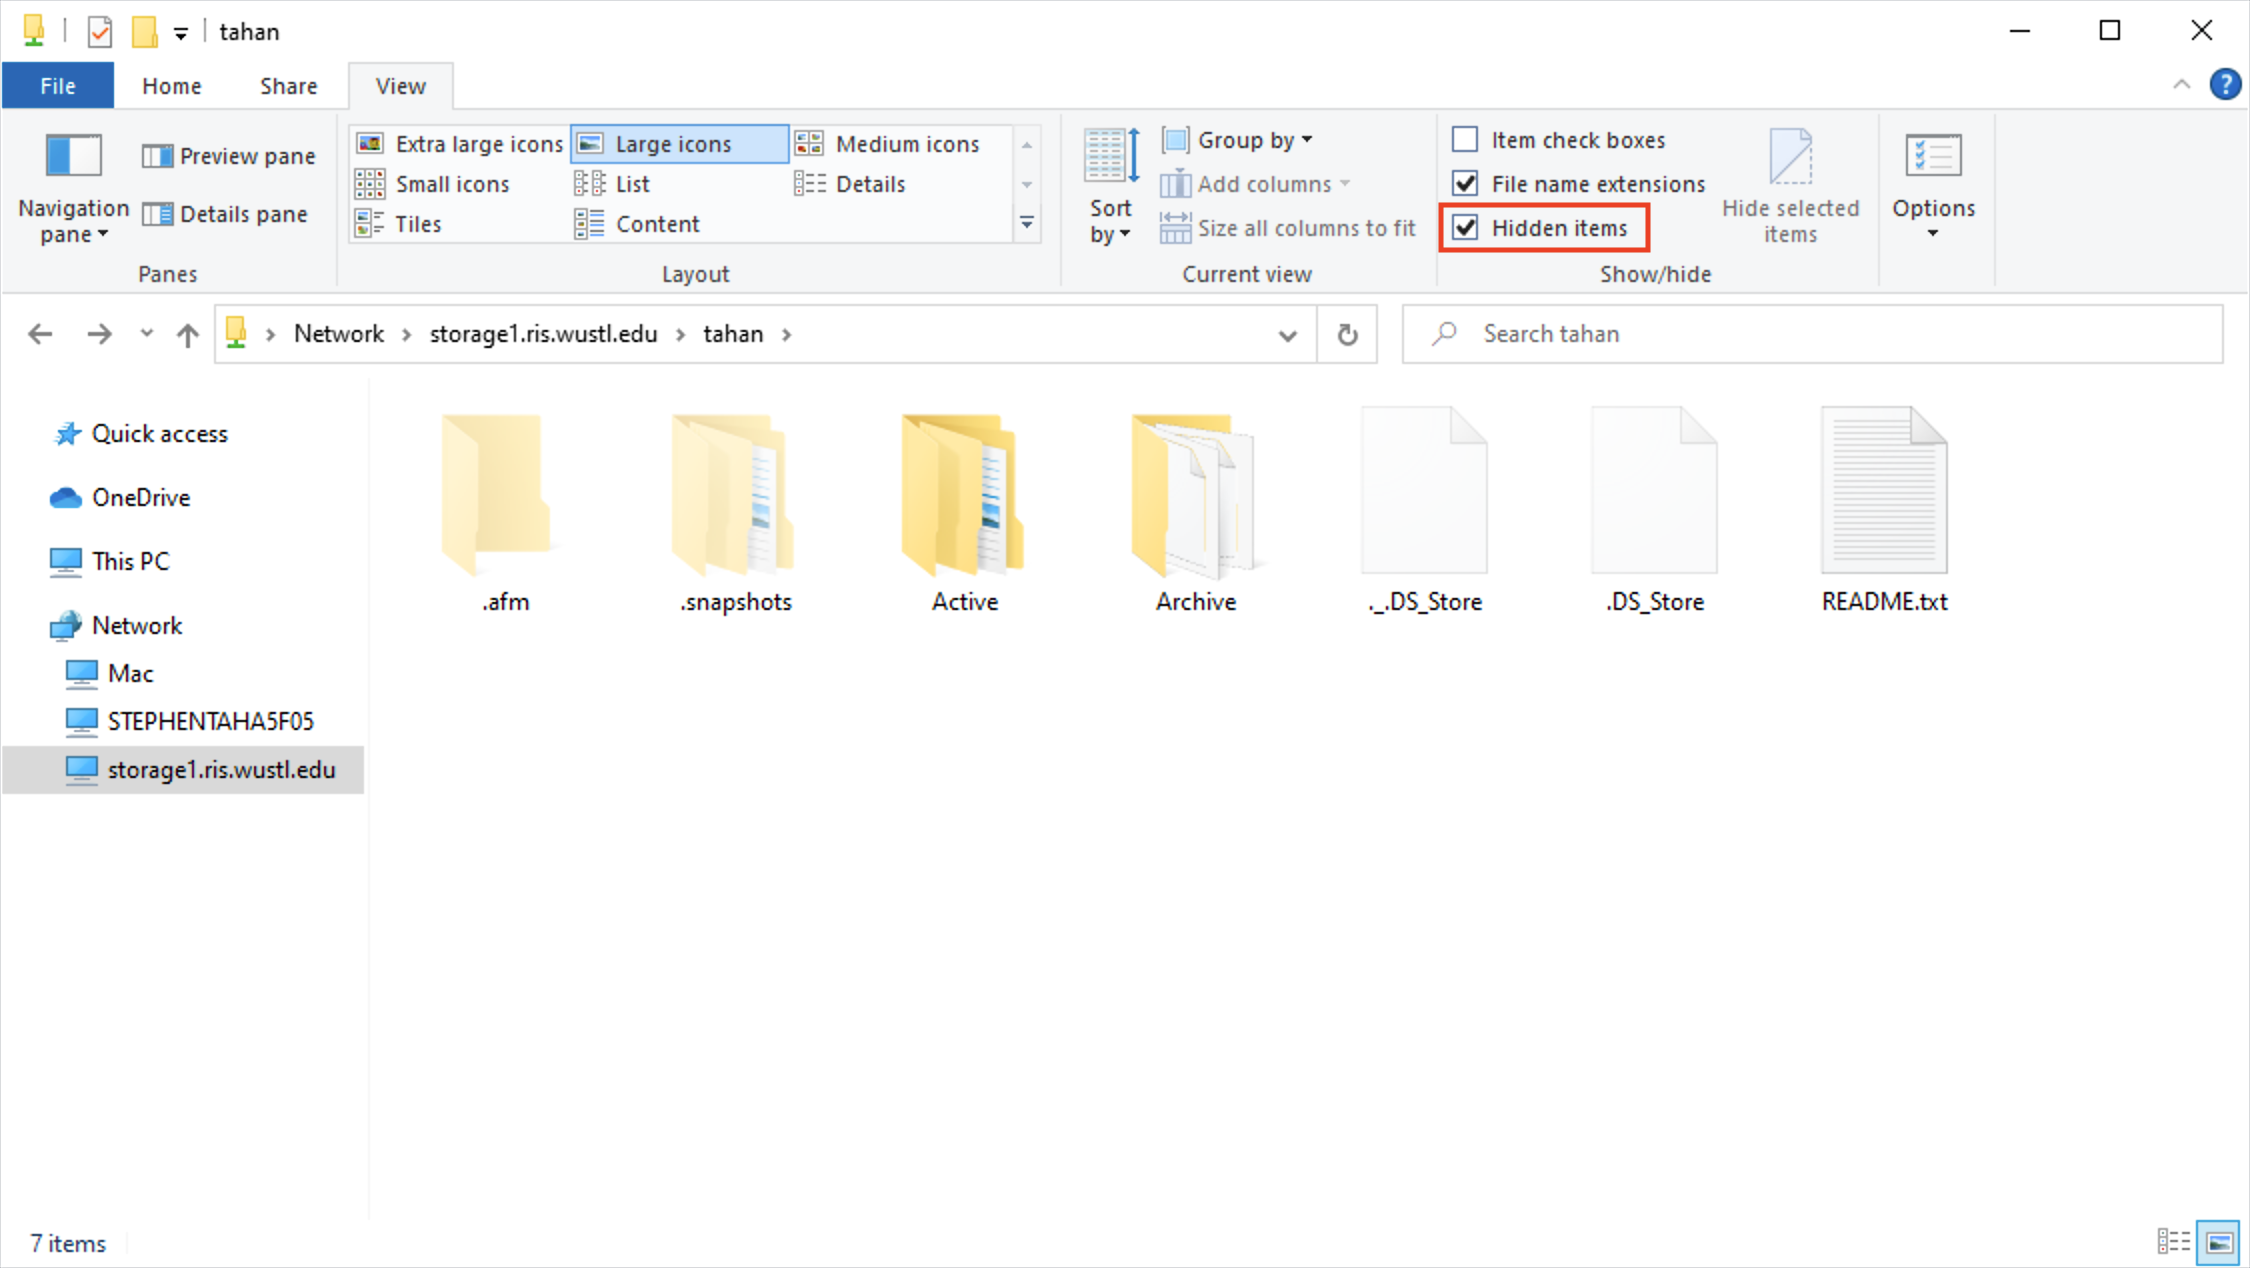
3. Restoring data from the .snapshots or .snapshot backup
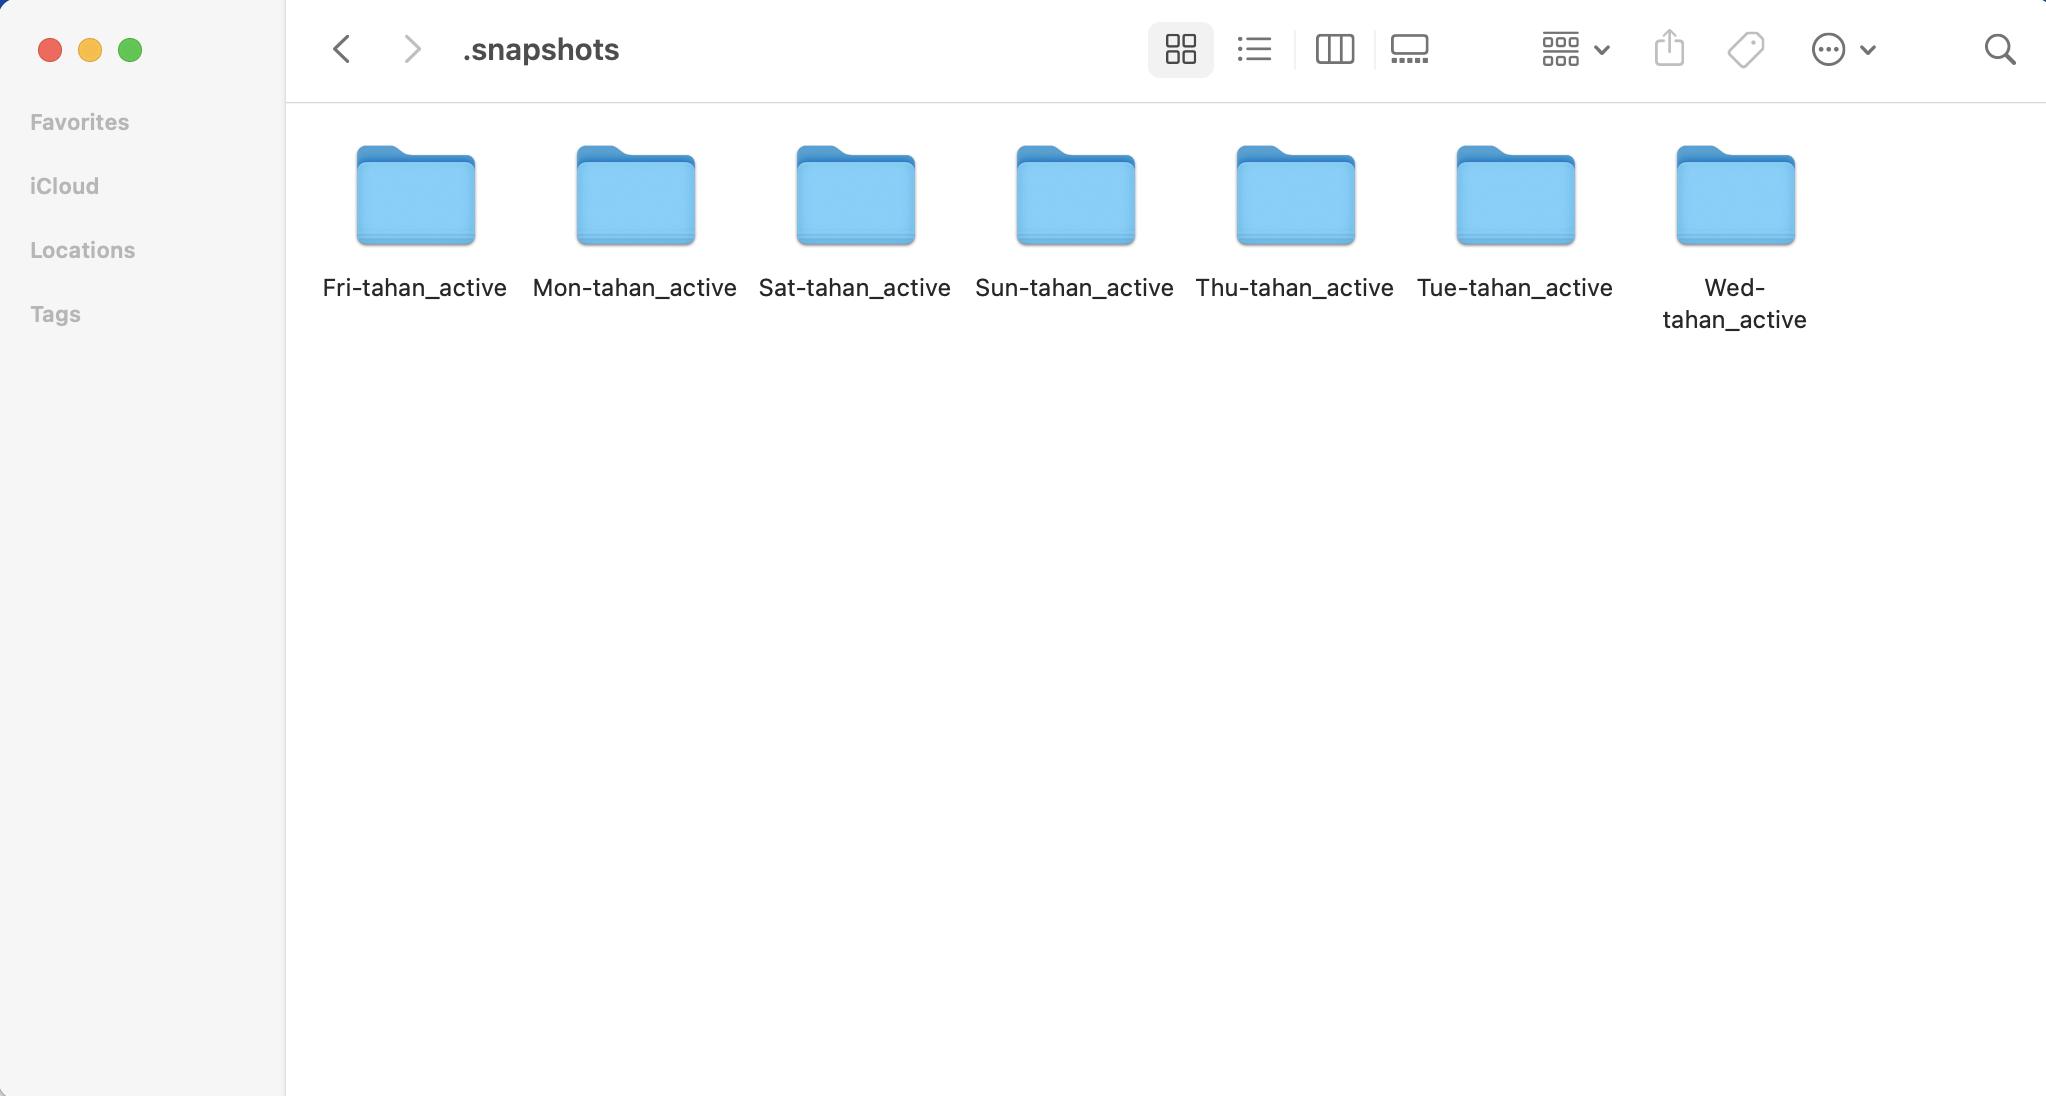
Open the .snapshots or .snapshot folder. You should see folders named by day.
Viewing the .snapshots or .snapshot folder on Mac
Viewing the .snapshots or .snapshot folder on Windows 10
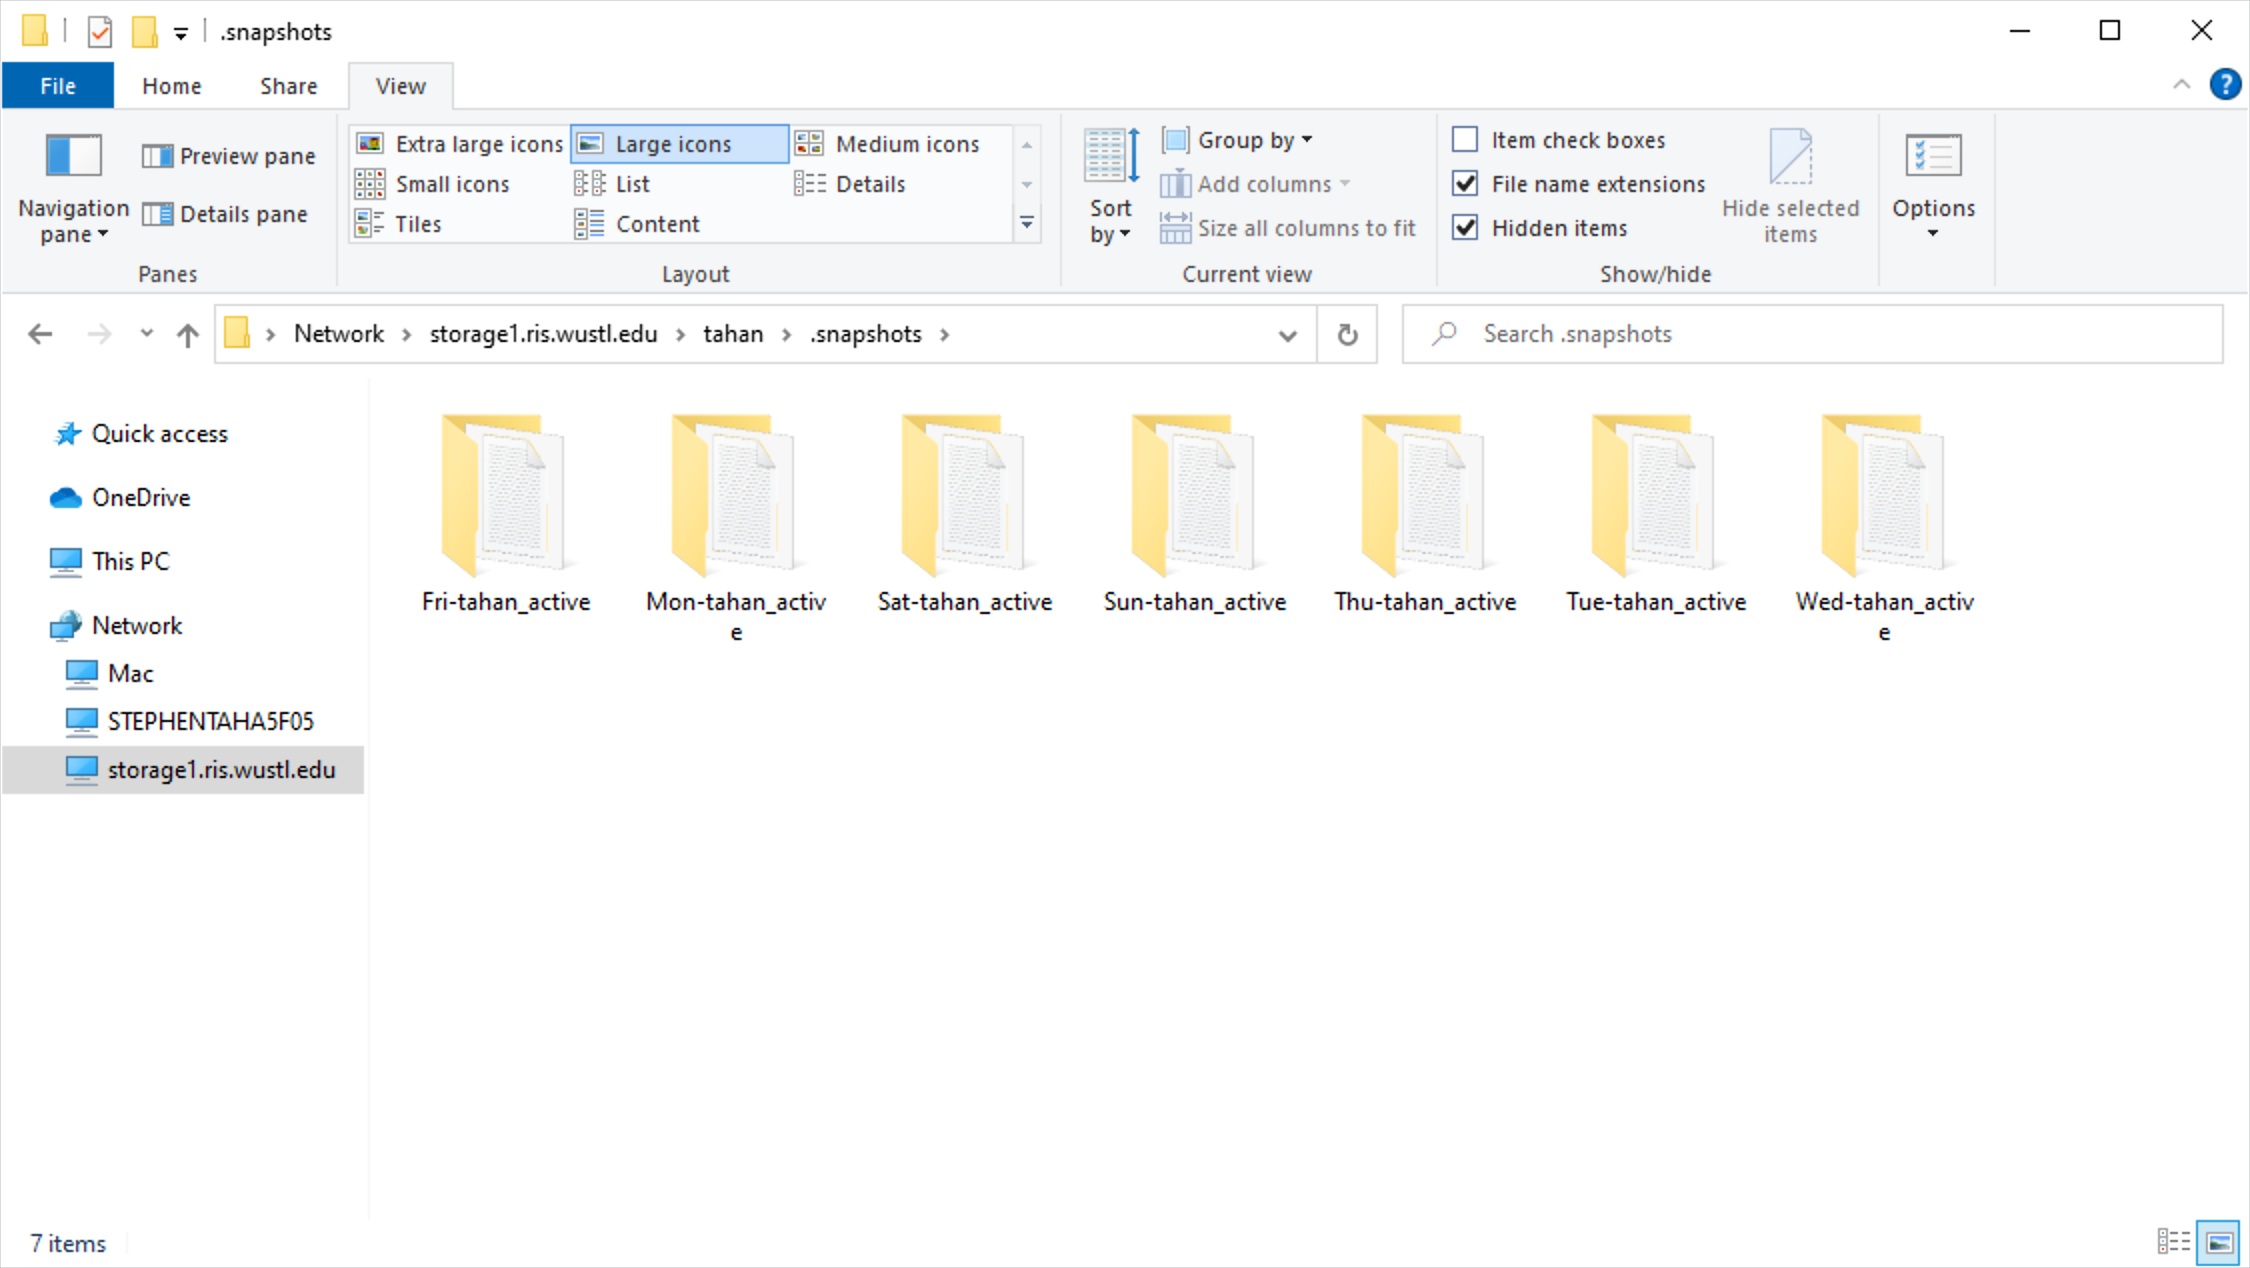
Navigate to the folder corresponding with the most recent day before the
files/folders were corrupted or deleted or overwritten, and then
into the Active folder.
Select the files and folders you want to recover, then copy them
(Control + C on Windows, Command + C on macOS).
Next, navigate back up to the main directory of your storage drive,
and then into the Active folder. Paste the copied files (Control + V
on Windows, Command + V on macOS).
Your files have been successfully restored!
Command Line Recovery Method
Windows
Open your storage drive and navigate to the
.snapshotsor.snapshotfolder.- Locate the file or folder you want to restore, and copy the path name
(e.g. for Storage1
\\storage1.ris.wustl.edu\tahan\.snapshots\Thu-tahan_active\Active\file.txt).(e.g. for Storage2
\\storage2.ris.wustl.edu\tahan\.snapshot\Thu-tahan_active\Active\file.txt).
Open Command Prompt.
For transferring a folder, type:
robocopy FOLDERPATH '\\storageN.ris.wustl.edu\DRIVENAME\Active\FOLDERNAME' /E /V /R:5 /W:5 /TBD /MT
- Replace
FOLDERPATHwith the path to the folder from step 2,DRIVENAME with the name of your storage allocation (e.g.
tahan) andFOLDERNAMEwith the name of the folder you are transferring.
- Replace
Note
You can replace /MT with /MT:# (where # is a number from 1 to 128)
to change the number of files robocopy processes simultaneously. /MT
defaults to 8, so setting it to a number above 8 may increase transfer
speed if you have a sufficiently powerful system and connection.
For transferring a file, type:
copy FILEPATH '\\storageN.ris.wustl.edu\DRIVENAME\Active'
7. Replace FILEPATH with the path to the file from step 2, and DRIVENAME with
the name of your storage allocation (e.g. tahan).
Mac
Open your storage drive and navigate to the .snapshots folder.
- Locate the file or folder you want to restore, and copy the path name.
(e.g. for Storage1
\\storage1.ris.wustl.edu\tahan\.snapshots\Thu-tahan_active\Active\file.txt).(e.g. for Storage2
\\storage2.ris.wustl.edu\tahan\.snapshot\Thu-tahan_active\Active\file.txt).
Open Terminal.
In Terminal, type:
rsync -avh PATH /Volumes/DRIVENAME/Active
5. Replace PATH with the path from step 2, and DRIVENAME with the name of
your storage allocation (e.g. tahan).
Globus Recovery Method for Storage1
Snapshots can also be recovered using Globus. Please see the Globus documentation
for direction on accessing your storage allocation using the Globus interface.
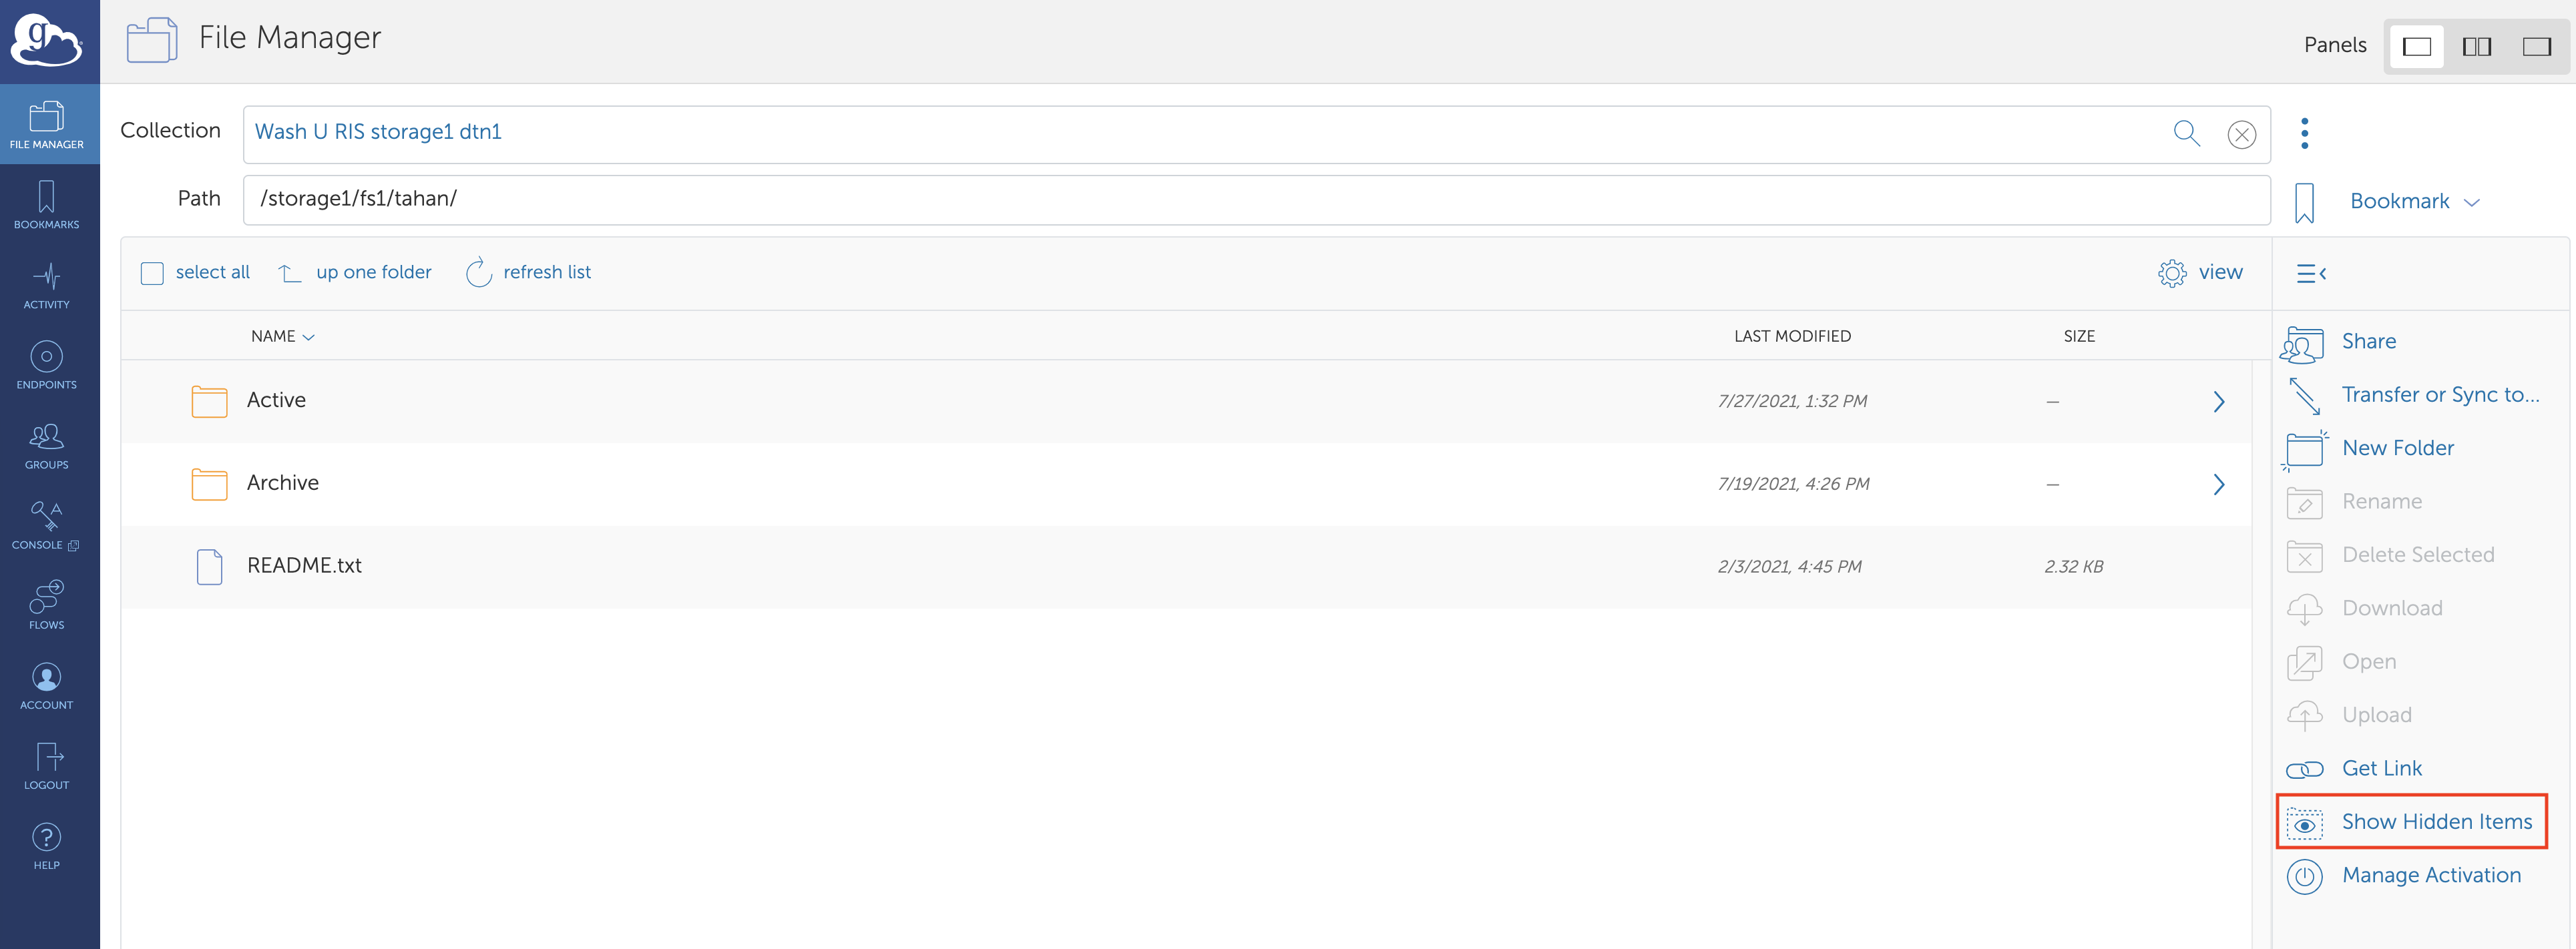
In the PATH field, enter in the path to your storage allocation, (e.g. /storageN/fs1/${STORAGE_ALLOCATION}).
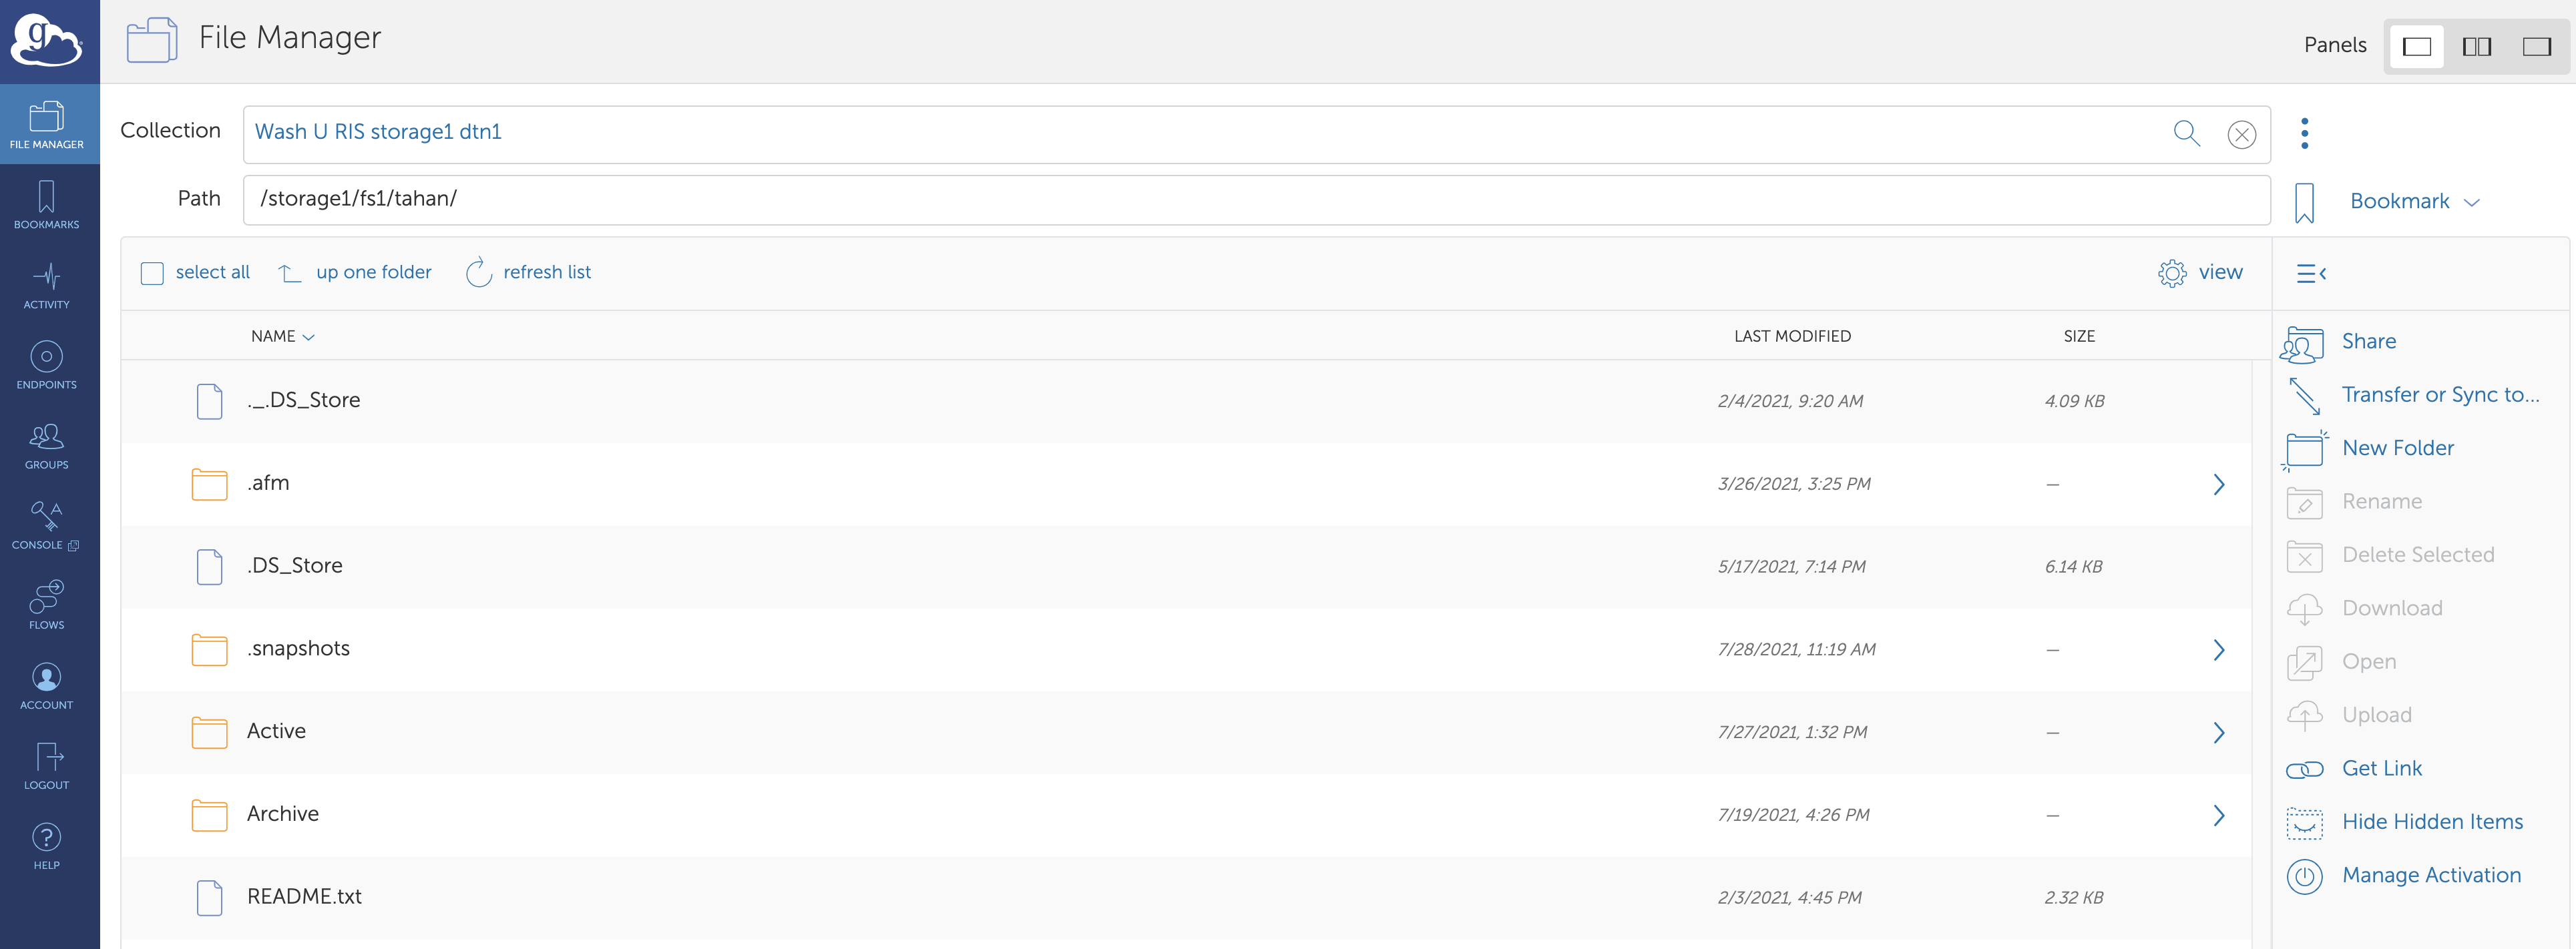
Enable the hidden files and folder by clicking the Show Hidden Items button, highlighted in red below.
The .snapshots or .snapshot folder will now be visible.
Navigate to the file or folder you’d like to recover. Click the Transfer or Sync to...
button to open a new destination pane to the right. Naviage to the Active folder
of your storage allocation. In the example below, a Python script will be restored
to the Active folder.
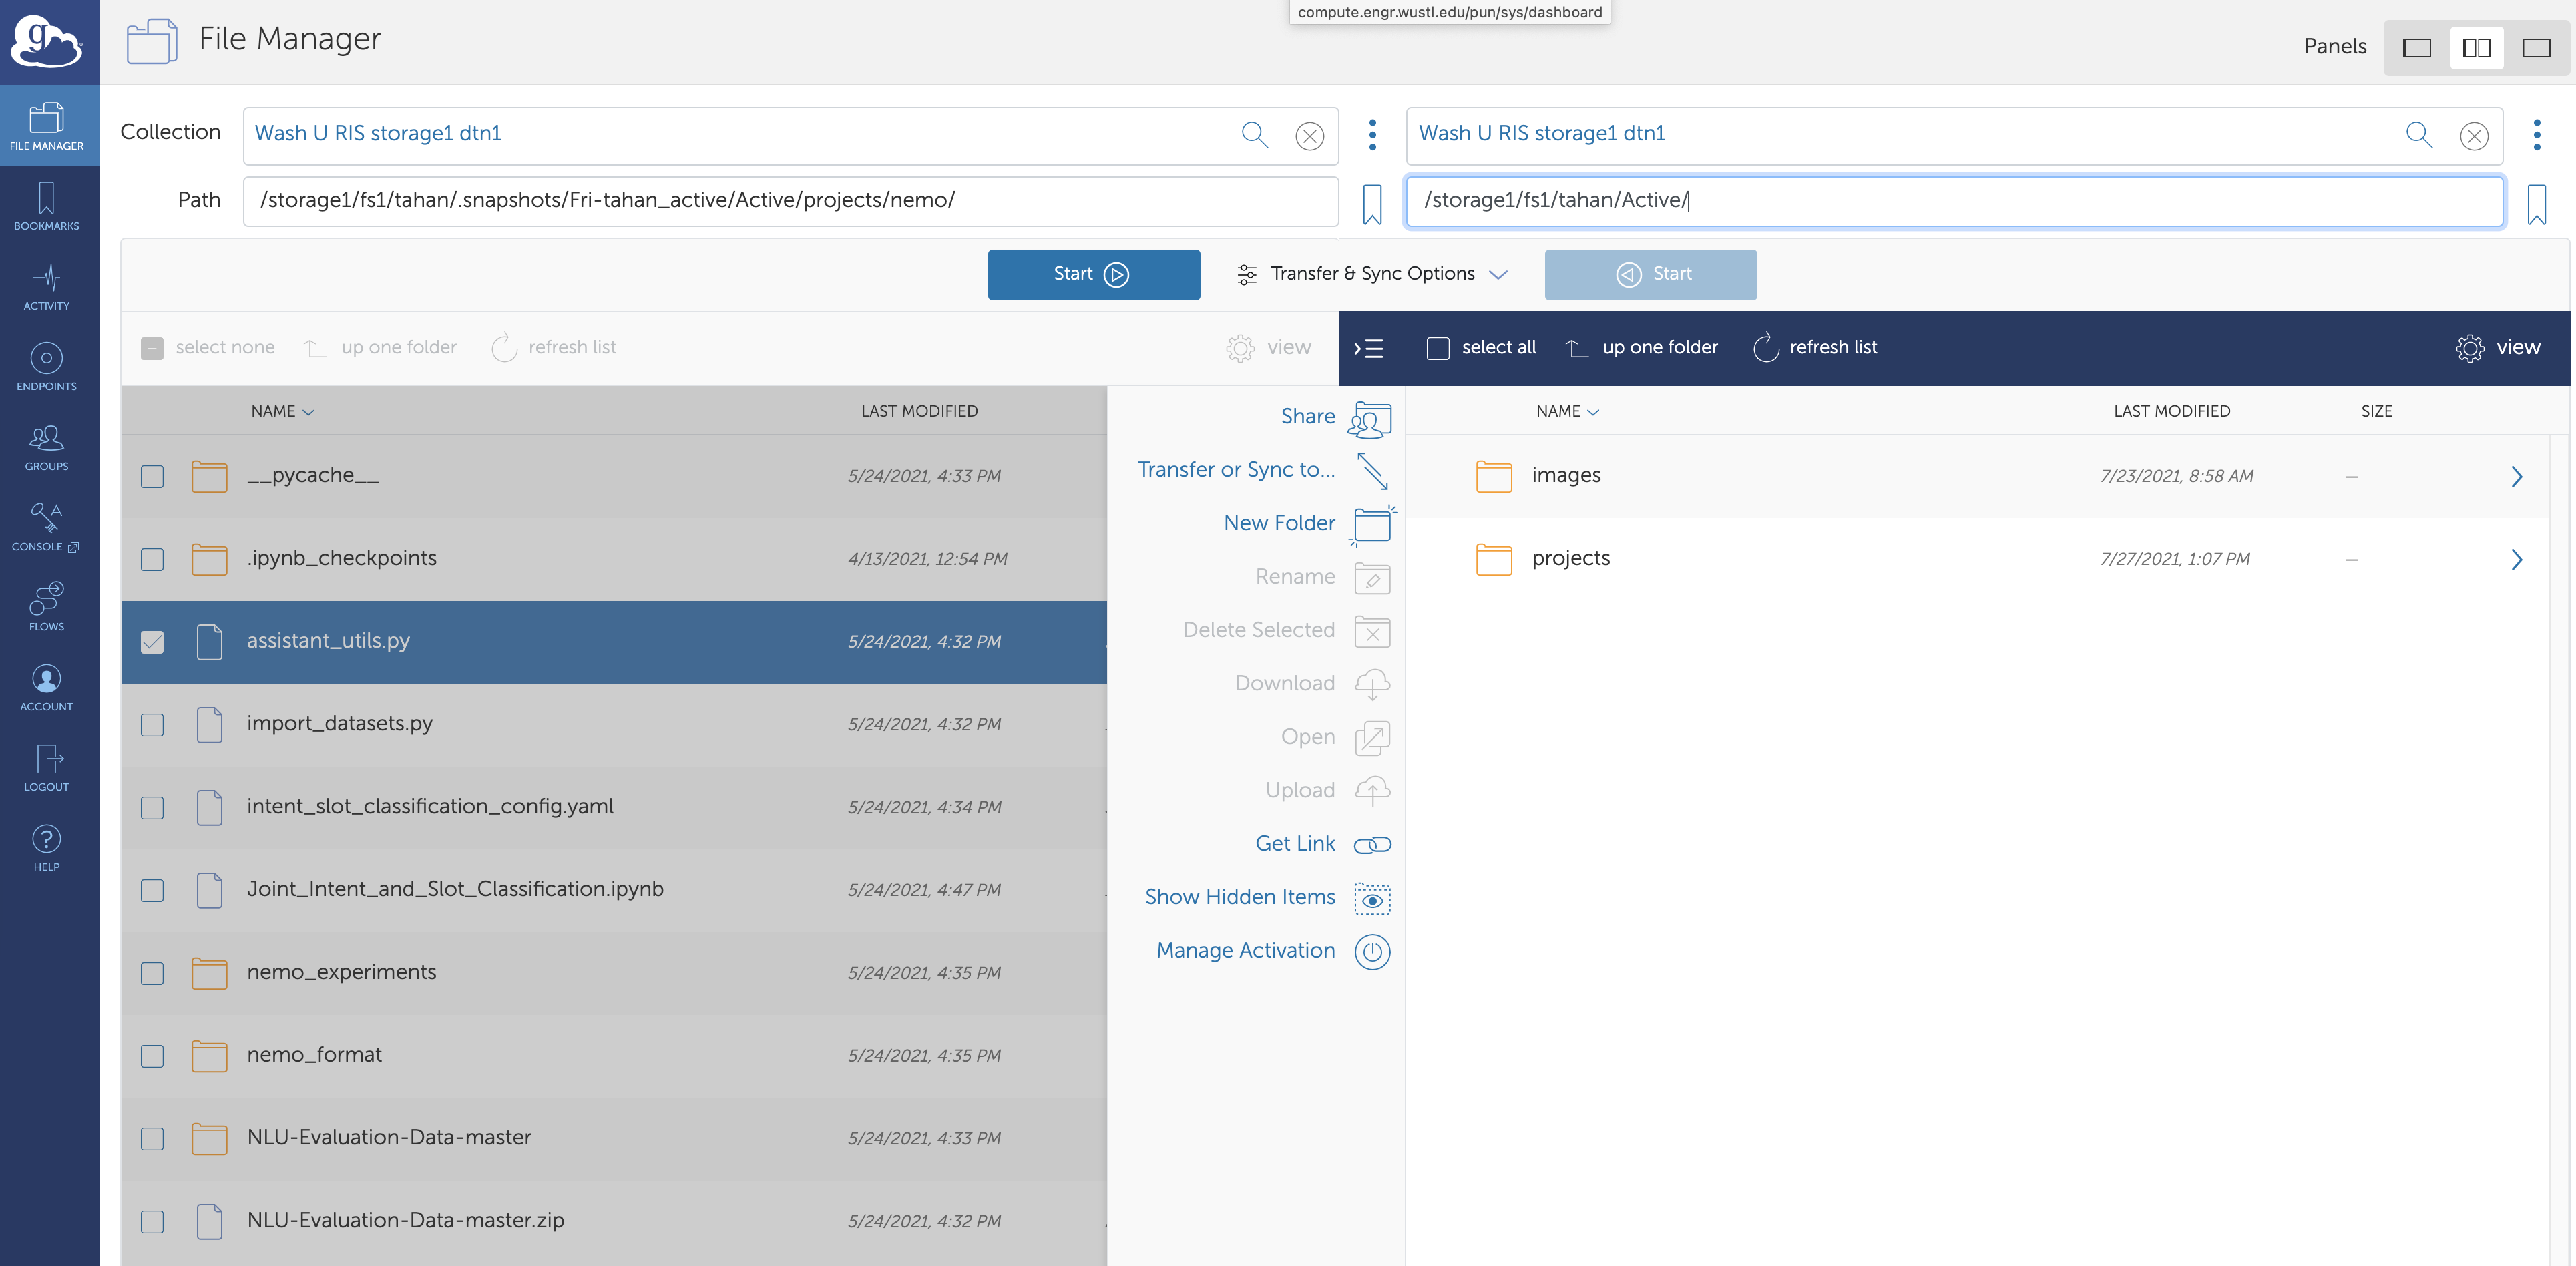
Click the Start button to begin your transfer. Your transfer job is now submitted to
Globus. You will receive an email once the transfer is complete and the restored
file will be available in the Active folder.